Starting an online store can feel like launching a rocket – exciting, but also a bit overwhelming. Especially when it comes to the nitty-gritty of getting your products online.
If you’re using Shopify, you’re in good hands, but mastering the “Shopify product setup” is crucial for your store’s success. Did you know that a well-organized product page can increase conversion rates by up to 30%?
This guide will walk you through every step of shopify product setup, ensuring your products shine and your customers convert. Let’s dive in and transform your Shopify store into a well-oiled sales machine.
Key Takeaways:
- Ever wondered how to optimize your product descriptions for both customers and search engines? We’ll reveal the secrets.
- Want to know the most effective ways to use product images and videos to boost sales? You’ll find out here.
- Confused by product variants and options? We’ll simplify the process and show you how to leverage them.
- Are you missing out on vital SEO tweaks that can significantly improve your product visibility? We’ll cover all the essential tips.
- Discover how to set up collections for better product categorization and customer navigation.
- Learn how to manage your inventory to prevent overselling and keep your customers happy.
Understanding the Basics of Shopify Product Setup
The foundation of any successful Shopify store lies in its product setup. A properly configured product page not only makes your products appealing but also enhances the overall user experience. When you properly execute your “Shopify product setup”, you are setting yourself up for success.
Adding Your First Product
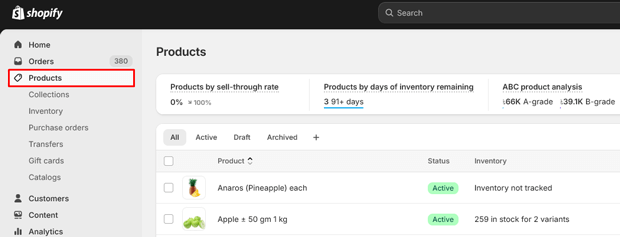
Navigate to Products: Log in to your Shopify admin panel and click on “Products” in the left-hand menu.
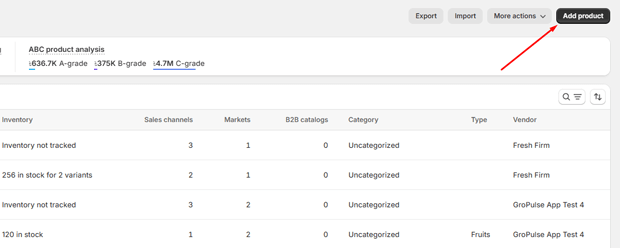
Click “Add product”: This will take you to the product creation page.
Title and Description:
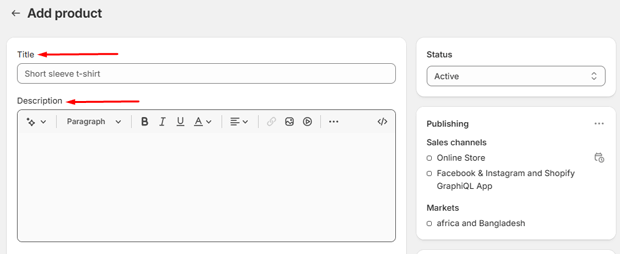
Title: Craft a clear and concise title that accurately reflects your product. Include relevant keywords, but avoid keyword stuffing.
Description: Write a compelling product description that highlights the benefits and features of your product.
Use natural language and address your target audience’s pain points. Remember that 50% of online shoppers say that product descriptions have convinced them to buy a product.
Media:
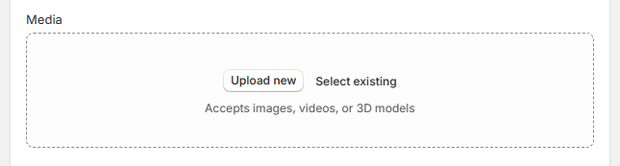
Upload high-quality product images and videos. Use multiple angles and show your product in context.
Optimize your images for web use to improve page loading speed.
Pricing and Inventory Management
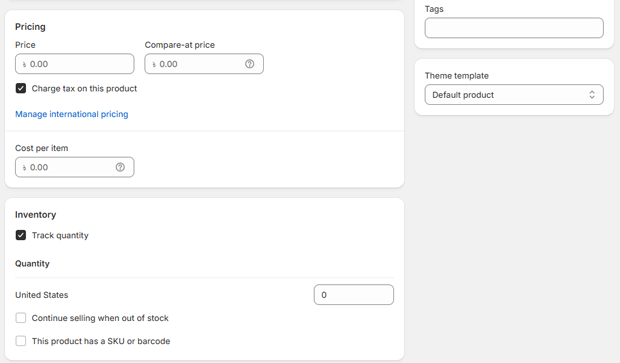
Pricing:
Enter the price of your product.
If applicable, enter a “Compare at price” to show a discount.
Inventory:
Enter the number of units you have in stock.
Enable “Track quantity” to automatically update your inventory levels.
Set up inventory tracking by variants.
Shipping:
Enter the weight of your product to calculate shipping costs.
Specify if the product requires shipping.
Variants and Options
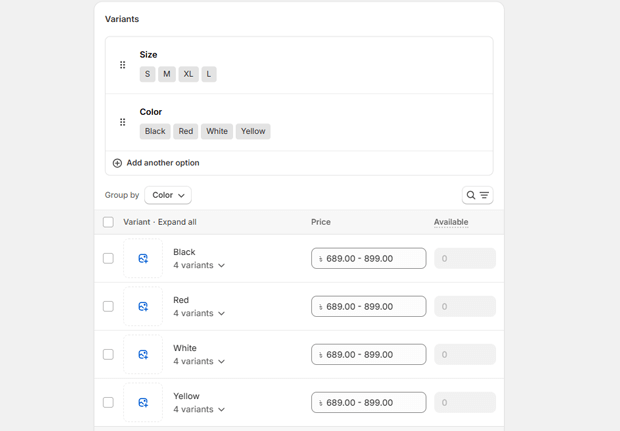
- Variants:
- If your product comes in different sizes, colors, or materials, add variants.
- Click “Add options” and enter the option names and values.
- For example, you might add options for “Size” (Small, Medium, Large) and “Color” (Red, Blue, Green).
- Variant Pricing and Inventory:
- Manage pricing and inventory levels for each variant individually.
- This ensures accurate stock levels and pricing for each product variation.
Search Engine Optimization (SEO) for Your Products
- Product URL:
- Customize the product URL to include relevant keywords.
- Keep URLs short and descriptive.
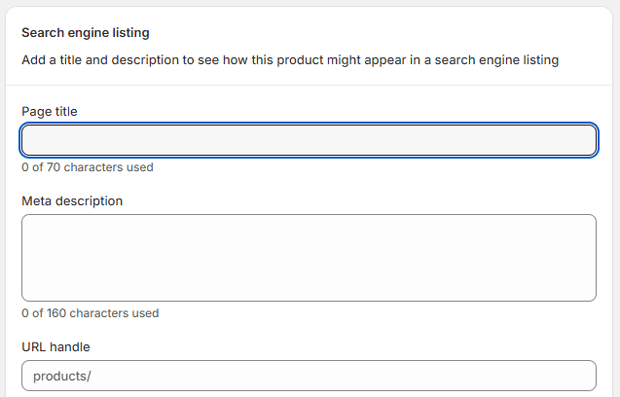
- Page Title and Meta Description:
- Write a compelling page title and meta description that accurately reflects your product and includes relevant keywords.
- This is what will appear in search engine results.
- 68% of online experiences begin with a search engine. (Source: BrightEdge)
- Alt Text for Images:
- Add descriptive alt text to your product images.
- This helps search engines understand what your images are about and improves accessibility.
Collections and Organization
- Creating Collections:
- Organize your products into collections to improve navigation and user experience.
- Create collections based on product type, category, or seasonality.
- Automated Collections:
- Use automated collections to automatically add products based on specific criteria, such as product tags or price.
- This is useful for dynamic collections like “New Arrivals” or “Sale Items”.
Recomended Blogs for You:
👉 Shopify Inventory Management: Complete Setup Guide
👉 Shopify Analytics Guide: Track and Improve Store Performance
👉 Shopify Email Marketing: Complete Strategy & Automation Guide
👉 How to Sell Internationally on Shopify: Complete Guide
👉 The Ultimate Shopify Store Setup Checklist: Launch Your Dream Store Today!
Advanced Product Setup Tips
- Product Tags: Use product tags to further categorize your products and improve search functionality.
- Product Vendors: If you sell products from multiple vendors, add vendor information to your product pages.
- Custom Fields: Use custom fields to add additional information to your product pages, such as technical specifications or material details.
- Product Reviews: Enable product reviews to build trust and social proof. According to a study, 93% of consumers read online reviews before making a purchase. (Source: Podium).
- Cross-selling and Upselling: Use related products and product recommendations to encourage customers to buy more.
Content Marketing and Product Visibility
- Blog Posts: Create blog posts that highlight your products and address your target audience’s needs.
- Social Media: Share your products on social media platforms to reach a wider audience.
- Email Marketing: Use email marketing to promote your products and offer exclusive discounts to your subscribers.
Frequently Asked Questions
How do I add multiple images to a Shopify product?
In the product creation page, click on “Add media” and select the images you want to upload. You can upload multiple images at once.
How do I set up different shipping rates for different products?
In the product creation page, enter the weight of each product. Then, in your Shopify shipping settings, create shipping zones and rates based on weight or price.
How do I add a product video to my Shopify product page?
You can either upload a video directly to Shopify or embed a video from YouTube or Vimeo. In the product creation page, click on “Add media” and select the video file or paste the embed code.
What are product variants and how do I use them?
Product variants are different options for a product, such as size, color, or material. To add variants, click on “Add options” in the product creation page and enter the option names and values.
How do I optimize my Shopify product pages for SEO?
Optimize your product pages by using relevant keywords in your product titles, descriptions, URLs, and meta descriptions. Also, add descriptive alt text to your product images.
Conclusion
Mastering the “Shopify product setup” is essential for the success of your online store.
By following this comprehensive guide, you can create product pages that are not only visually appealing but also optimized for search engines and conversions.
Remember to focus on providing valuable information to your customers and continuously improving your product pages based on performance data.
By implementing these strategies, you’ll be well on your way to building a thriving Shopify store that attracts and retains customers.