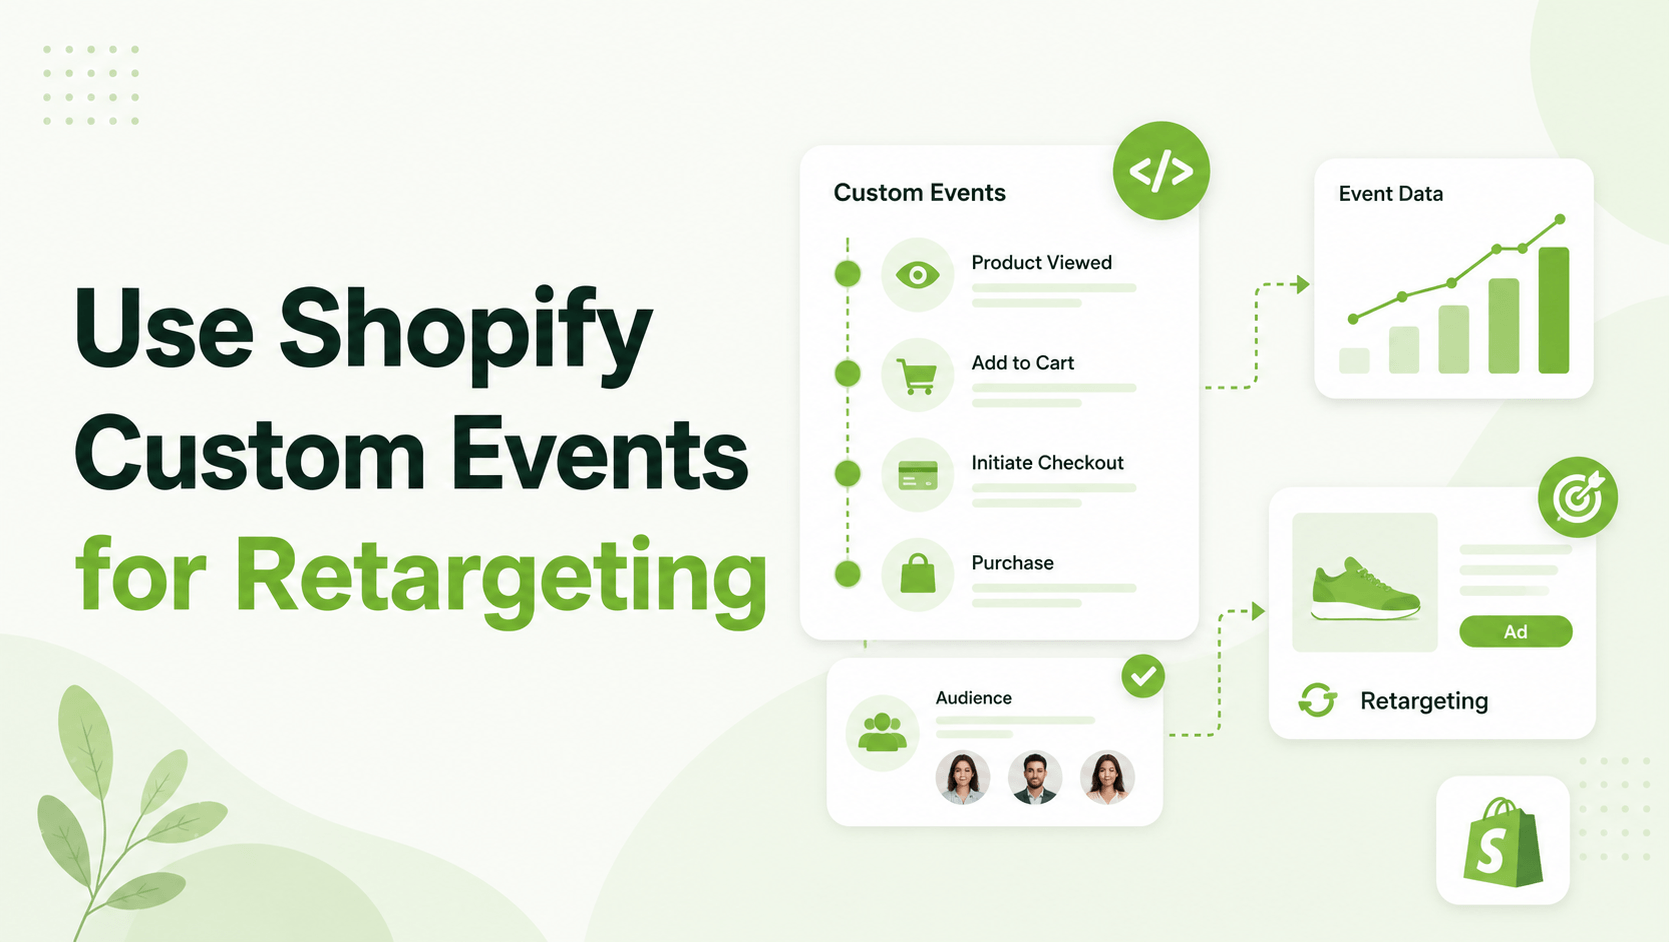
Standard tracking often misses the nuances of how customers interact with your store. By using Shopify custom events, you can track specific behaviors, like clicking a size chart or interacting with a “Frequently Bought Together” section, to build hyper-targeted retargeting audiences that convert at a lower CPA.
What are Shopify Custom Events?
Shopify custom events are tracking signals used to monitor specific user interactions that fall outside of standard “Add to Cart” or “Purchase” events. They allow merchants to use custom pixels to send granular data to platforms like Meta and TikTok for advanced retargeting.
Defining Shopify Custom Events vs. Standard Tracking
In the Shopify ecosystem, tracking is divided into two categories:
- Standard Events: Pre-defined actions like page_view, view_content, and purchase.
- Custom Events: Unique interactions defined by the merchant, such as clicking a specific button, viewing a collection-specific promotion, or interacting with a loyalty widget.
According to Shopify’s documentation, these events are powered by the Customer Events API, which provides a secure, isolated environment (sandboxing) for pixels to run without compromising site speed or security.
How Custom Events Solve the “Generic Retargeting” Problem
Most DTC brands retarget anyone who “Added to Cart” in the last 30 days. However, this treats a “high-intent” user and a “casual browser” the same way.
What this means for Shopify merchants:
By tracking custom events, you can segment audiences based on intent depth. For example, a user who clicks “Read Size Guide” is showing higher purchase intent than someone who just scrolled the homepage. You can then bid more aggressively for the “Size Guide” segment in Meta Ads Manager.
Recommended Blogs for You:
👉 Meta Retargeting on Shopify: Pixels, CAPI & Catalog Done Right
👉 Google Ads Retargeting for Shopify: From Setup to ROAS Wins
👉 How to Audit Facebook Ads with AI: The Shopify Merchant’s Guide
👉 Dynamic Product Ads on Facebook: The Complete Shopify Setup Guide
👉 How to Sync Shopify Products to Facebook Catalogs : Boost ROAS
Step-by-Step: Setting Up Custom Events via Pixee
While developers can manually code custom pixels in the Shopify admin, many merchants prefer a no-code approach to avoid breaking theme logic use Pixee ‑ Multi Pixel & Meta Ads.
1. Access the Custom Event Interface
In tools like Pixee, navigate to the Events sidebar.
2. Select Your Tracking Method
- Visual Selection: Click Select from store, which redirects you to your live site. You can then click directly on the element (e.g., a “Join Waitlist” button) to capture its CSS selector automatically.
- Manual Input: If you are comfortable with CSS, you can manually enter selectors like .button-class or #button-id and choose the trigger type, such as a Click or View.
3. Map Data Fields
To make your retargeting profitable, the event should carry data. Pixee automatically attaches relevant context to events, such as:
- Content ID (Product ID)
- Value (Price or cart total)
- Currency
4. Verify the Event
Before spending ad budget, use the Facebook Pixel Helper or TikTok Pixel Helper extensions. Trigger the custom action on your store and ensure the event name appears in the helper tool.
3 Custom Event Frameworks for Profitable Retargeting
| Framework | Custom Event Trigger | Retargeting Strategy |
| The “Size-Insecure” Buyer | Click on “Size Chart” | Show an ad featuring customer reviews mentioning “True to Size” fit. |
| The “Value Seeker” | Click on “Bundle & Save” | Retarget with a “Complete the Set” offer or a limited-time bundle discount. |
| The “High-Intent Browser” | View “Review Gallery” | Show a video ad featuring User-Generated Content (UGC) to build social proof. |
Common Troubleshooting for Shopify Custom Pixels
If your custom events aren’t appearing in your Meta Events Manager:
- Check App Status: Ensure the tracking app is “Active” in your Shopify Dashboard.
- App Embeds: Verify that the pixel extension is enabled in Online Store > Themes > Customize > App embeds.
- Sandbox Restrictions: Shopify’s sandbox environment sometimes blocks scripts that aren’t compliant with their API. Stick to the Customer Events settings in the Shopify admin or a dedicated pixel app.
- CAPI vs. Browser: Ensure your Conversions API (CAPI) is enabled to capture events missed by ad blockers.
FAQ: Shopify Custom Events & Retargeting
Do custom events slow down my Shopify store?
No, if implemented via Shopify’s Customer Events API or a lightweight app like Pixee, the scripts load asynchronously, meaning they don’t block the main page content from loading.
Can I track events on the checkout page?
Shopify restricts third-party scripts on the checkout for security. However, you can track the Initiate Checkout click and the Purchase event on the thank-you page using the Web Pixel API.
Is a Facebook connection required for custom events?
To send these events to Meta for retargeting, you must connect your Facebook Business account to grant the app ads_read and ads_management permissions.