Managing returns is an inevitable part of ecommerce. While Shopify makes it easy to click “Refund,” many merchants quickly discover a gap in the system: Shopify does not natively generate a formal PDF credit note.
For merchants in the US, a simple refund notification email might suffice. However, for those in the UK, EU, or Australia—or any brand selling B2B—a legal credit note is a non-negotiable accounting requirement. Without it, you risk tax compliance issues and look unprofessional to high-value clients.
This guide explains how to bridge that gap, whether you want to build a manual workflow or automate your documentation entirely.
Shopify does not automatically generate PDF credit notes. To issue one, you must either manually create a document using the “Order Printer” app or use a dedicated solution like GP PDF Invoice Generator to automate PDF creation upon refund.
What is a Credit Note (and Why Doesn’t Shopify Have Them?)
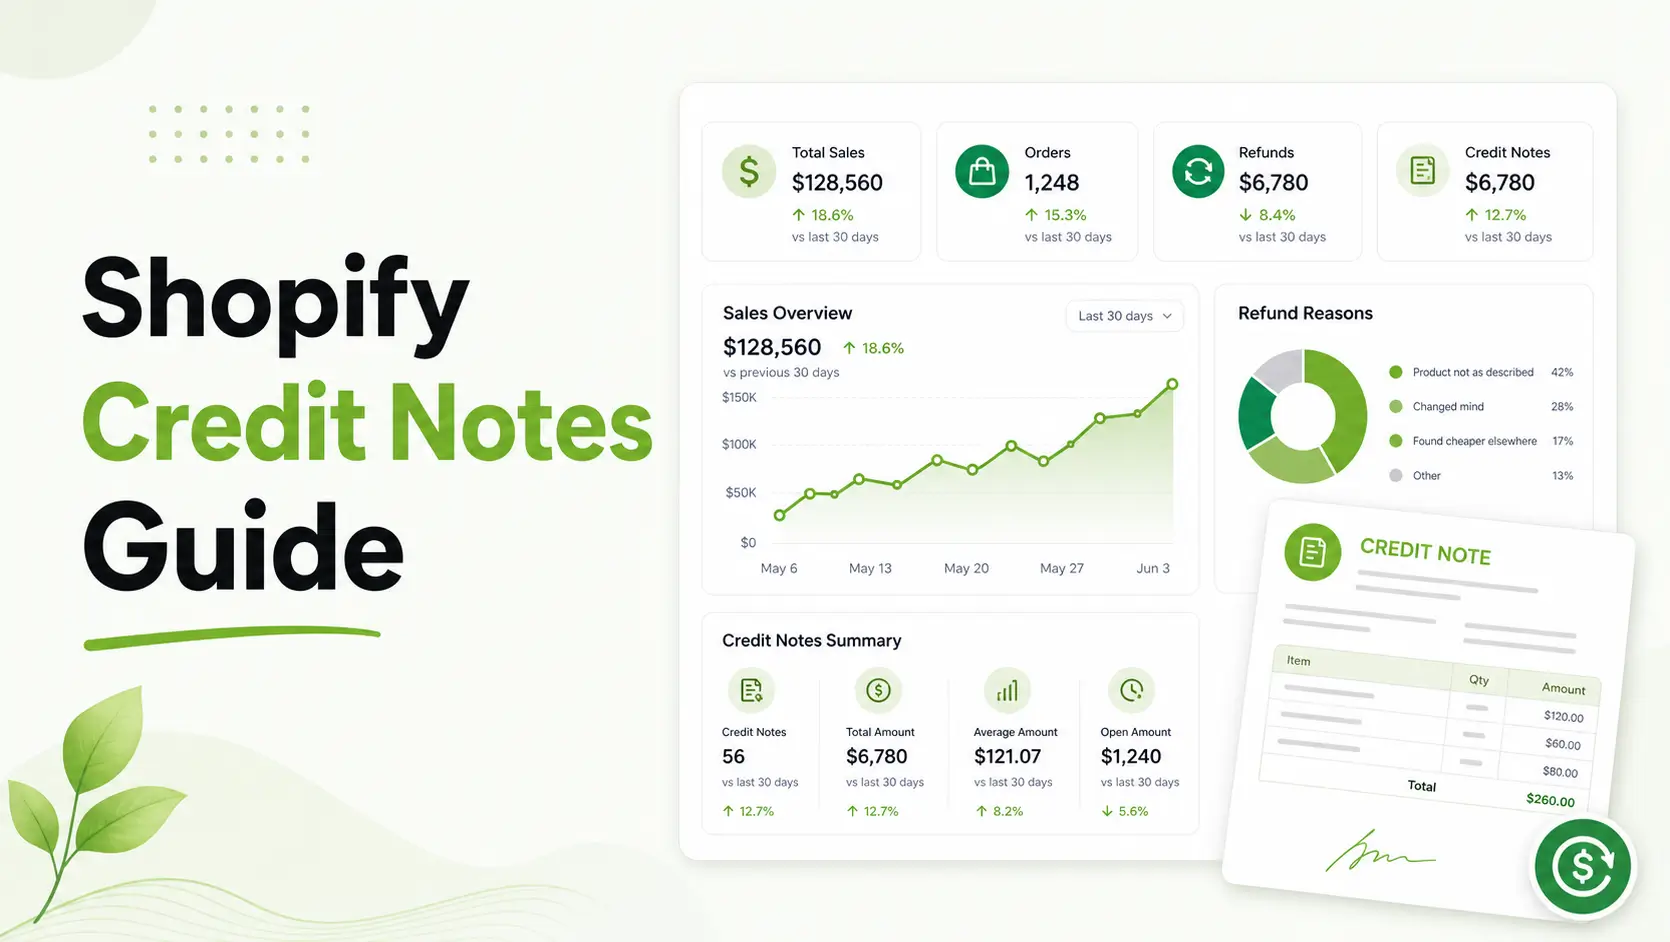
Definition: A credit note (or credit memo) is a legal document issued by a seller to a buyer. It indicates that a specific amount is being credited back to the buyer’s account, usually due to a return, pricing error, or damaged goods.
While Shopify handles the transaction (moving money back to the customer), it treats the “Refund Notification” as a simple transactional email. In many jurisdictions, a tax-compliant credit note must include:
- A unique, sequential document number.
- The original invoice number for reference.
- The seller’s VAT/Tax ID.
- A breakdown of tax rates for the returned items.
The Manual vs. Automated Decision
Before fixing the problem, you need to decide if you have more time or more budget.
| Approach | Best For | Pros | Limitations |
| Manual (Shopify Order Printer) | Tiny stores (<10 returns/mo) | Free/Low cost | No automation; manual PDF save/send |
| App-Based (GP PDF Invoice) | Growing DTC & B2B brands | 100% automated; compliant | Small monthly subscription |
| Developer Customization | Enterprise / Shopify Plus | Fully bespoke | High upfront cost; maintenance |
How to Generate Credit Notes Manually (Shopify Order Printer)
If you are just starting out, you can use Shopify’s free Order Printer app to create a basic credit note template.
Step-by-Step Instructions:
- Install Order Printer: Download the app from the Shopify App Store.
- Create a Template: Go to “Manage templates” and click “Add template.”
- Use Liquid Code: You will need to use Shopify’s Liquid code to pull refund data. You can often find “Credit Note” snippets in the Shopify Community forums.
- Print to PDF: When an order is refunded, open the app, select your Credit Note template, and “Print” the page as a PDF to your computer.
- Email the Customer: Manually attach that PDF to an email to your customer.
The Risk: This method is prone to human error. If you forget to save the PDF at the moment of refund, it can be difficult to reconstruct the exact tax data later if your theme or tax settings have changed.
Recommended Blogs for You:
👉 How to Fix Inactive Google Ads Tags on Shopify
👉 Multi Language Shopify Invoices: The Cross-Border Selling Guide
👉 How to Set Up Shopify Invoices: A 5-Minute Professional Guide
👉 How to Create Custom PDF Invoices for Shopify: A Branding Guide
When to Automate Your Credit Note Workflow
As your order volume grows, manual document creation becomes a bottleneck. This is especially true for Shopify Markets users dealing with multiple currencies and tax jurisdictions.
Many merchants use an app like GP PDF Invoice Generator to handle this.
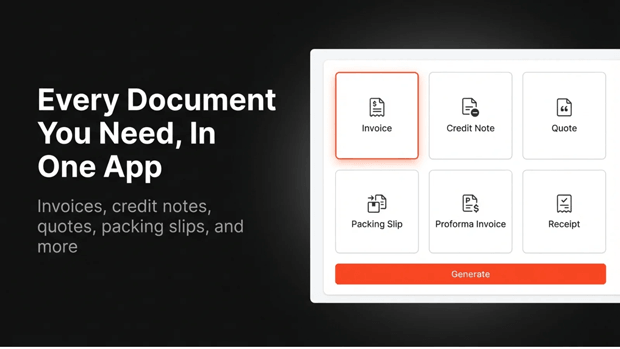
Instead of a manual “Print to PDF” step, the app detects when a refund is processed in the Shopify Admin and automatically:
- Generates a professional PDF credit note using your brand colors.
- Assigns a unique, sequential number (e.g., CN-2024-001).
- Attaches the PDF to a custom email sent directly to the customer.
This “set-and-forget” approach ensures that your accountant always has a paper trail that matches your Shopify payouts.
Common Shopify Return Mistakes to Avoid
- Relying on the Refund Notification: Never assume the “Refund Confirmation” email is enough for B2B customers. They need a document they can upload to their own accounting software.
- Ignoring Partial Refunds: If a customer returns one item out of three, your credit note must clearly state which items were returned and the specific tax adjusted.
- Incorrect Tax Calculation: Ensure your document app pulls the “Refunded Tax” line item from Shopify, not just a flat percentage of the total, to account for shipping refunds or discounts.
Validating Your Setup
To ensure your credit notes are working correctly:
- Test a Partial Refund: Process a $0 refund on a test order to see how the document displays.
- Check Sequential Numbering: Ensure your credit notes don’t share the same numbers as your invoices; they should typically have their own prefix (like “CN-“).
- Verify VAT/Tax IDs: Open a generated PDF and ensure your business tax details are clearly visible in the footer or header.
Frequently Asked Questions
Does Shopify generate credit notes automatically?
No. Shopify only sends a refund confirmation email. To generate a legal PDF credit note, you need to use an app like GP PDF Invoice Generator or manually create one using the Shopify Order Printer app.
What is the difference between a refund and a credit note?
A refund is the act of returning money to a customer. A credit note is the legal accounting document that records that transaction. You need the document for your tax records and your customer’s accounting.
Can I create credit notes for Shopify Plus B2B orders?
Yes. However, B2B orders often involve “Net terms,” meaning no money has changed hands yet. In these cases, a credit note is even more critical as it reduces the “Balance Due” on the original invoice.
How do I send a PDF credit note to a customer?
If using a manual tool, you must download the PDF and email it as an attachment. If using an automation app, the PDF is typically emailed to the customer automatically the moment you click “Refund” in Shopify.