Google Analytics is a free web and app analytics service offered by Google. It is a powerful tool that assists in tracking and analyzing website or app traffic. This platform ranks among the world’s most popular analytics tools and is trusted by over a million businesses of all sizes to monitor website traffic, evaluate marketing campaign effectiveness, and enhance website performance.
Optimizing your business data within an online marketplace is crucial, and Google Analytics can be a valuable ally in achieving this goal.
Creating a Google Analytics account is a straightforward process. Follow these steps to effortlessly establish a Google Analytics account, even if you are a beginner.
Account Creation
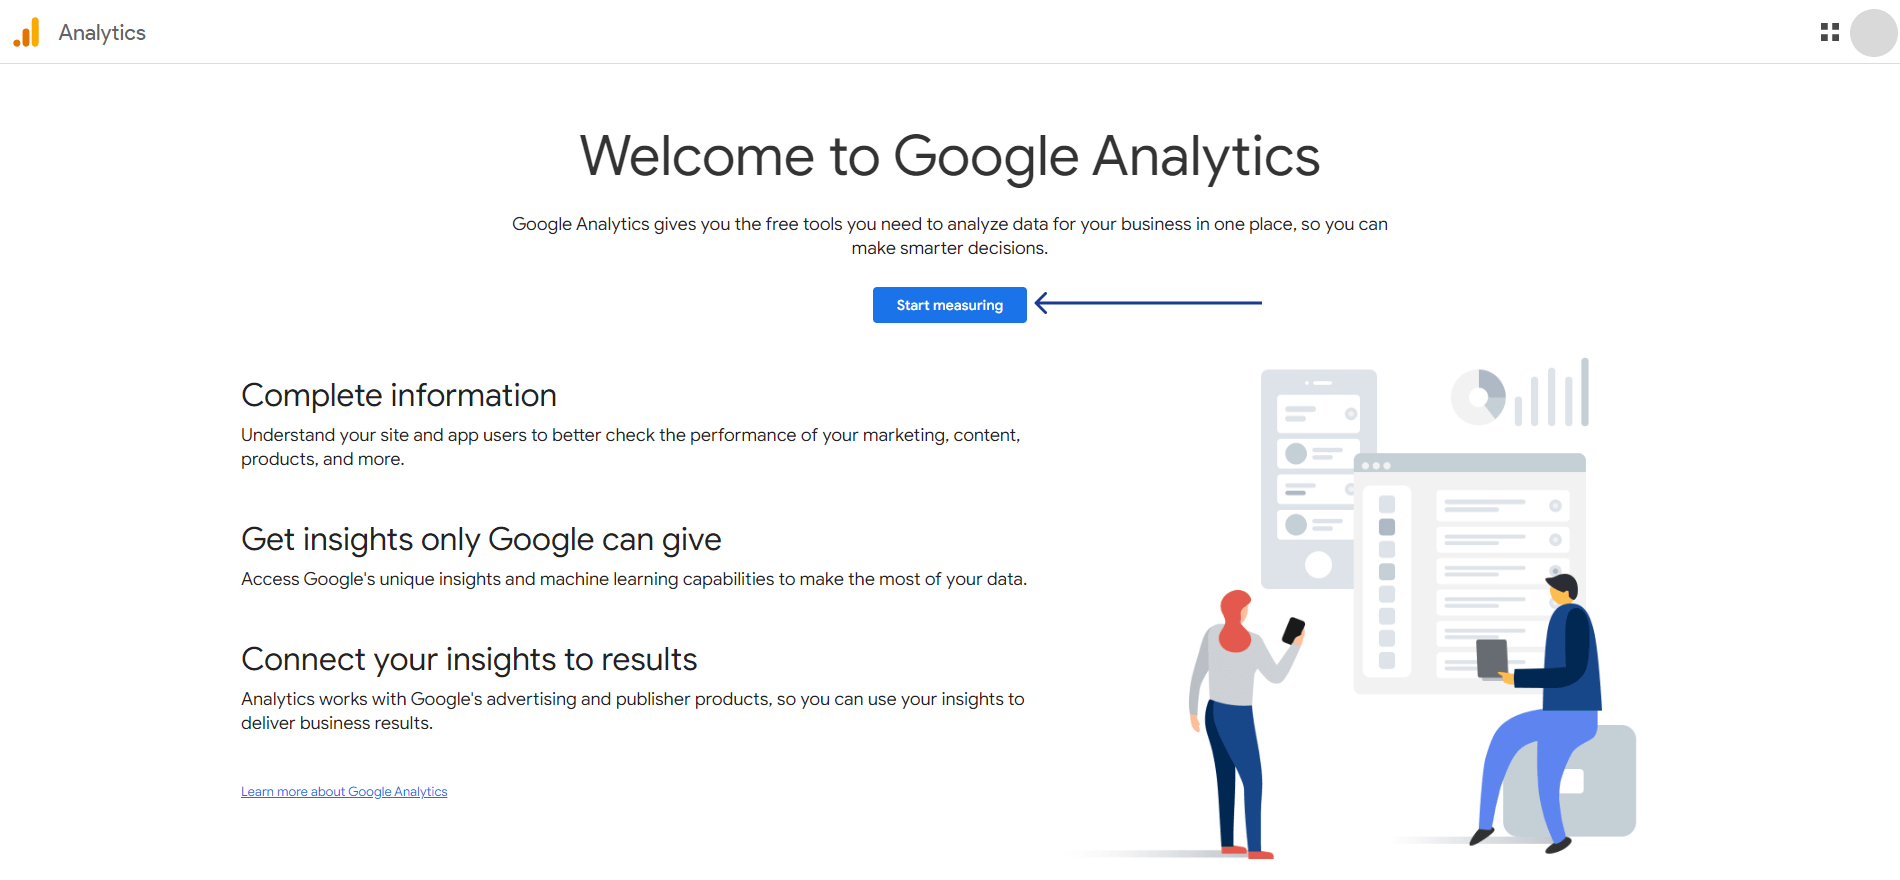
Navigate to https://analytics.google.com If you do not have an existing Google Analytics account, you will encounter a screen featuring a “Start Measuring” button.
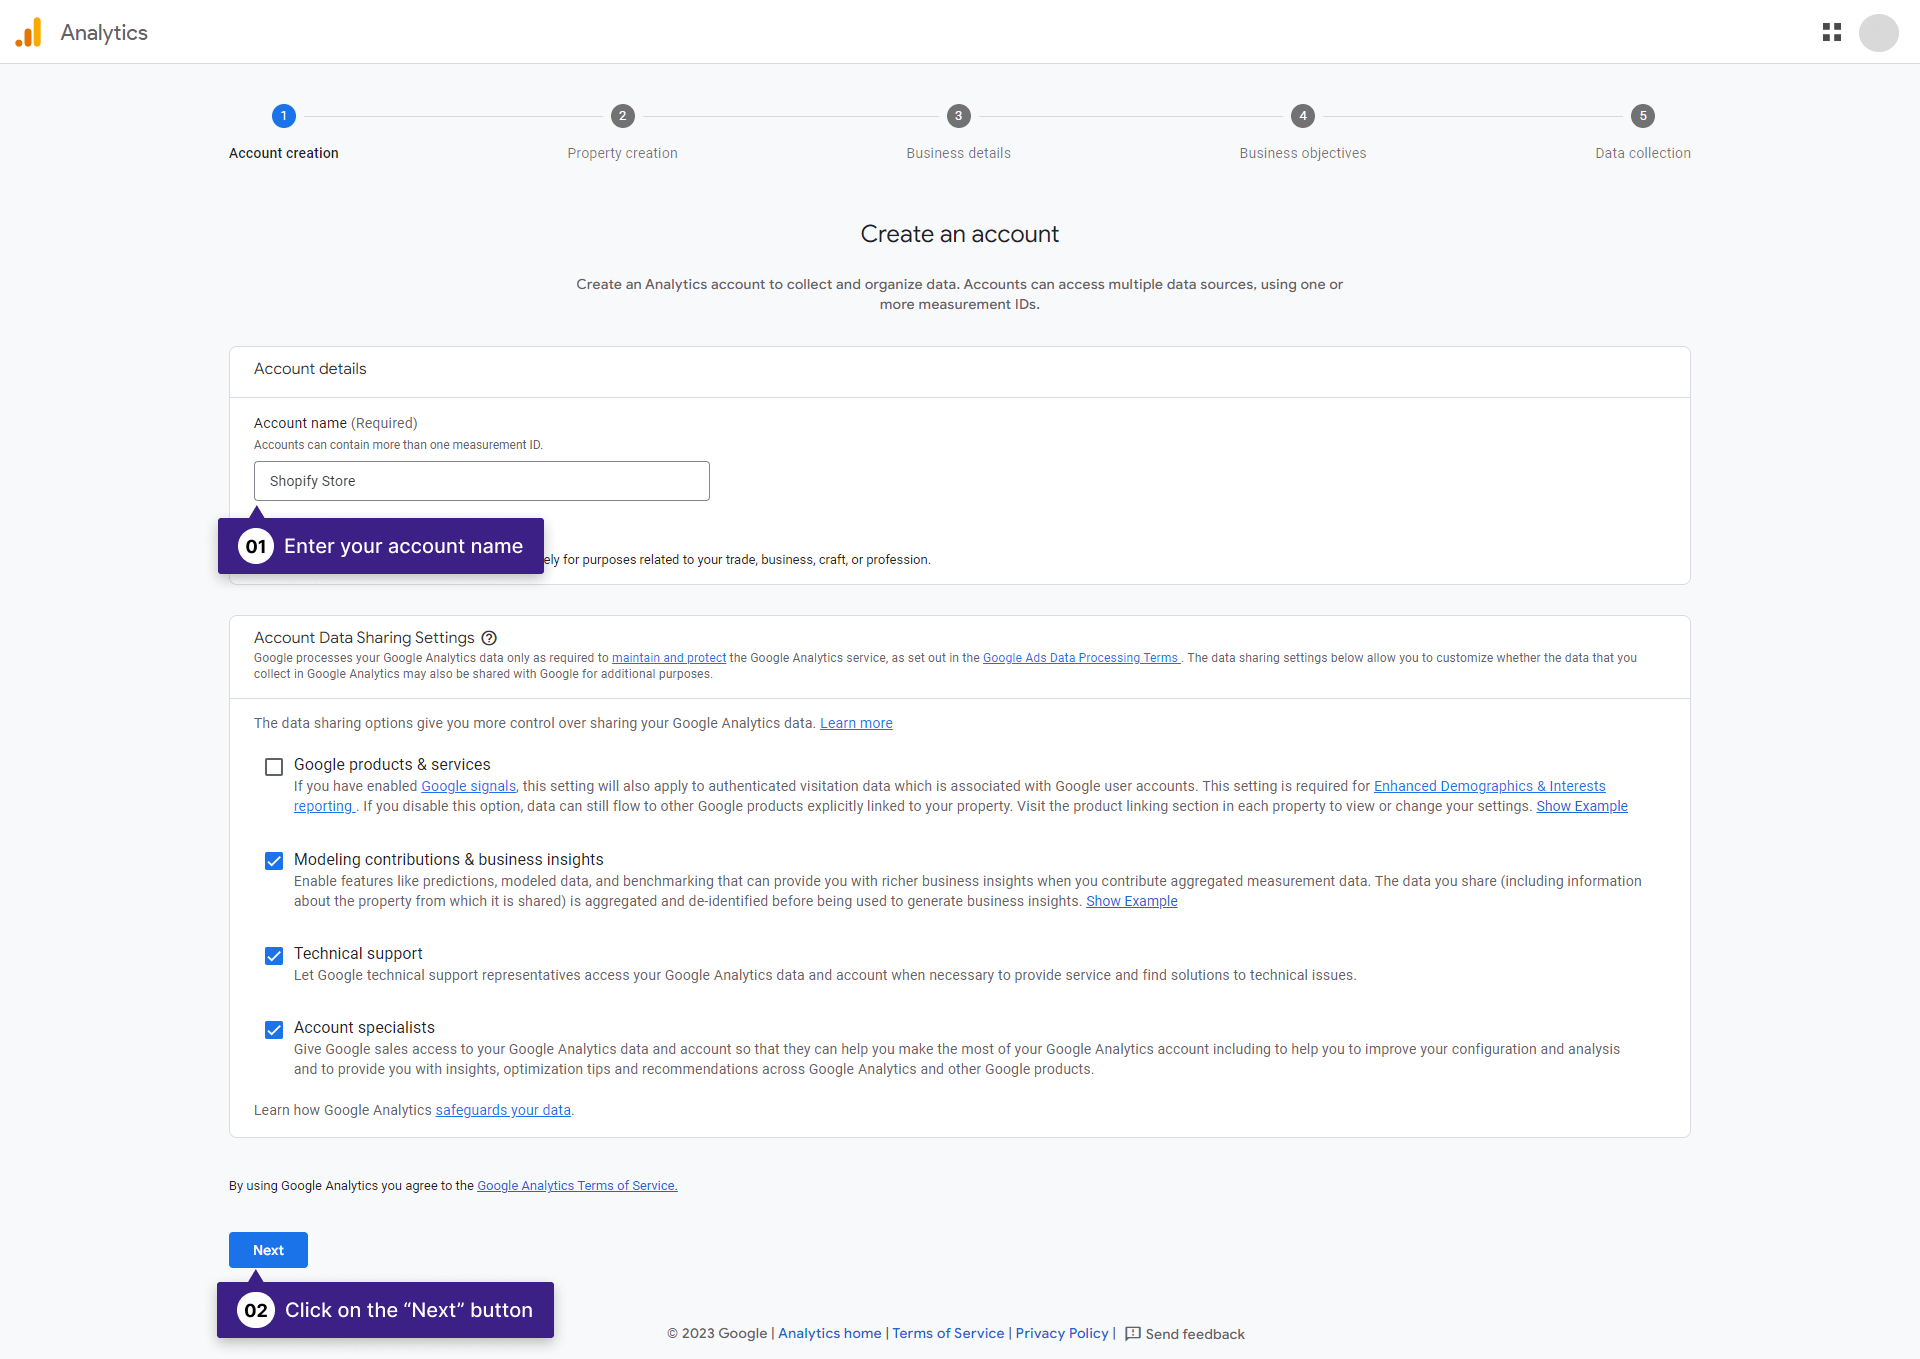
In this step, you need to provide a name for your account. You will also find Account Data Sharing Settings, enabling you to select which data you wish to share with Google. Click on the “Next” button to proceed.
Property Creation
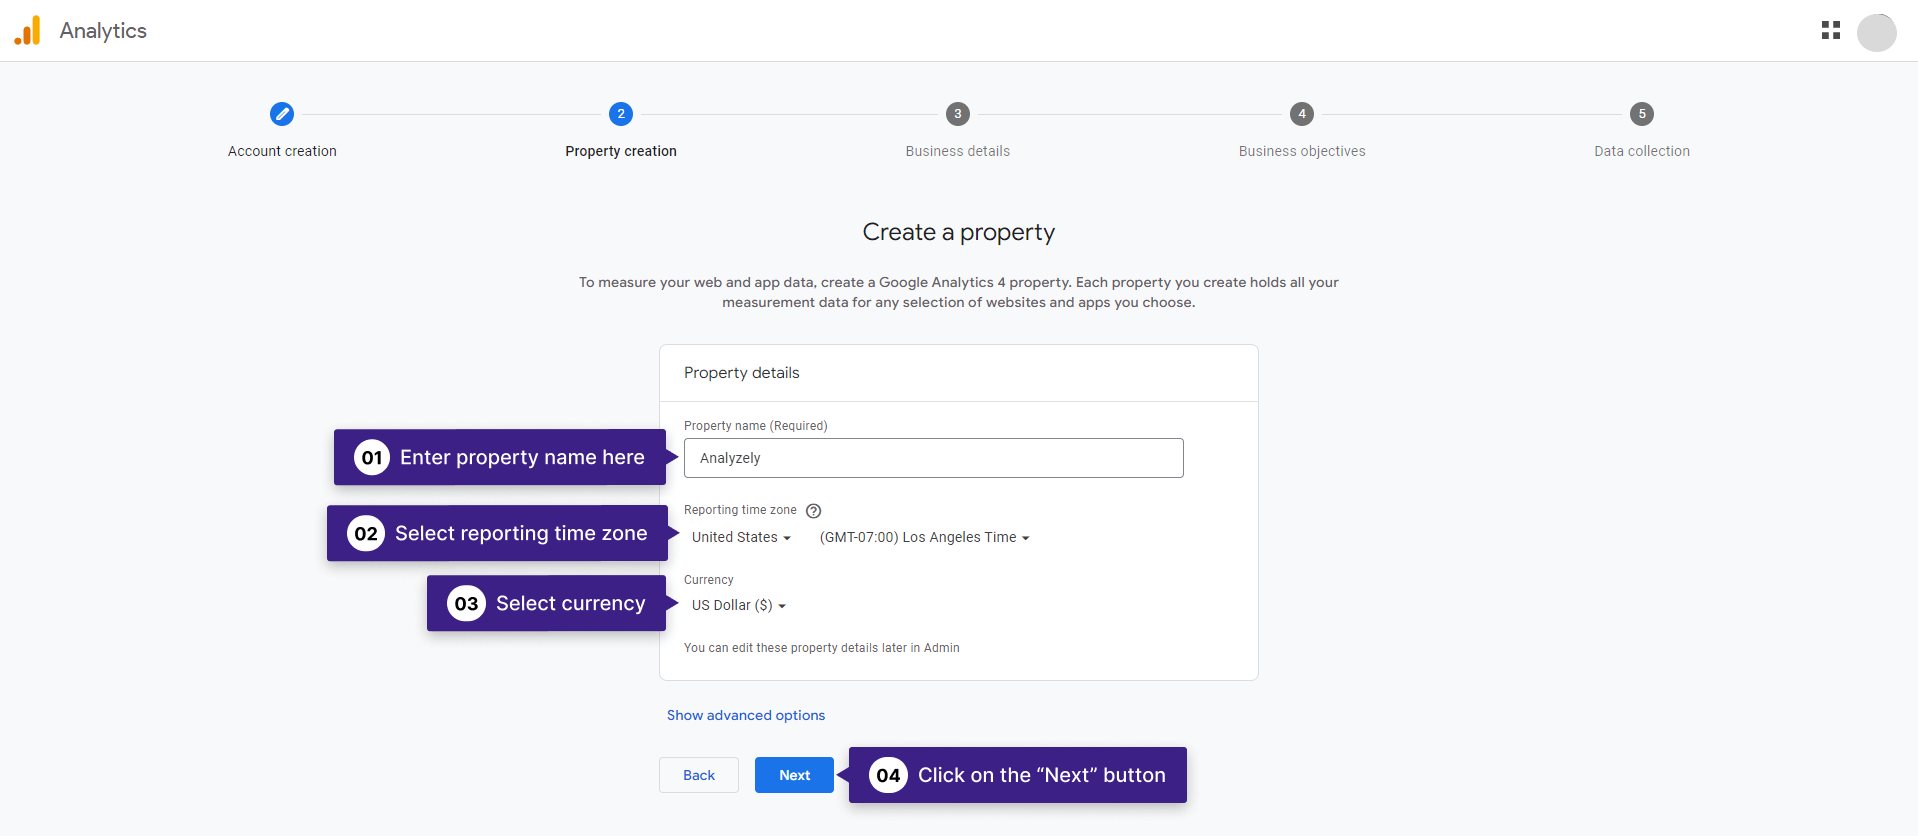
Enter your website’s name, select the appropriate time zone, and choose the currency corresponding to your business’s location. Then, click on the “Next” button.
Business Details
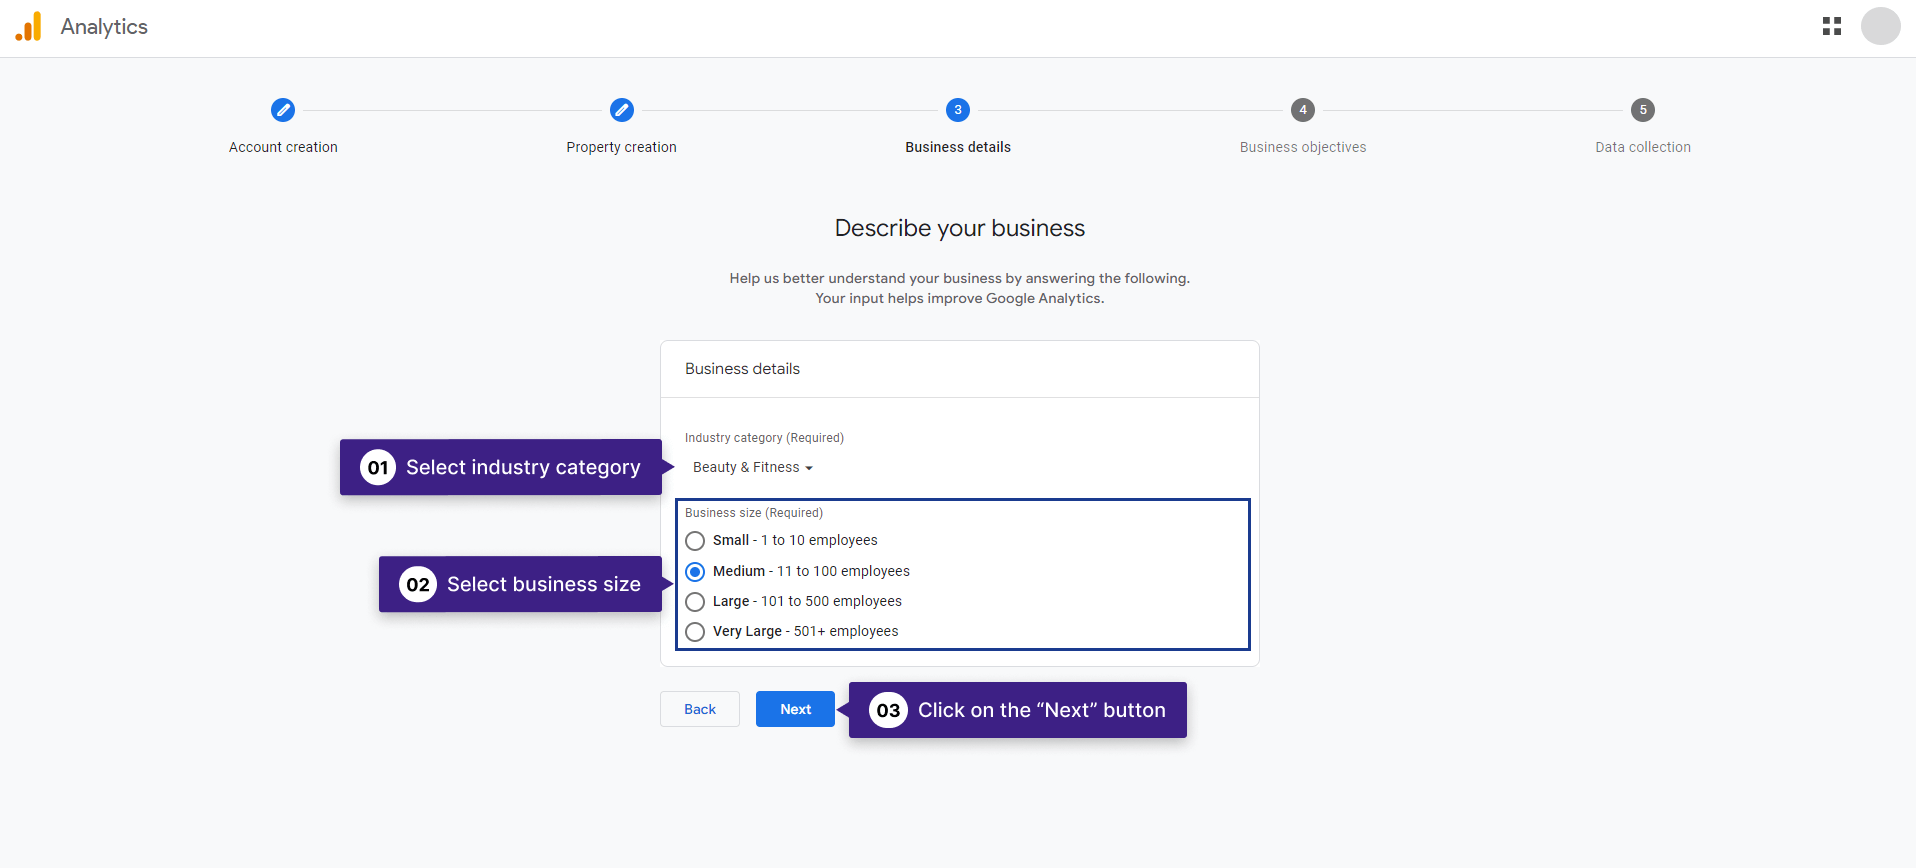
Select your business category and size based on your business type. Click on the “Next” button.
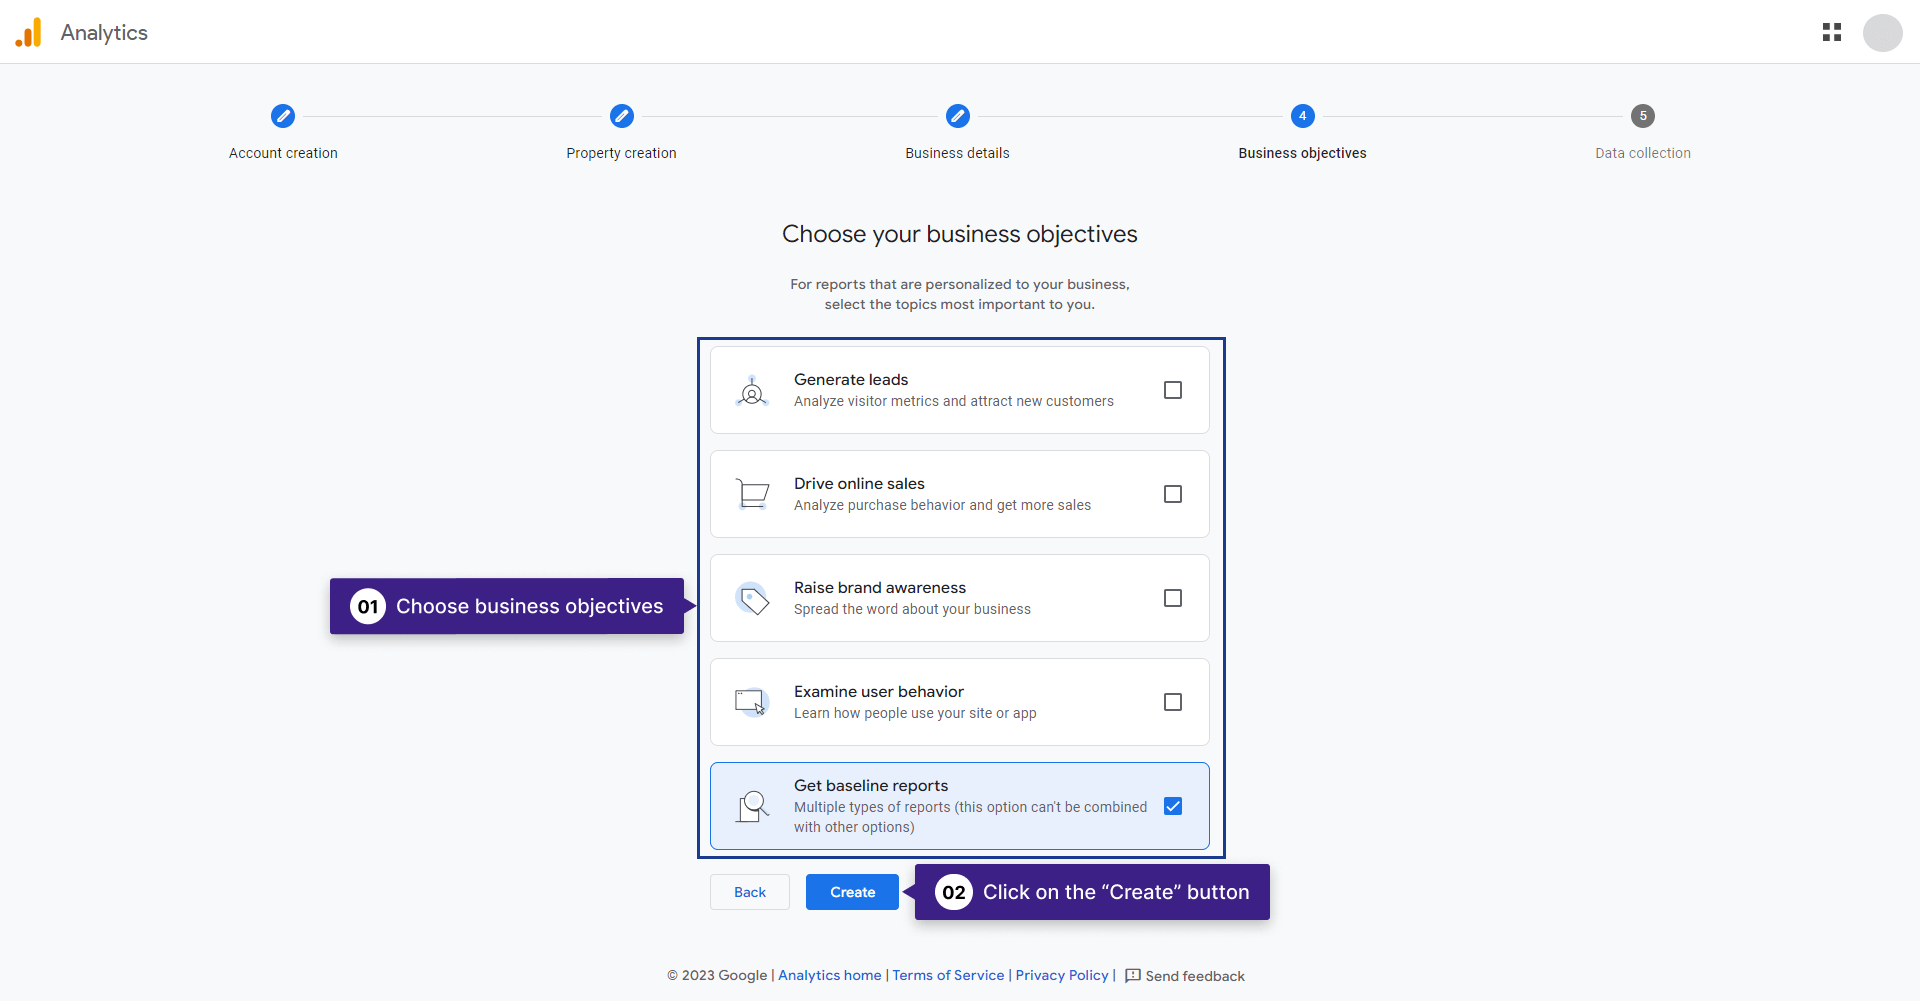
Business Objective
Select the most suitable business objective from the provided list. After selecting your objective, click on the “Create” button.
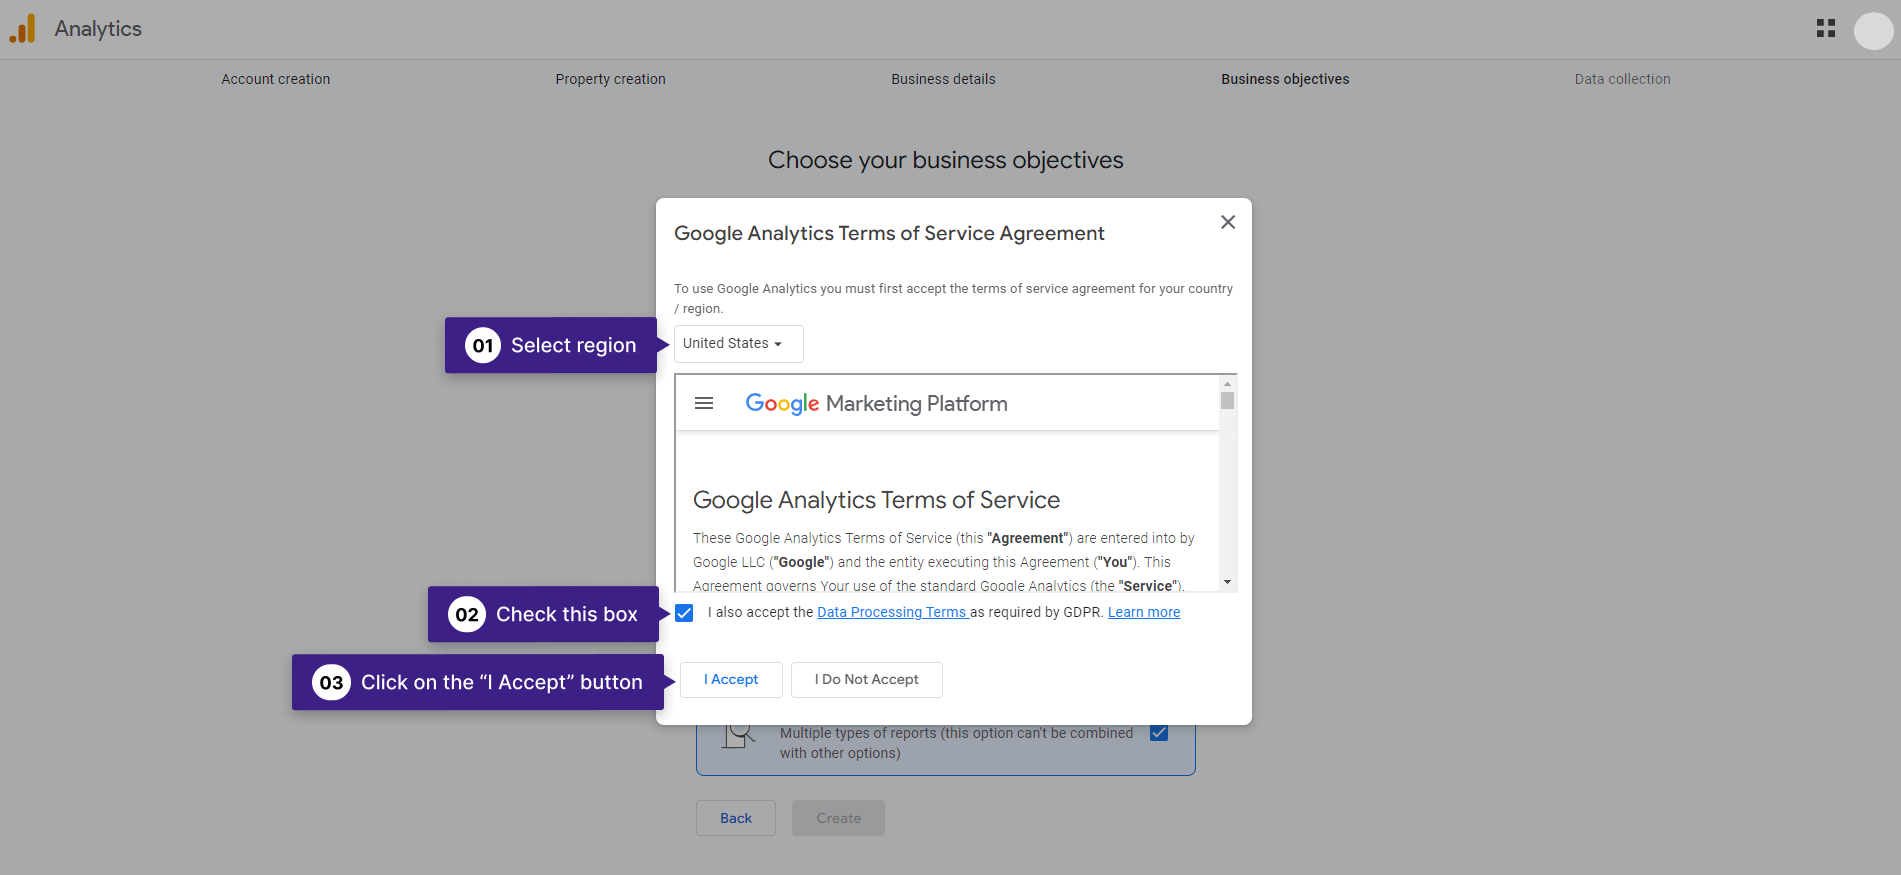
Upon clicking “Create” a pop-up will appear requiring your acceptance of the Google Analytics Terms of Service Agreement. Select your region and check the box for “I also accept the Data Processing Terms as required by GDPR,” then click on “I accept.”
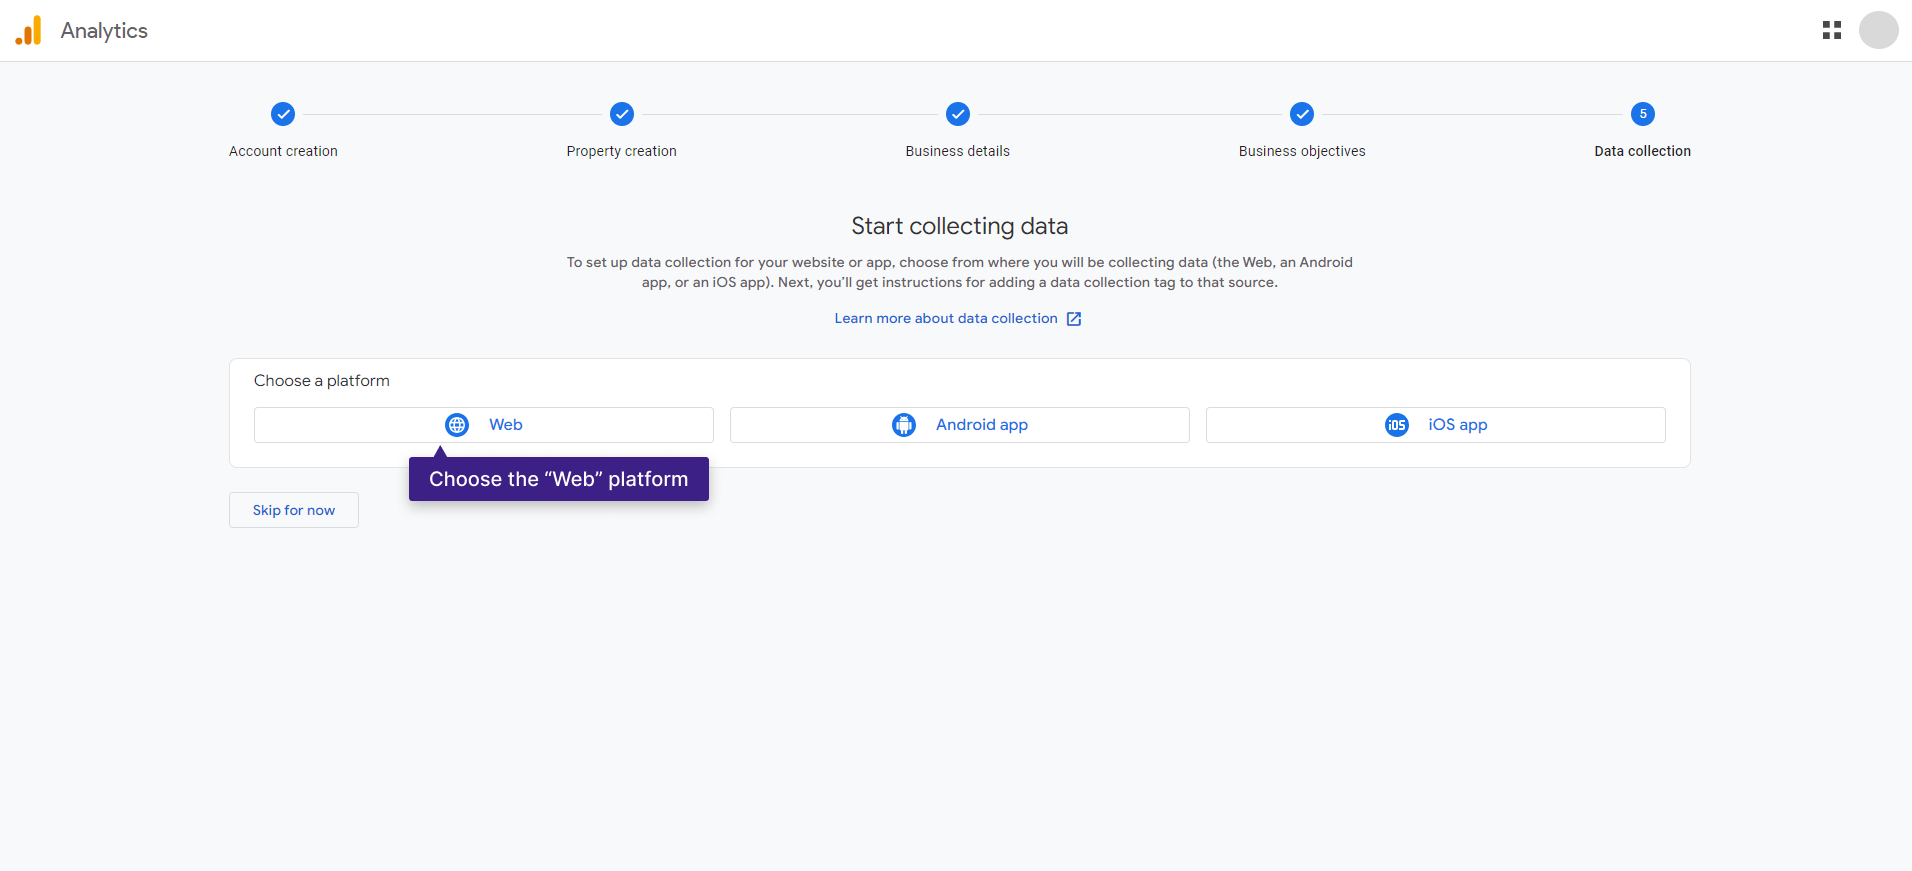
Data collection
To set up data collection for your website or app, choose from where you will be collecting data.
Since you intend to connect Google Analytics to a website, select “Web” as the stream type.
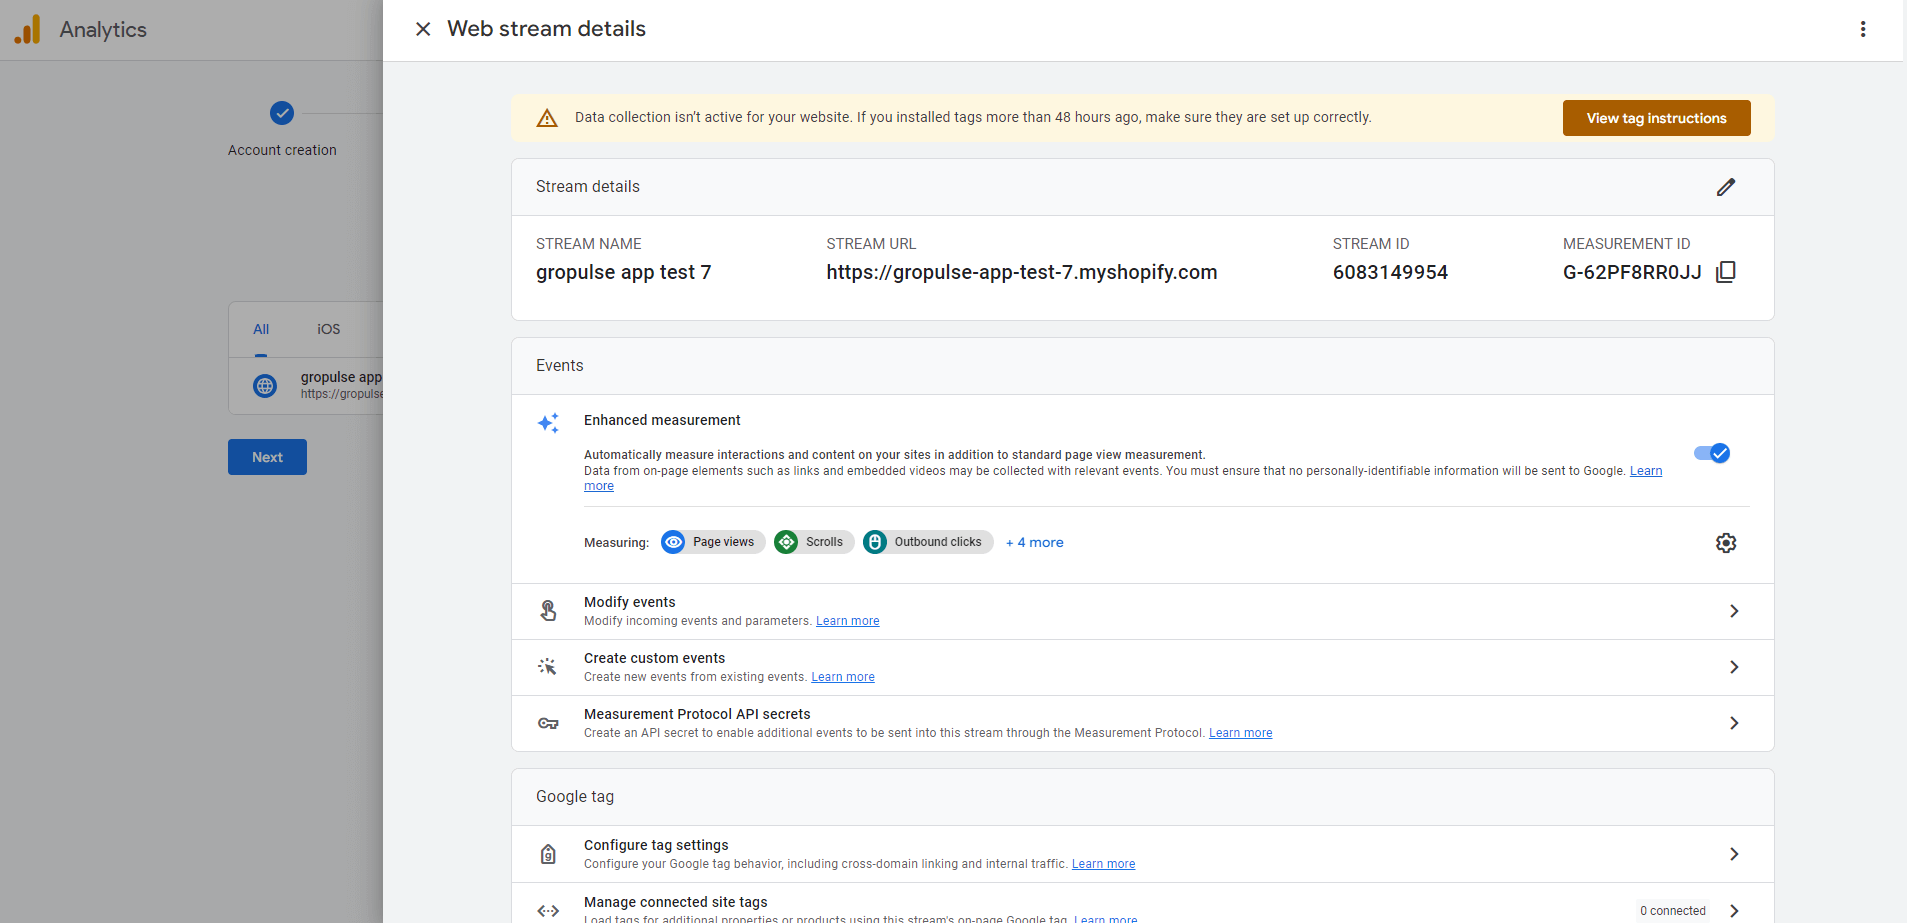
Add Site URL and Name: Enter your website’s URL and provide a name for the data stream.
Click on the “Create Stream” button to generate the data stream for your website.
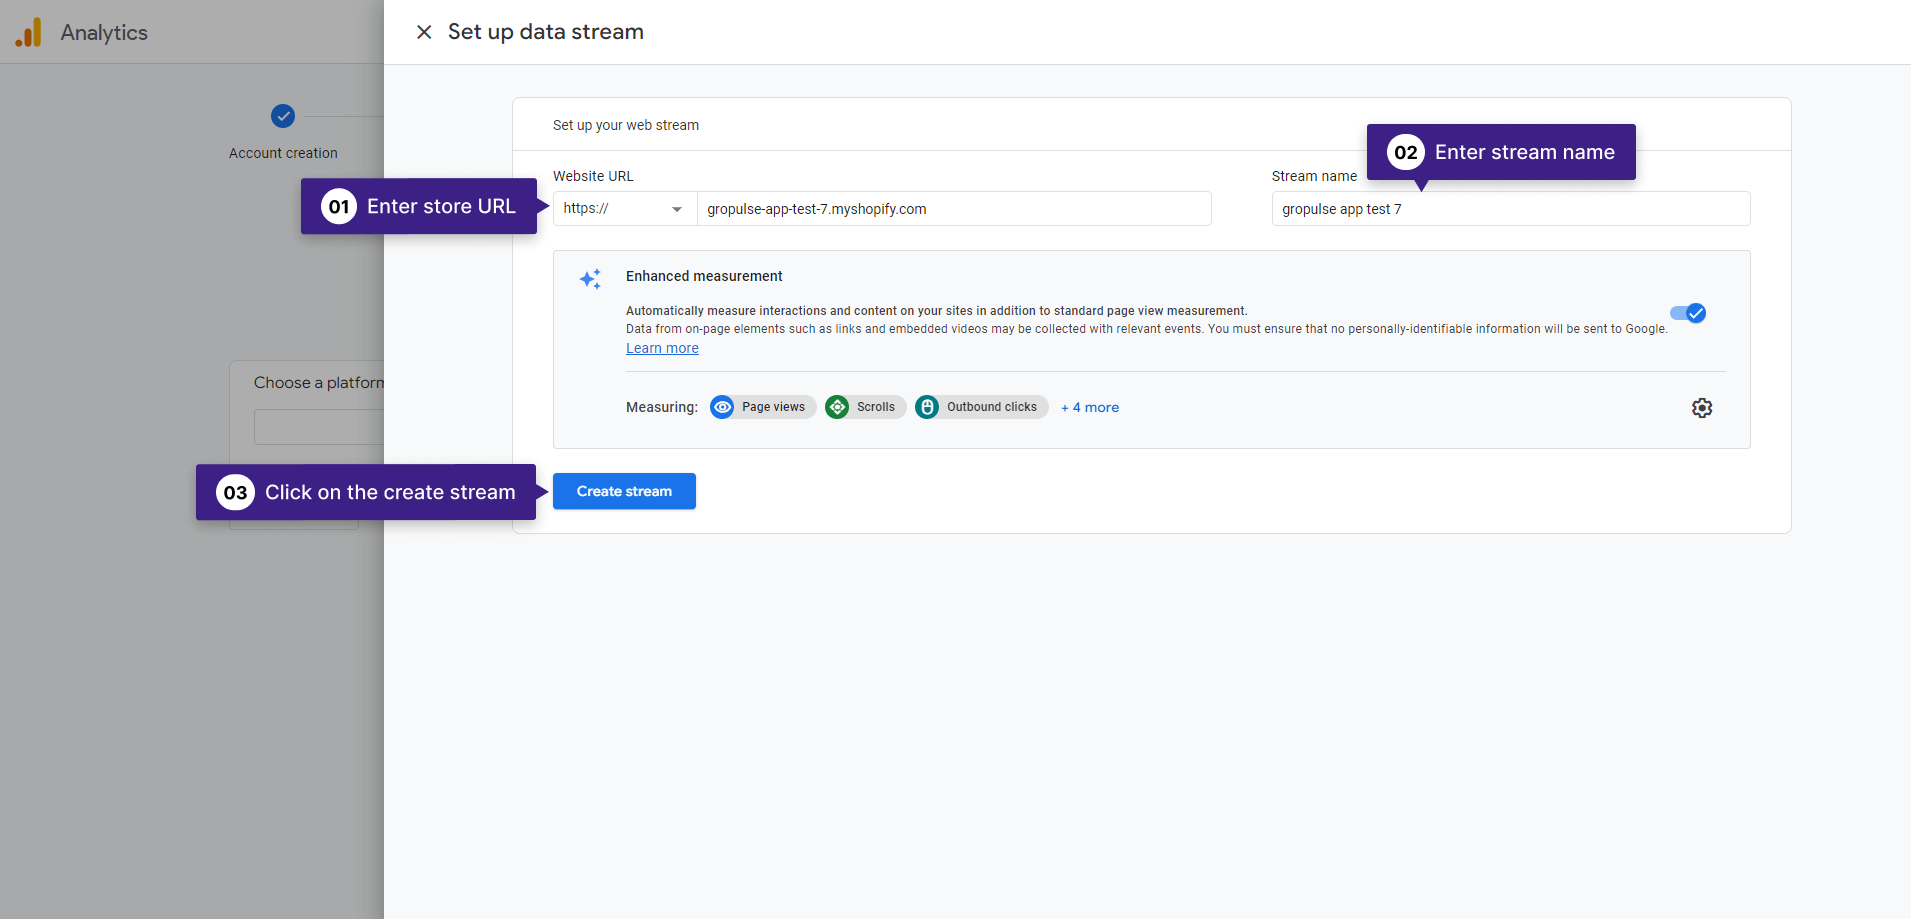
📝 Note: When entering your store URL, please exclude ‘https://’ or ‘http://’ from the beginning to avoid encountering an error.
You have successfully created a Google Analytics account, and your account is now ready to collect data from your store.
The next step is to connect your Google Analytics account to your store seamlessly. You can easily achieve this by using Analyzely – Google Analytics 4 Shopify app.