The Dashboard is your central hub for managing pixel tracking and monitoring your store’s advertising setup.
Dashboard Sections
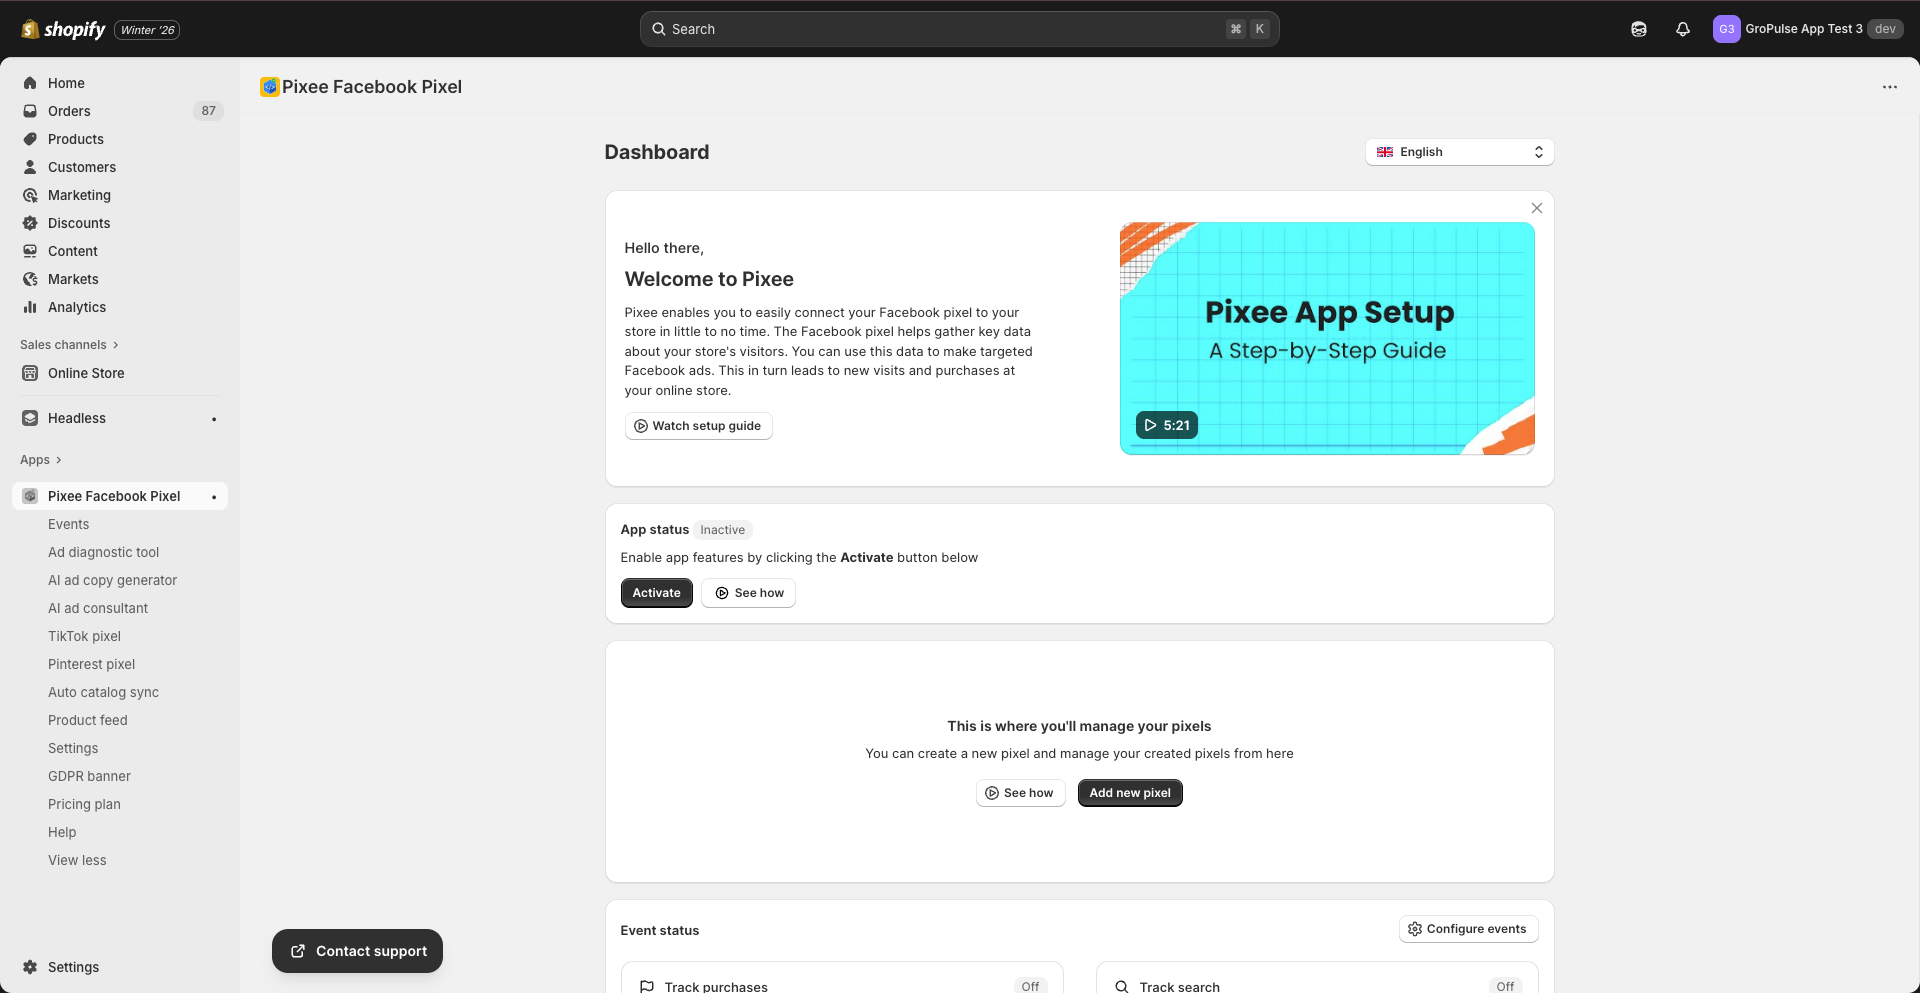
Welcome Card
At the top of the Dashboard, you will find a welcome card with:
- A setup guide video (5:21) to help you get started
- Quick access to documentation and tutorials
App Status
The App Status section shows whether pixel tracking is active on your store:
- Active: Your pixels are tracking events
- Inactive: Click Activate to enable tracking
Pixel List
This section displays all your configured Facebook pixels in a table format:
| Column | Description |
|---|---|
| Pixel Name | The friendly name you gave your pixel |
| Pixel ID | The Facebook Pixel ID |
| CAPI Status | Whether Conversions API is enabled |
| Pixel Status | Active or Inactive |
| Actions | Activate, Edit, or Delete the pixel |
Managing Pixels
- Add new pixel: Click the button to add another pixel (requires Basic or Advanced plan for multiple pixels)
- Edit: Modify pixel settings
- Delete: Remove a pixel from your store
- Activate/Deactivate: Toggle pixel tracking on or off
Event Status
The Event Status section shows which events are currently being tracked:
| Event | Description |
|---|---|
| Purchases | Tracked on the thank you page after a completed order |
| Checkout starts | Tracked when a customer initiates checkout |
| Add to cart | Tracked when a product is added to the cart |
| Search | Tracked when a customer uses the search function |
| Product views | Tracked when a customer views a product page |
| Collection views | Tracked when a customer views a collection page |
Each event shows a status indicator:
- Green checkmark: Event is being tracked
- Gray indicator: Event tracking is disabled or not configured
Settings Status
This section provides a quick overview of your app configuration:
| Setting | Description |
|---|---|
| Facebook account | Shows if your Facebook account is connected |
| Tracking consent | Whether Shopify Customer Privacy API is enabled |
| GDPR banner status | Whether the consent banner is active |
Recommended Apps
The Dashboard may display recommended apps that complement Pixee, such as:
- Analyzely: Google Analytics integration for your store
Contact Support
A support card at the bottom provides quick access to get help when needed.
Dashboard Actions
Viewing the Setup Video
- Click on the video thumbnail in the Welcome Card
- Watch the 5-minute tutorial on setting up your pixels
- Follow along to configure your store
Adding a New Pixel
- Click Add new pixel in the Pixel List section
- Fill in the pixel details
- Save your new pixel
Checking Event Tracking
- Review the Event Status section
- Click Configure Events to modify which events are tracked
- Enable or disable specific events as needed
Dashboard Best Practices
- Check regularly: Visit the Dashboard weekly to ensure tracking is working
- Monitor events: Verify that all important events show as active
- Keep Facebook connected: Maintain your Facebook account connection for full functionality
- Review settings: Ensure GDPR compliance settings are appropriate for your market
Navigating to Other Features
From the Dashboard, you can access all app features via the sidebar:
- Events: Configure event tracking
- TikTok Pixel: Manage TikTok pixels
- Pinterest Pixel: Manage Pinterest pixels
- Catalog Sync: Sync products with Facebook
- Product Feed: Create product feeds
- Settings: Configure app settings
- GDPR Banner: Set up consent banner
- Plan: View and change your subscription
Troubleshooting Dashboard Issues
Dashboard Not Loading
- Clear your browser cache
- Try a different browser
- Check if Shopify admin is accessible
- Contact support if the issue persists
Pixel Status Shows Inactive
- Click the Activate button
- Check the theme app embed settings
- Verify your subscription is active
Events Not Showing
- Ensure the app is activated
- Check event configuration in the Events page
- Verify your pixel is properly configured in Facebook Events Manager
Last updated on February 17, 2026
Was this article helpful?
Powered by Support Genix