This guide explains how to set up and configure Facebook Pixel tracking in your Shopify store using Pixee.
What is Facebook Pixel?
Facebook Pixel is a piece of code that you place on your website to:
- Track conversions from Facebook ads
- Optimize ads based on collected data
- Build targeted audiences for future ads
- Retarget people who have already visited your website
Prerequisites
Before setting up your Facebook Pixel, you need:
- A Facebook Business account
- Access to Facebook Events Manager
- Your Facebook Pixel ID
Finding Your Facebook Pixel ID
- Go to Facebook Events Manager
- Select your pixel from the Data Sources menu
- Your Pixel ID is displayed at the top of the page (a 15-16 digit number)
Screenshot coming soon
Adding a Facebook Pixel
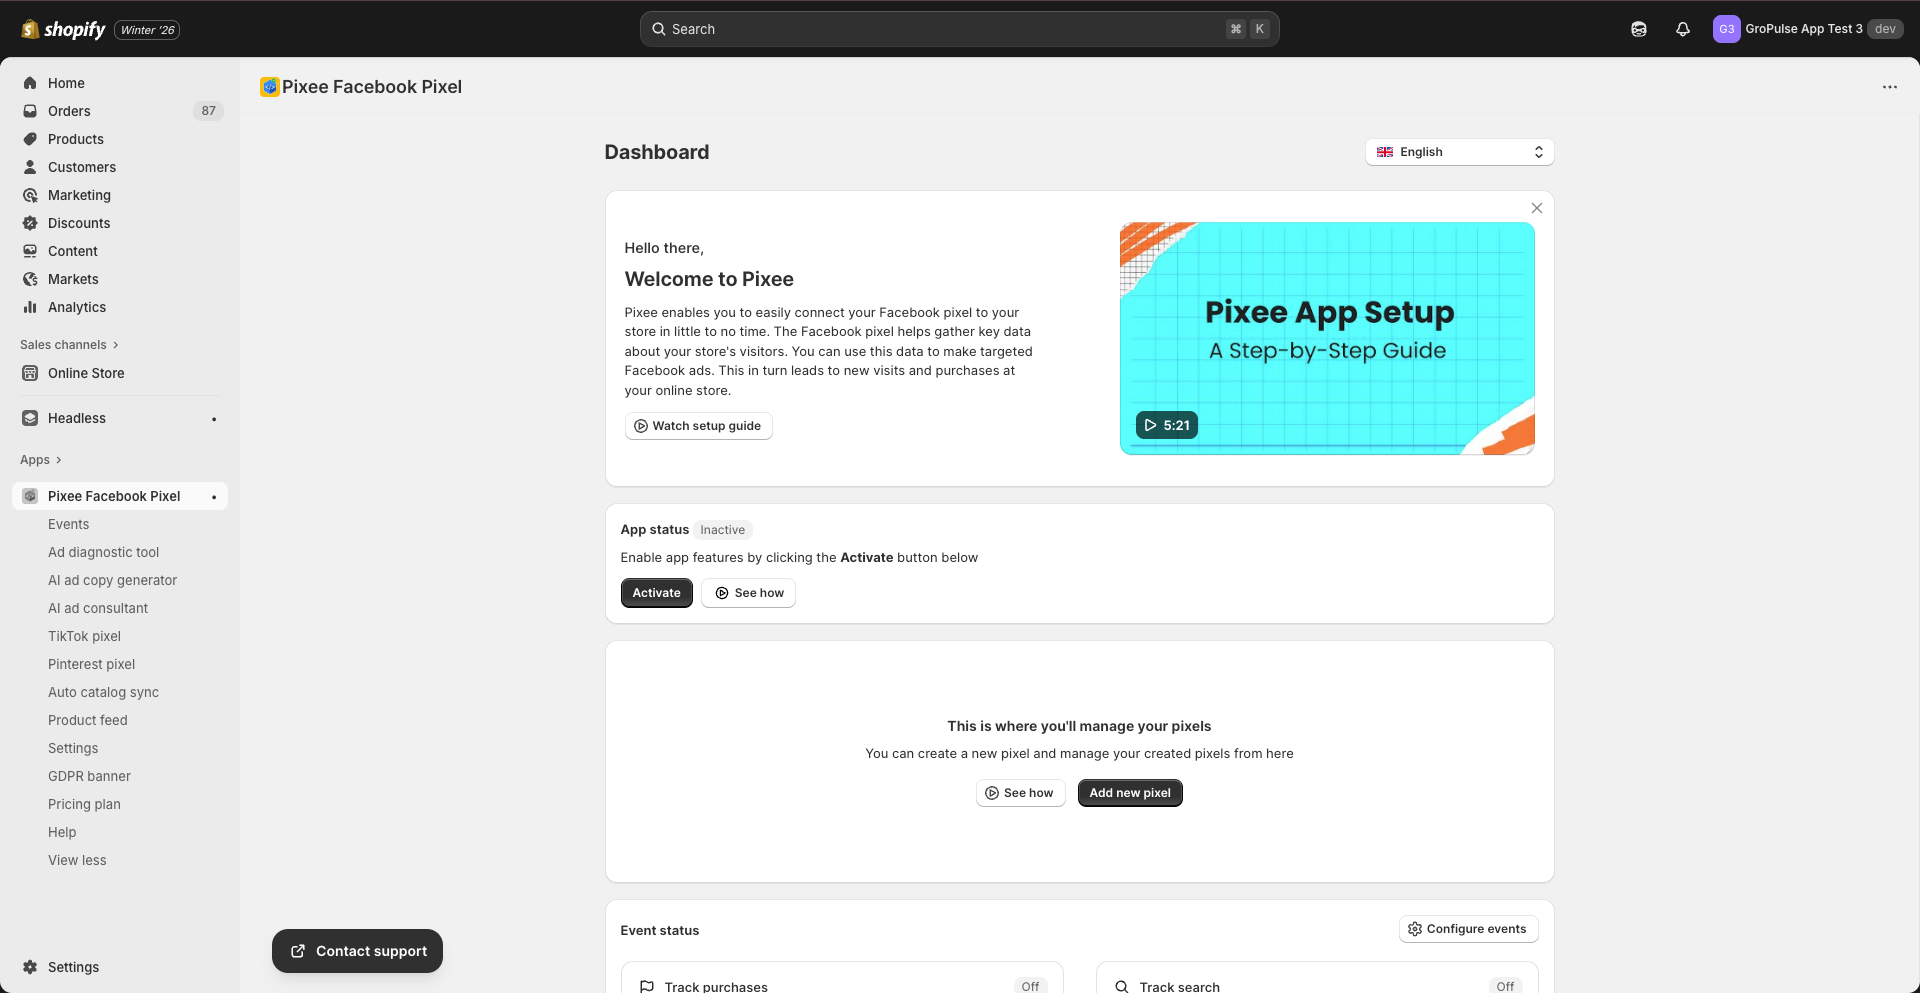
Step 1: Navigate to the Dashboard
- Open the Pixee app in your Shopify admin
- You should be on the Dashboard by default
Step 2: Add a New Pixel
- Click Add new pixel button
- You will be taken to the pixel setup form
Step 3: Enter Pixel Details
Fill in the required information:
| Field | Description | Example |
|---|---|---|
| Pixel Name | A friendly name for your pixel | “Main Store Pixel” |
| Pixel ID | Your 15-16 digit Facebook Pixel ID | “123456789012345” |
Step 4: Configure Conversions API (Optional but Recommended)
For enhanced tracking accuracy, enable Conversions API:
- Toggle on “Enable Conversions API”
- Enter your Access Token (from Facebook Events Manager)
- This enables server-side tracking
Step 5: Save Your Pixel
- Click Save to add the pixel
- The pixel will appear in your Dashboard list
Managing Multiple Pixels
With a Basic or Advanced plan, you can add multiple pixels:
- Use cases for multiple pixels:
- Different pixels for different product categories
- Separate tracking for different marketing teams
- Agency management with client-specific pixels
Adding Additional Pixels
- Go to the Dashboard
- Click Add new pixel
- Enter the new pixel details
- Save the pixel
Switching Between Pixels
All pixels are listed in the Dashboard table. Each can be:
- Activated or deactivated individually
- Edited to update settings
- Deleted when no longer needed
Pixel Settings
Activating/Deactivating a Pixel
- Find the pixel in your Dashboard list
- Click the Activate or Deactivate button in the Actions column
- Confirm the action
Editing a Pixel
- Click Edit next to the pixel you want to modify
- Update the pixel settings
- Click Save
Deleting a Pixel
- Click Delete next to the pixel
- Confirm the deletion
- The pixel will be removed and tracking will stop
Verifying Your Pixel
Using Facebook Pixel Helper
- Install the Facebook Pixel Helper Chrome extension
- Visit your store
- Click the Pixel Helper icon in your browser
- Verify that your pixel is firing correctly
Using Facebook Events Manager
- Go to Facebook Events Manager
- Select your pixel
- Click on “Test Events”
- Enter your store URL
- Browse your store and verify events are received
Events Tracked
When properly configured, the pixel will track:
| Event | When It Fires |
|---|---|
| PageView | Every page load |
| ViewContent | Product page view |
| ViewCategory | Collection page view |
| Search | Search results page |
| AddToCart | Adding product to cart |
| InitiateCheckout | Starting checkout |
| Purchase | Order completion |
Troubleshooting
Pixel Not Firing
- Check that the app is activated
- Verify the Pixel ID is correct
- Ensure the pixel status is “Active”
- Check browser console for errors
Duplicate Events
- Check you have not installed the pixel manually elsewhere
- Review other apps that might be adding Facebook pixel
- Disable duplicate sources
Events Missing Data
- Ensure event tracking is properly configured
- Check that products have required data (price, name, etc.)
- Enable Conversions API for more accurate data
Best Practices
- Use Conversions API: Enable CAPI for better tracking accuracy
- Verify regularly: Check Events Manager weekly for any issues
- One primary pixel: Use one main pixel for optimization
- Test after changes: Always verify tracking after any store changes
Next Steps
- Set up Conversions API for enhanced tracking
- Configure Event Tracking to customize tracked events
- Create Product Feeds for dynamic ads
Last updated on February 17, 2026
Was this article helpful?
Powered by Support Genix