The Custom CSS Editor allows you to add custom styling to your sales notifications, announcement bars, and popup campaigns without modifying your theme code.
Overview
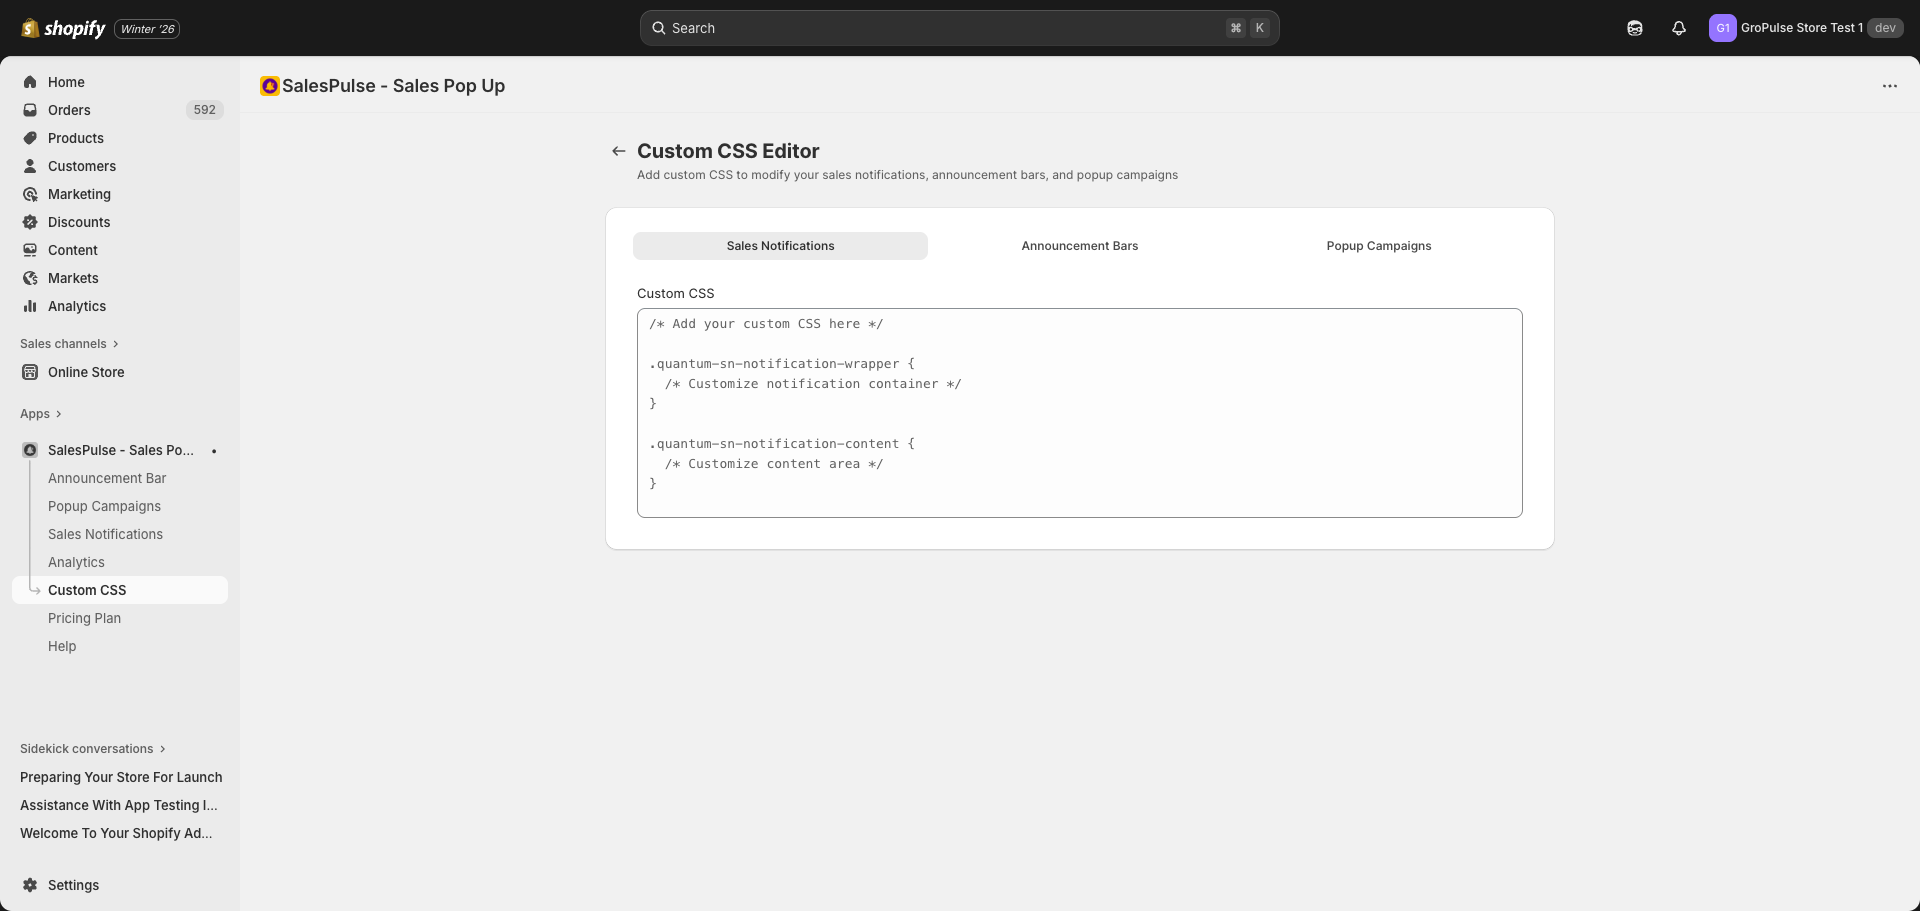
Access the Custom CSS Editor from the sidebar navigation by clicking Custom CSS.
Feature Tabs
The Custom CSS Editor has separate tabs for each feature:
- Sales Notifications – Style your sales notification popups
- Announcement Bars – Style your announcement bars
- Popup Campaigns – Style your popup campaigns
Each tab has its own CSS textarea, allowing you to write feature-specific styles.
How to Add Custom CSS
- Navigate to Custom CSS in the sidebar
- Select the feature tab you want to style
- Enter your CSS code in the textarea
- Click Save to apply your changes
- View your store to see the changes in effect
Best Practices
Use !important
Since the app’s default styles may have high specificity, use !important to ensure your custom styles are applied:
.gp-sales-notification {
  background-color: #fff !important;
}
Test on Multiple Devices
After adding custom CSS, test your changes on:
- Desktop browsers
- Mobile devices
- Different screen sizes
Keep It Simple
Start with small changes and test incrementally. Complex CSS can sometimes conflict with the app’s functionality.
Troubleshooting
CSS Not Applying
- Check for typos: Ensure your CSS syntax is correct
- Use
!important: Override default styles with!important - Clear cache: Clear your browser cache and refresh
- Correct tab: Make sure you’re editing CSS in the correct feature tab
CSS Breaking Layout
- Remove problematic styles: Comment out or remove recently added CSS
- Inspect elements: Use browser DevTools to identify conflicting styles
- Test incrementally: Add styles one at a time to isolate issues
Changes Not Saving
- Click Save: Ensure you click the Save button after making changes
- Check connection: Verify your internet connection
- Refresh page: Reload the page and try again
Last updated on February 17, 2026
Was this article helpful?
Powered by Support Genix