This guide explains how to control where and to whom your announcement bar appears, including page targeting, device targeting, geo-targeting, and behavioral targeting.
Accessing Targeting Settings
- Open the Announcement Bar Editor
- Click the Targeting Settings tab
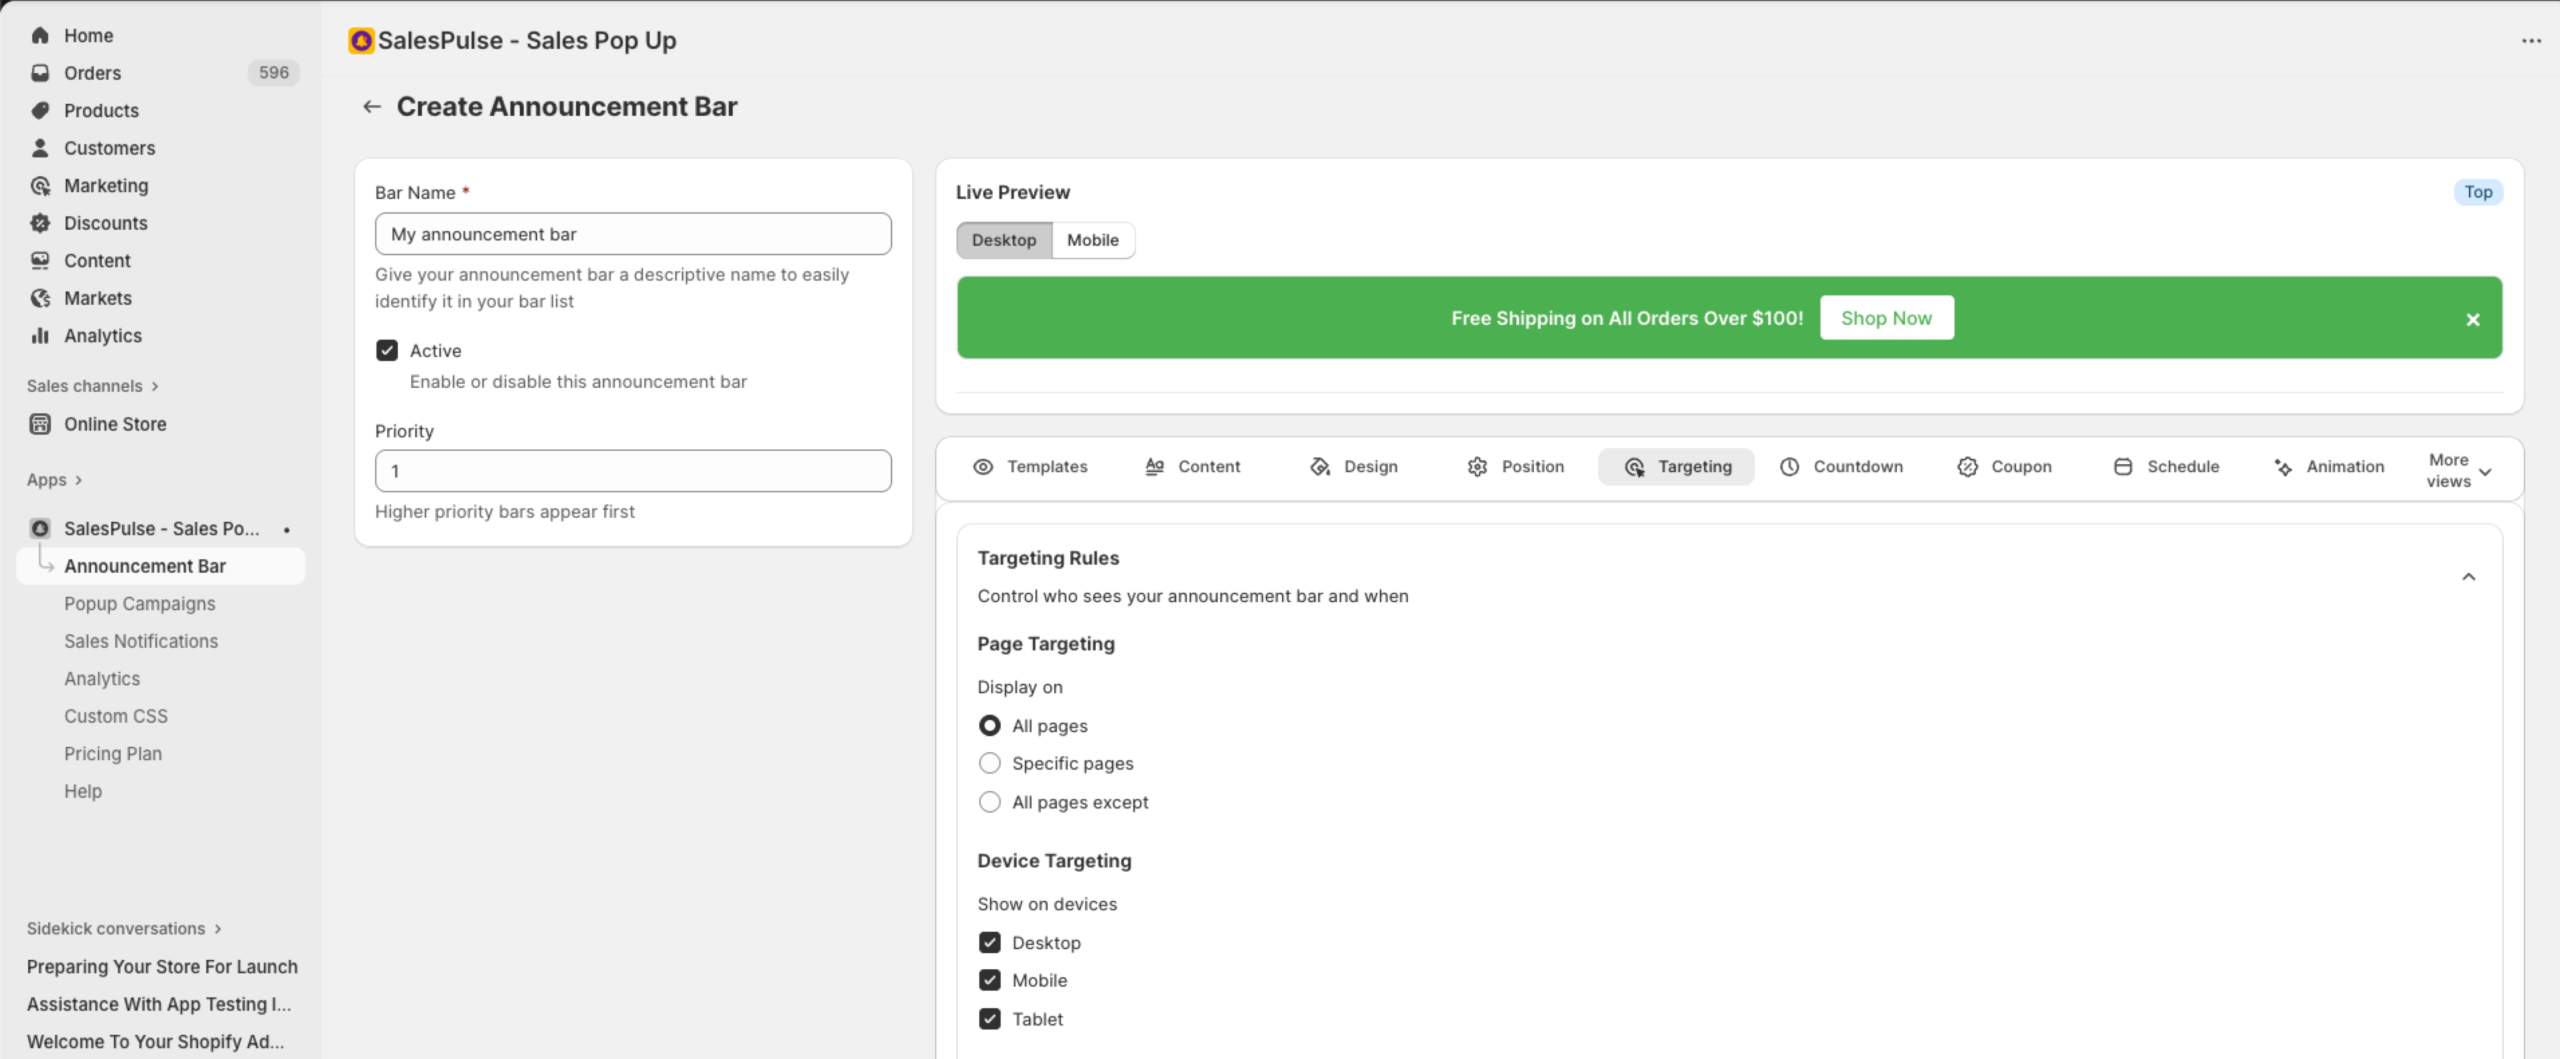
Page Targeting
Control which pages display your announcement bar.
Display Options
| Option | Description |
|---|---|
| All pages | Show the bar on every page of your store |
| Specific pages | Show only on selected page types |
| All pages except | Show everywhere except selected page types |
Page Types
When selecting specific pages or exclusions:
| Page Type | Description |
|---|---|
| Home Page | Your store’s homepage |
| Collection Pages | Category and collection listing pages |
| Product Pages | Individual product detail pages |
| Cart Page | Shopping cart page |
| Checkout Pages | Checkout flow pages |
| Blog Pages | Blog posts and blog listing pages |
| Search Page | Search results page |
| Other Pages | Custom pages (about, contact, etc.) |
Device Targeting
Control which devices see your announcement bar.
Device Options
| Device | Description |
|---|---|
| Desktop | Computers and laptops |
| Mobile | Smartphones |
| Tablet | Tablets and iPads |
Configuration
By default, all devices are selected. Uncheck devices to exclude them.
Use Cases
Mobile-Only Promotion
- Uncheck Desktop and Tablet
- Keep only Mobile checked
Use for: Mobile app download prompts, mobile-specific offers
Desktop-Only Bar
- Uncheck Mobile and Tablet
- Keep only Desktop checked
Use for: Complex promotions with detailed information
Geo-Targeting
Display bars based on visitor location.
Enabling Geo-Targeting
- Check Show popup based on location
- Configure country or region targeting
Location-Based Targeting
Target visitors from specific countries or regions:
- Include specific countries
- Exclude specific countries
Use Cases
- Show free shipping messages only for domestic visitors
- Display country-specific promotions
- Show localized content for different regions
Customer Segmentation
Target specific customer groups.
Enabling Customer Segmentation
- Check Enable customer segmentation
- Select target segments
Customer Segments
| Segment | Description |
|---|---|
| Logged-in Customers | Visitors who are signed in to their account |
| Guest Visitors | Visitors who are not logged in |
Use Cases
VIP Customer Message
- Target Logged-in Customers only
- Show exclusive offers for members
New Visitor Welcome
- Target Guest Visitors only
- Show sign-up incentives or welcome discounts
Behavioral Targeting
Target based on visitor behavior. This is a premium feature available on Growth and Pro plans.
Time on Site
Show the bar after a visitor has been on your site for a specific amount of time:
- Check Show after time on site
- Enter the minimum time in seconds
Cart Value
Show based on the value of items in the cart:
- Check Show based on cart value
- Set minimum cart value
- Optionally set maximum cart value
Combining Targeting Rules
You can combine multiple targeting rules for precise control.
Example Combinations
Mobile Welcome Offer
- Page Targeting: All pages
- Device Targeting: Mobile only
- Customer Segment: Guest visitors
- Message: “First order? Get 15% off!”
VIP Member Benefits
- Page Targeting: Product pages
- Customer Segment: Logged-in customers
- Message: “VIP Members: Extra 10% off this item”
Targeting Best Practices
Relevance
- Show bars that are relevant to the page context
- Product pages: Product-related promotions
- Cart page: Upsell and free shipping messages
- Homepage: Store-wide announcements
Avoid Overload
- Don’t show the same bar everywhere
- Use targeting to show specific messages where they matter most
- Consider the customer journey
Test Different Approaches
- Use A/B testing to compare targeting strategies
- Monitor analytics to see what performs best
- Adjust based on data
Mobile Considerations
- Mobile bars should have shorter messages
- Ensure close buttons are easily tappable
- Test on actual mobile devices