Adding a wishlist button directly to your Shopify product pages makes it easy for shoppers to save their favorite items for later.
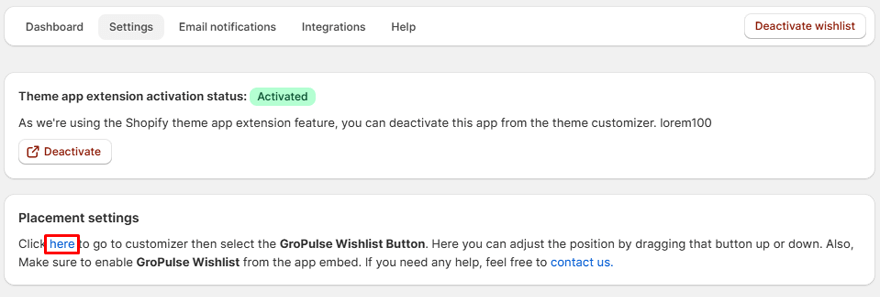
From your app dashboard, navigate to the Wishlist menu and select Settings.
Under the Product Page Button area, click the link provided to place the wishlist button.
This will automatically open your theme’s customizer and take you to the product page template. You can now drag and drop the wishlist button block to your desired position on the page.
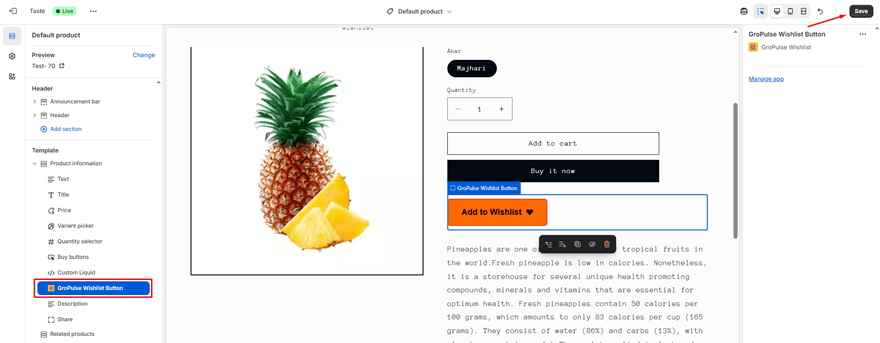
Once you’re happy with the placement, click the Save button in the theme customizer.
How to Customize the Wishlist Button
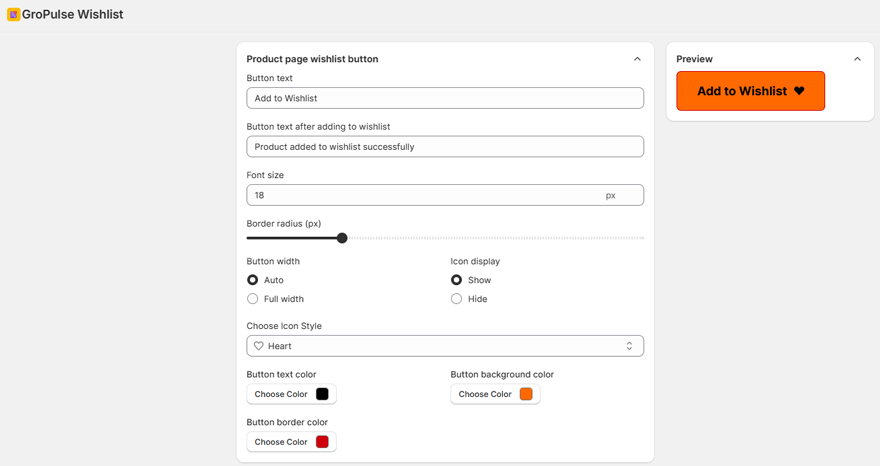
You have full control over the look and feel of your wishlist button. In the theme customizer, click on the wishlist button block to reveal the following settings:
- Button Text: Customize the text that appears on the button (e.g., “Add to Wishlist”).
- Button Text After Adding: Change the text that shows after a customer adds an item (e.g., “Added to Wishlist”).
- Font Size: Adjust the size of the button text.
- Border Radius (px): Control the roundness of the button’s corners. A higher value creates a more rounded button.
- Button Width:
- Auto: The button width adjusts automatically to fit the text.
- Full Width: The button expands to fill its container.
- Icon Display: Choose to Show or Hide the icon next to the button text.
- Choose Icon Style: Select your preferred icon from the available styles.
- Colors: Set custom colors for the Button Text, Button Background, and Button Border.
Last updated on October 13, 2025
Was this article helpful?
Powered by Support Genix