This guide walks you through creating a new announcement bar, from selecting a template to saving your configuration.
Getting Started
To create a new announcement bar:
- Navigate to Announcement Bar in the SalesPulse app
- Click the Create Announcement Bar button
This opens the Announcement Bar Editor where you can configure all settings.
Basic Settings
Before diving into specific features, configure these basic settings at the top of the editor:
Bar Name
Give your announcement bar a descriptive name to easily identify it in your bar list.
- Required field
- Example: “Summer Sale Banner”, “Free Shipping Notice”, “Holiday Promotion”
Active Status
Toggle to enable or disable this announcement bar:
- Checked (Active): The bar will display on your store (if the feature is activated)
- Unchecked (Inactive): The bar will not display, but settings are saved
Priority
Set the display priority when multiple bars are active:
- Higher priority bars appear first
- Default value is 1
- Use numbers like 1, 2, 3 to set order
Live Preview
The editor includes a live preview panel that shows how your bar will look:
Preview Features
- Real-time updates: Changes appear instantly in the preview
- Desktop/Mobile toggle: Switch between device views
- Position indicator: Shows “Top” or “Bottom” placement
- Interactive elements: Test close button and CTA behavior
Preview Controls
| Button | Function |
|---|---|
| Desktop | View desktop layout |
| Mobile | View mobile layout |
| Close | Test the close button behavior |
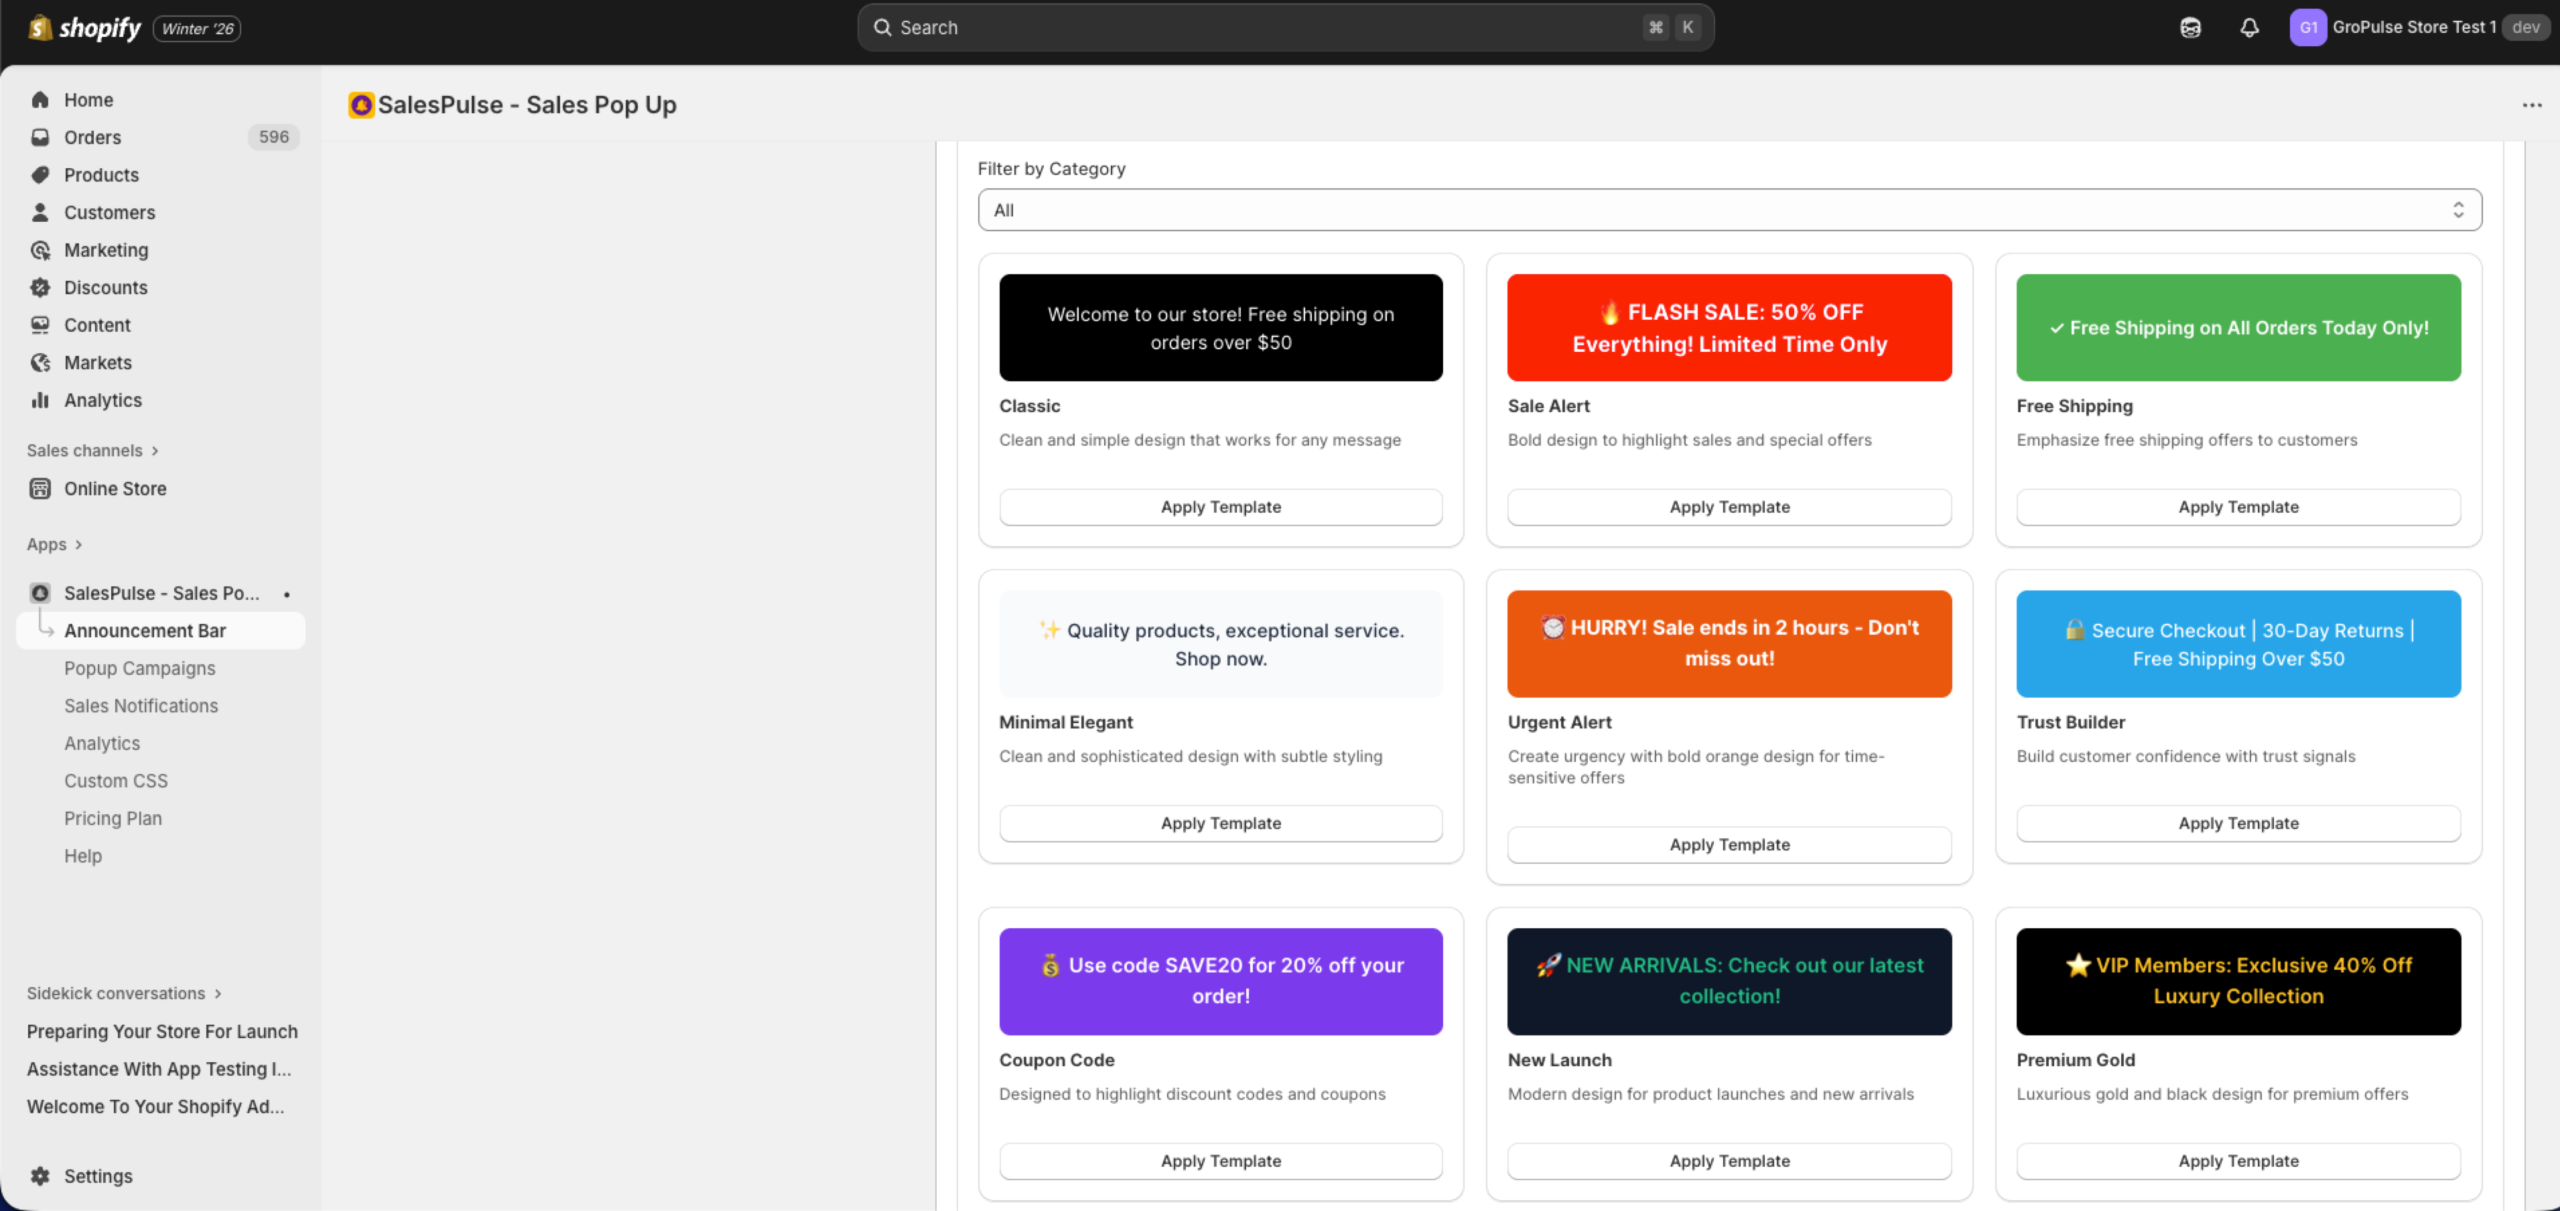
Template Library
The Template Library provides pre-designed templates to get started quickly.
Using Templates
- Click the Template Library tab
- Browse available templates
- Use the Filter by Category dropdown to narrow options:
- All
- General
- Promotional
- Informational
- Announcement
- Seasonal
- Click Apply Template on your chosen design
Available Templates
| Template | Best For |
|---|---|
| Classic | Clean, simple design for any message |
| Sale Alert | Bold design for sales and special offers |
| Free Shipping | Emphasize free shipping offers |
| Minimal Elegant | Sophisticated design with subtle styling |
| Urgent Alert | Time-sensitive offers with bold orange design |
| Trust Builder | Display trust signals (secure checkout, returns) |
| Coupon Code | Highlight discount codes |
| New Launch | Modern design for product launches |
| Premium Gold | Luxurious gold and black for VIP offers |
| Holiday Special | Festive design for holiday promotions |
| Summer Vibes | Bright design for summer promotions |
| Social Media | Encourage social media engagement |
| Bundle Deal | Highlight multi-item discounts |
| VIP Exclusive | Member-only offers |
| Limited Stock | Low inventory urgency alerts |
After Applying a Template
When you apply a template:
- Colors, fonts, and styles are automatically configured
- Default message text is added
- You can customize any setting after applying
Editor Tabs Overview
The editor is organized into tabs for different settings:
| Tab | Purpose |
|---|---|
| Template Library | Choose pre-designed templates |
| Content Settings | Configure messages and CTA buttons |
| Design Settings | Customize colors, fonts, and layout |
| Position Settings | Set bar placement and close button |
| Targeting Settings | Choose pages, devices, and audience |
| Countdown Timer | Add urgency with countdown timers |
| Coupon Code | Display discount codes |
| Scheduling | Set start and end dates |
| Animation | Configure entry and exit animations |
| A/B Testing | Test variants (Pro plan) |
| Analytics | View performance metrics |
Saving Your Announcement Bar
After configuring your settings:
- Review the live preview to confirm the appearance
- Click the Save button in the top-right corner
- If there are validation errors, fix them before saving
Validation Requirements
The editor validates:
- Bar Name: Required field
- Message Text: At least one message is required
- Countdown Timer: End date/time required if enabled
- Coupon Code: Code is required if enabled
- Scheduling: Valid date range if enabled
Managing Existing Bars
After creating bars, you can manage them from the main list:
Quick Actions
- Edit: Click a bar to open the editor
- Duplicate: Create a copy with the same settings
- Delete: Remove the bar permanently
- Toggle Active: Enable or disable without editing
Priority Order
Bars are displayed based on priority:
- Higher priority numbers appear first
- If priorities are equal, the most recently created bar appears first
- Only the highest priority active bar displays at a time
Tips for Effective Announcement Bars
Message Best Practices
- Keep messages short and scannable
- Focus on one key message per bar
- Include a clear call-to-action
- Use action-oriented language
Design Tips
- Match your store’s brand colors
- Ensure sufficient contrast for readability
- Test on both desktop and mobile
- Avoid overwhelming visitors with too many elements
Timing Strategies
- Use countdown timers for flash sales
- Schedule bars to align with marketing campaigns
- Consider time zone differences for global audiences