Welcome to the GP Free Shipping Bar dashboard! This is your central command center for creating, managing, and tracking all of your free shipping incentives.
From here, you can decide exactly where and how your offers appear to customers.
The dashboard is organized into two main sections: Configuration and Analytics.
1. Admin Language Selector
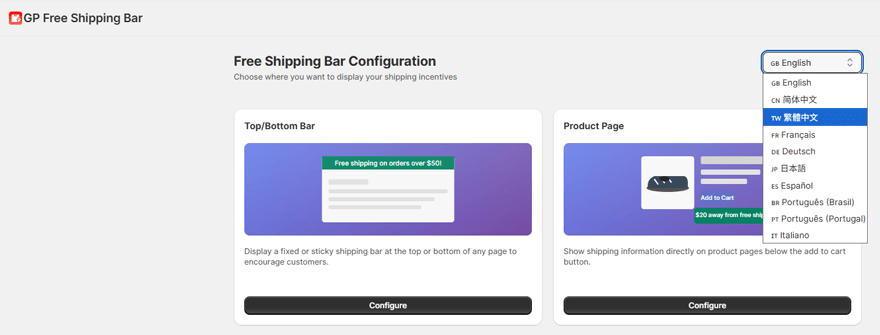
In the top-right corner of the dashboard, you will find the language selector (e.g., “English”).
You can use this dropdown menu to change the language of the app’s admin interface to your preference, making configuration easier for you and your team.
2. Shipping Bar Placements
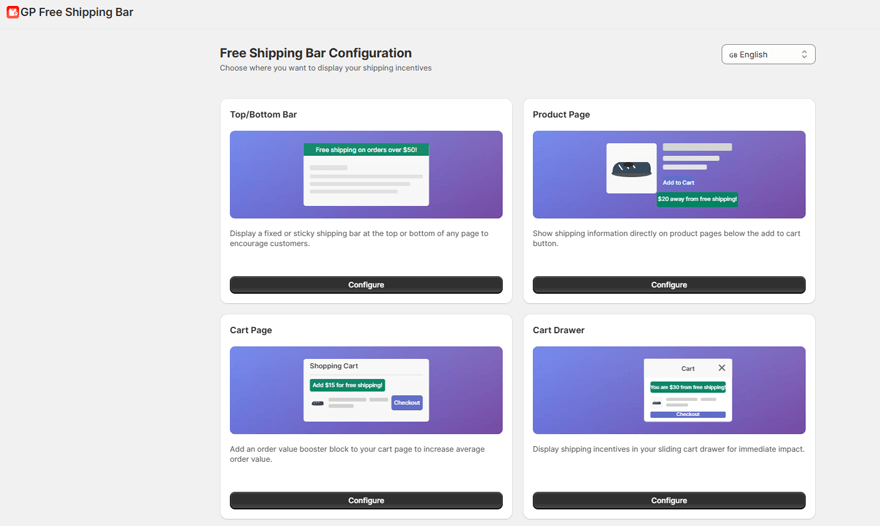
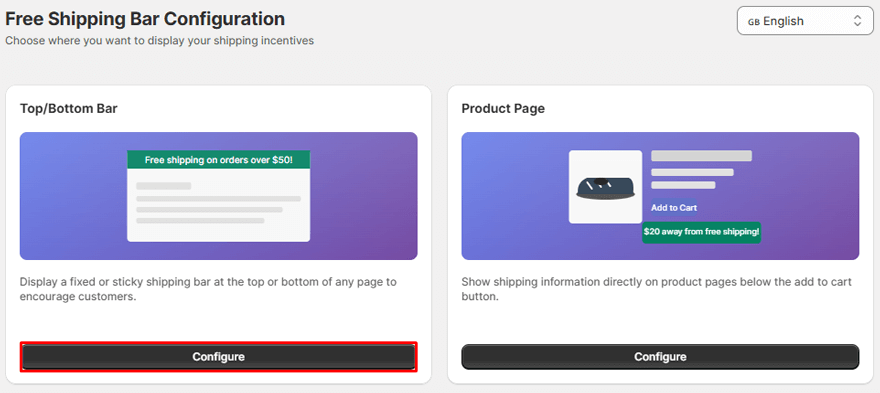
The main area of the dashboard allows you to choose from four distinct locations to display your shipping progress bar.
Each is designed for a different stage of the customer journey to maximize impact.
- Top/Bottom Bar: This is the most common option. It displays a fixed or “sticky” banner at the very top or bottom of your store pages, ensuring your offer is always visible as customers browse.
- Product Page: This option places a message directly on your product pages, typically below/above the “Add to Cart” button. It encourages customers to start building their cart by showing the incentive right at the point of decision.
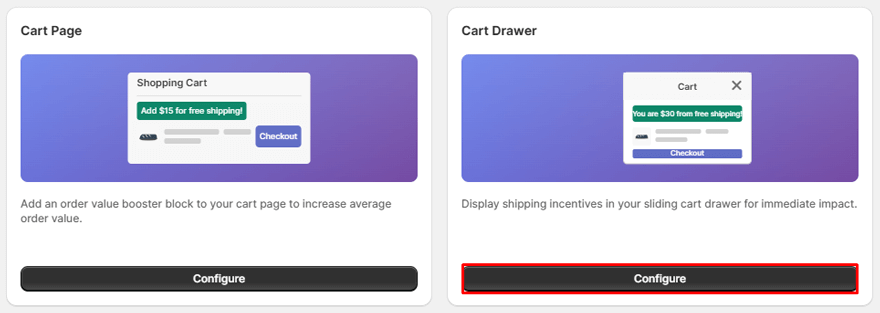
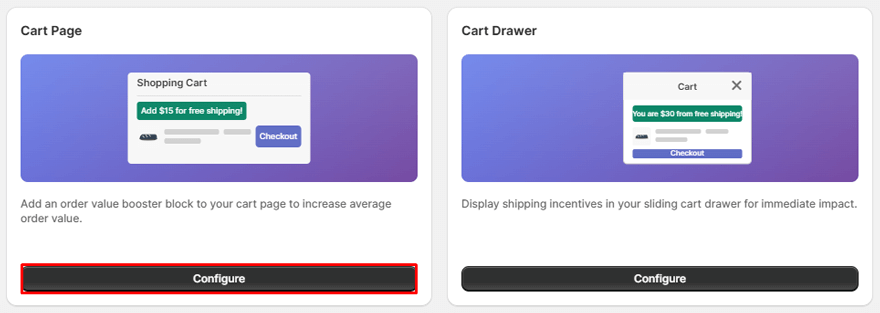
- Cart Page: Add an “order value booster” block directly to your main shopping cart page. This is a powerful way to reduce cart abandonment by prompting customers to add one more item to reach the goal before checkout.
- Cart Drawer (Sliding Cart): For themes that use a sliding cart or mini-cart, this option displays the incentive directly within that drawer. It provides immediate feedback as customers add items to their cart.
To begin setting up an incentive for any of these locations, simply click the Configure button on the corresponding card.
3. Analytics & Reports
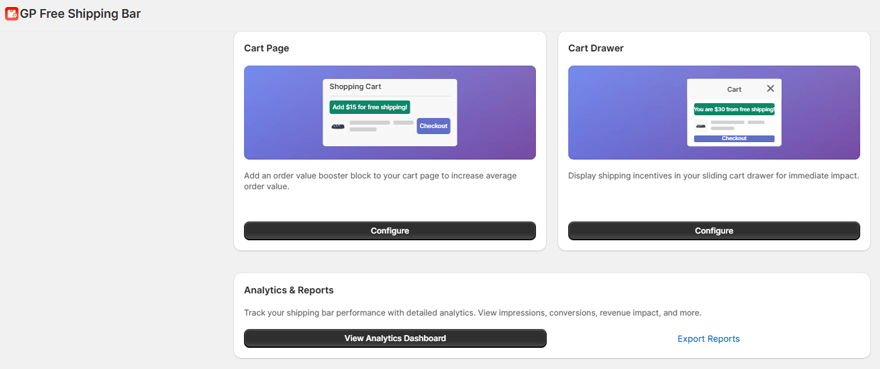
Located at the bottom of the dashboard, this section is your gateway to understanding how your shipping bars are performing and impacting your sales.
- View Analytics Dashboard: Clicking this will take you to a detailed dashboard where you can track key metrics like impressions, conversions, and the total revenue influenced by your shipping bars.
- Export Reports: This option allows you to download your performance data, which is useful for offline analysis or creating business reports.
Of course. I have rewritten and properly structured the information you provided. The new version is clear, professional, and easy for any user to follow, with corrected spelling and grammar.
How to Activate Shipping Bar in Your Shopify Store
Our app integrates seamlessly with Shopify’s Online Store 2.0 themes, giving you full control over where your shipping incentives appear. The setup is a simple, one-time process for each type of bar.
There are two methods of activation depending on the bar type:
- App Embeds: Used for site-wide elements like the Top/Bottom Bar and Cart Drawer. You simply toggle them on.
- App Blocks: Used to place elements on specific pages like the Product and Cart pages. This allows you to drag and drop the bar to the exact position you want.
Activating the Top/Bottom Bar
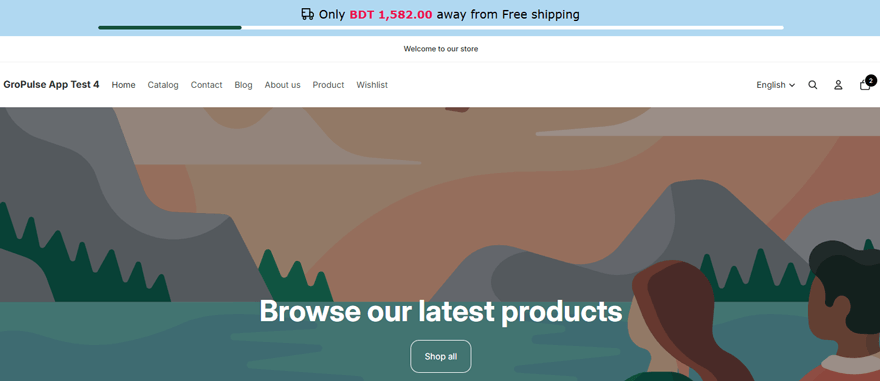
This bar appears on all pages of your store to ensure your offer is always visible.
From the app dashboard, click the Configure button under the Top/Bottom Bar option.
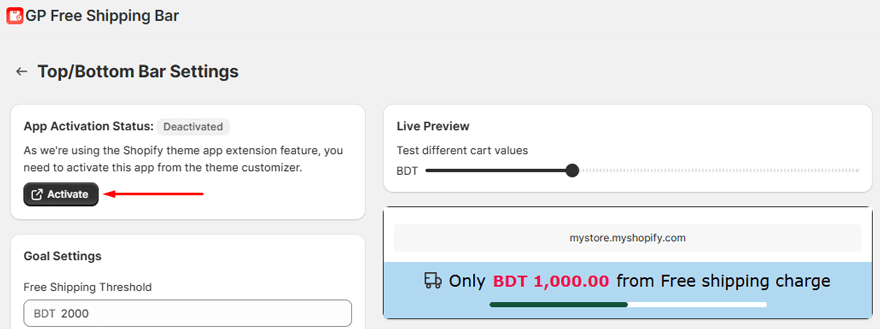
On the next page, click the Activate button. This will open the Shopify Theme Customizer.
Find the GP Free Shipping Bar app embed and toggle it on. Click the Save button in the top-right corner of the Theme Customizer.
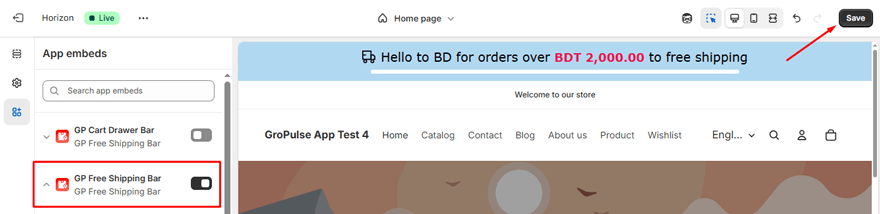
Your Top/Bottom bar is now active.
All future design changes (colors, text, goals) can be managed directly within our app.
Adding the Bar to Your Product Page
This places a shipping incentive message directly on your product pages to encourage customers to add items to their cart.
From the app dashboard, click the Configure button under the Product Page option.

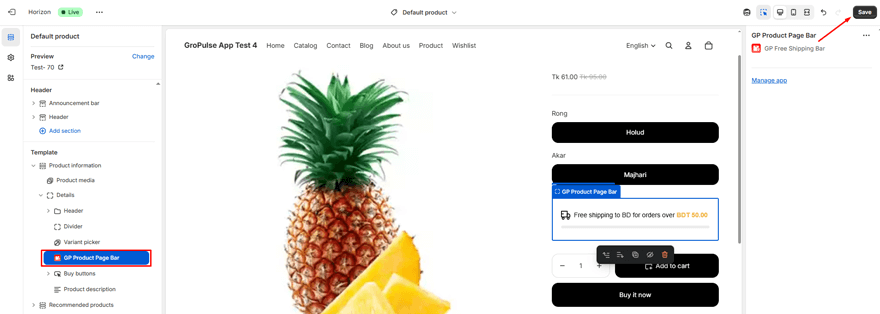
Click the Add to product page button. This will take you directly to your product page template in the Shopify Theme Customizer.
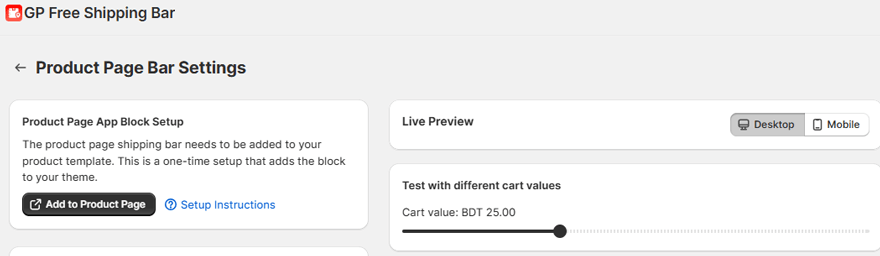
Drag and drop the newly added block to your preferred position on the page (for example, directly below the “Add to cart” button). Click the Save button.
Activating the Cart Drawer Bar
If your theme uses a sliding cart drawer, this bar provides immediate feedback to customers as they shop.
From the app dashboard, click the Configure button under the Cart Drawer option.
Click the Activate the cart drawer button. This opens the Shopify Theme Customizer.
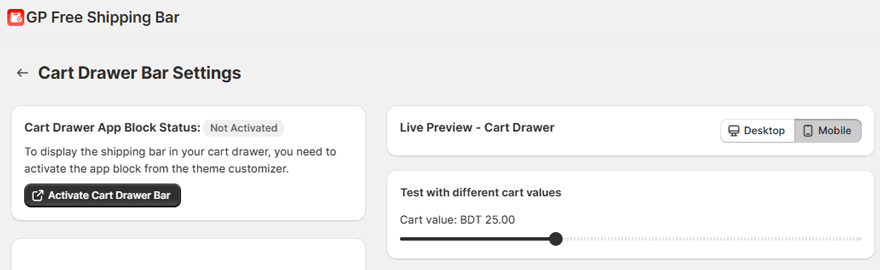
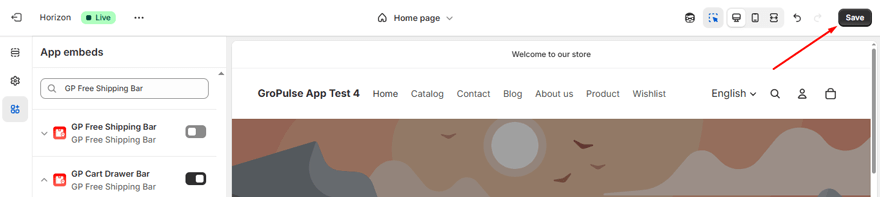
In the App embeds section on the left, find the GP Cart Drawer Bar app embed and toggle it on. Click the Save button.
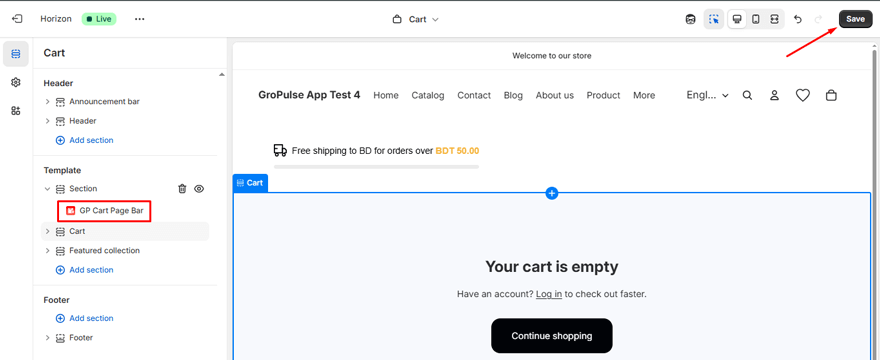
Adding the Bar to Your Cart Page
This adds an “order value booster” block to your main cart page, motivating shoppers to increase their cart value before checking out.
From the app dashboard, click the Configure button under the Cart Page option.
Click the Add to cart page button. This will open your cart page template in the Shopify Theme Customizer.
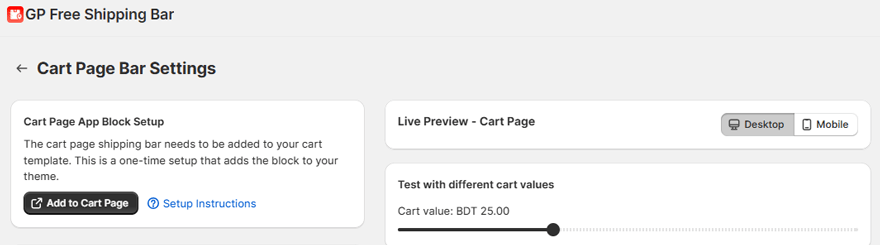
Drag and drop the block to your preferred position on the cart page. Click the Save button.