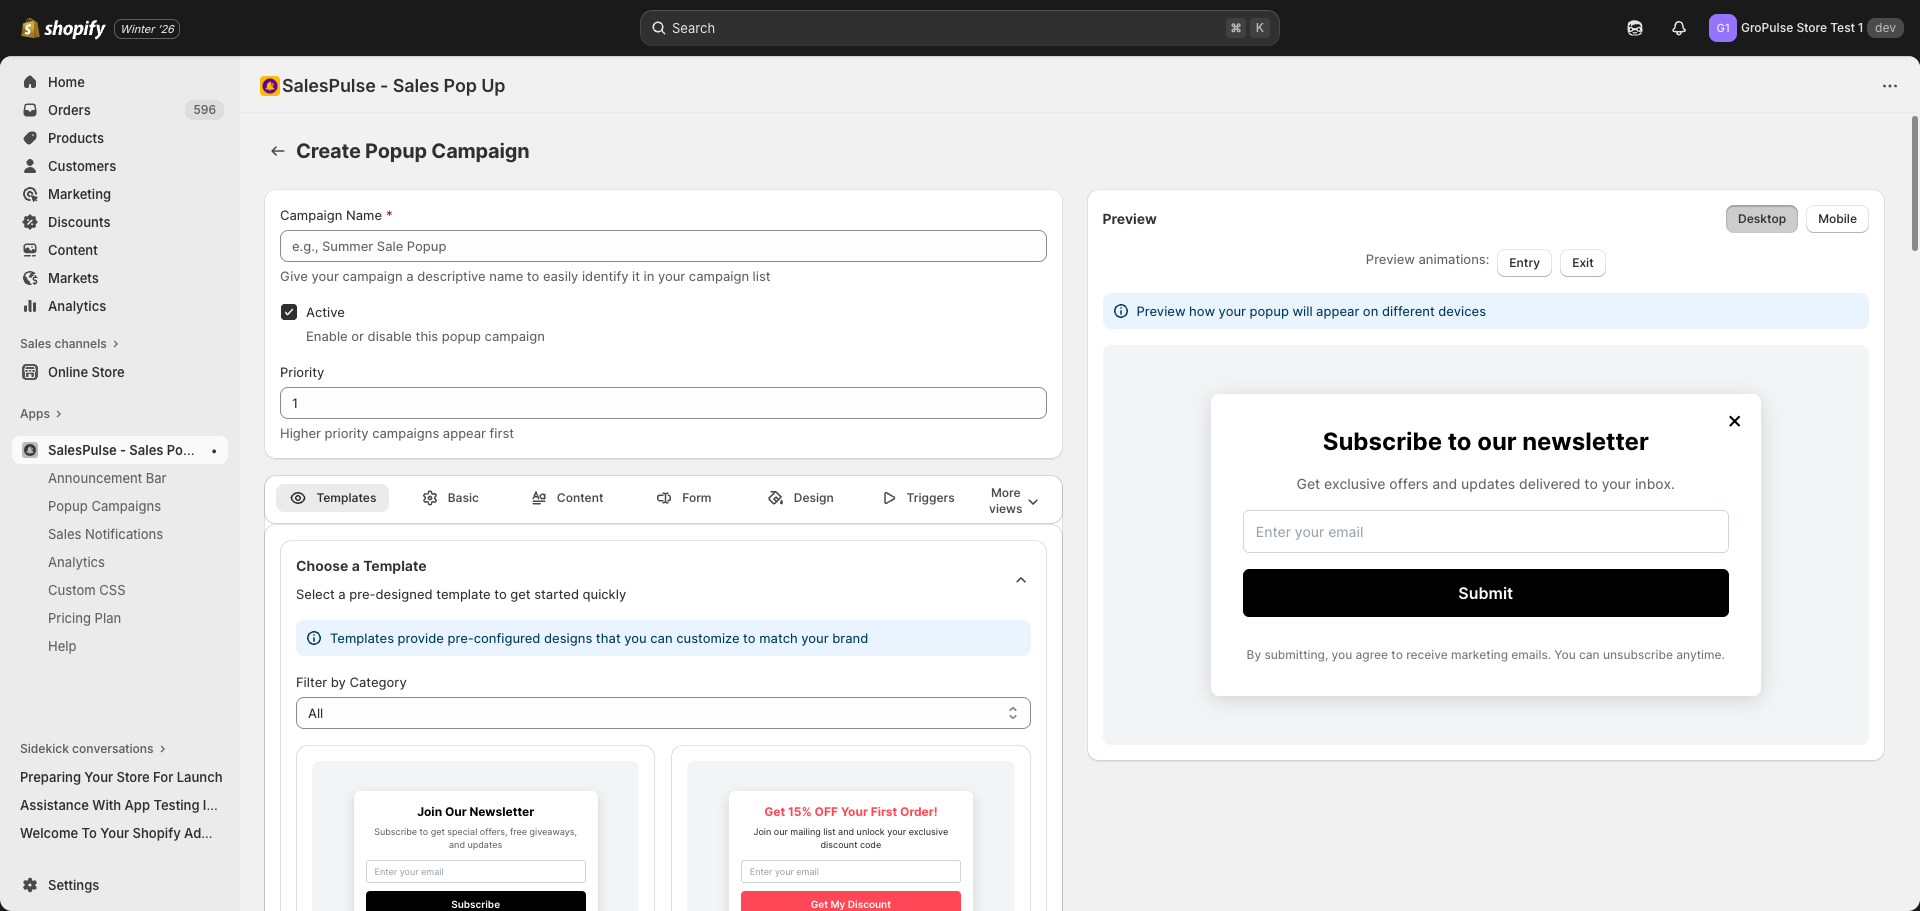
This guide walks you through creating a new popup campaign, from selecting a template to saving your configuration.
Getting Started
To create a new popup campaign:
- Navigate to Popup Campaigns in the SalesPulse app
- Click the Create Campaign button (or Create Your First Campaign if you have no campaigns)
This opens the Popup Campaign Editor where you can configure all settings.
Basic Settings
Before diving into specific features, configure these basic settings at the top of the editor:
Campaign Name
Give your popup campaign a descriptive name to easily identify it in your campaign list.
- Required field
- Example: “Newsletter Signup”, “Holiday Sale Popup”, “Exit Intent Offer”
Active Status
Toggle to enable or disable this popup campaign:
- Checked (Active): The popup will display on your store (if the feature is activated)
- Unchecked (Inactive): The popup will not display, but settings are saved
Priority
Set the display priority when multiple campaigns are active:
- Higher priority campaigns appear first
- Default value is 1
- Use numbers like 1, 2, 3 to set order
Live Preview
The editor includes a live preview panel that shows how your popup will look:
Preview Features
- Real-time updates: Changes appear instantly in the preview
- Desktop/Mobile toggle: Switch between device views
- Animation preview: Test entry and exit animations
- Interactive elements: See form fields and buttons
Preview Controls
| Button | Function |
|---|---|
| Desktop | View desktop layout |
| Mobile | View mobile layout |
| Entry | Preview entry animation |
| Exit | Preview exit animation |
Template Library
The Template Library provides 20+ pre-designed templates to get started quickly.
Using Templates
- Click the Template Library tab
- Browse available templates
- Use the Filter by Category dropdown to narrow options:
- All
- Lead Capture
- Promotional
- Exit Intent
- Welcome
- Social
- Product
- Referral
- Seasonal
- VIP
- Feedback
- Event
- App
- Click Apply Template on your chosen design
Available Templates
| Template | Best For | Position |
|---|---|---|
| Newsletter Classic | Simple newsletter signups | Center |
| Discount Offer | First-order discounts | Center |
| Exit Intent | Catching leaving visitors | Center |
| Welcome Popup | First-time visitor greetings | Center |
| Free Shipping | Shipping promotions | Bottom Right |
| Social Media Follow | Growing social following | Center |
| Email Subscription | Minimal email capture | Center |
| Limited Time Offer | Flash sales and urgency | Center |
| First Purchase Discount | New customer offers | Center |
| Product Promotion | Highlighting products | Center |
| Referral Program | Customer referrals | Center |
| Holiday Special | Seasonal promotions | Center |
| VIP Exclusive | Member-only offers | Center |
| New Arrivals | Product launches | Center |
| Flash Sale | High-urgency sales | Center |
| Survey & Feedback | Customer feedback | Center |
| Download Lead Magnet | Free content offers | Center |
| Event Registration | Webinar signups | Center |
| Mobile App Promotion | App downloads | Bottom Right |
| Cart Abandonment | Recovering carts | Center |
After Applying a Template
When you apply a template:
- Colors, fonts, and styles are automatically configured
- Default message text and form fields are added
- Popup type and position are set
- You can customize any setting after applying
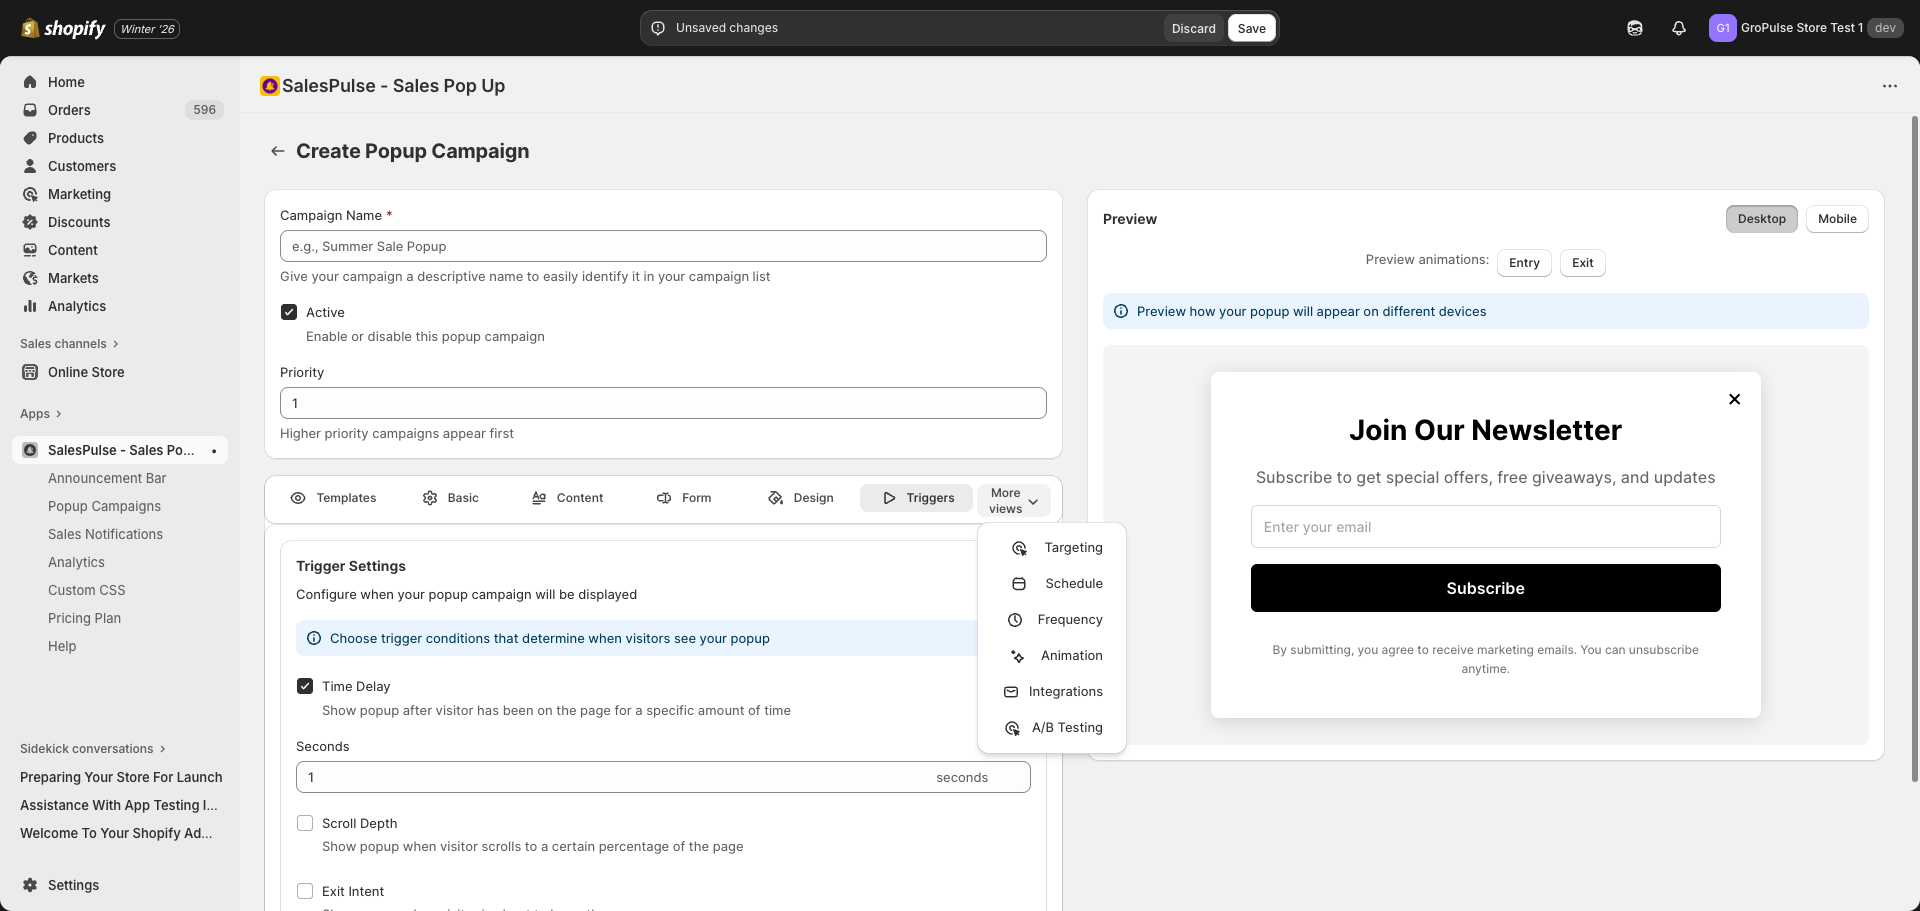
Editor Tabs Overview
The editor is organized into tabs for different settings. Some tabs are visible by default, while others are accessible via the More views button.
Main Tabs
| Tab | Purpose |
|---|---|
| Template Library | Choose pre-designed templates |
| Basic Settings | Configure popup type and position |
| Content Settings | Set headings, messages, and button colors |
| Form Builder | Create and configure form fields |
| Design Settings | Customize colors, dimensions, close button |
| Trigger Settings | Set when popup appears |
Additional Tabs (via More views)
| Tab | Purpose |
|---|---|
| Targeting Settings | Page, device, and geo-targeting |
| Schedule Settings | Set start and end dates |
| Frequency Settings | Control display frequency |
| Animation Settings | Configure entry and exit animations |
| Integration Settings | Connect with email platforms |
| A/B Testing Settings | Test variants (Pro plan) |
Popup Type Configuration
Click the Basic Settings tab to configure the popup type.
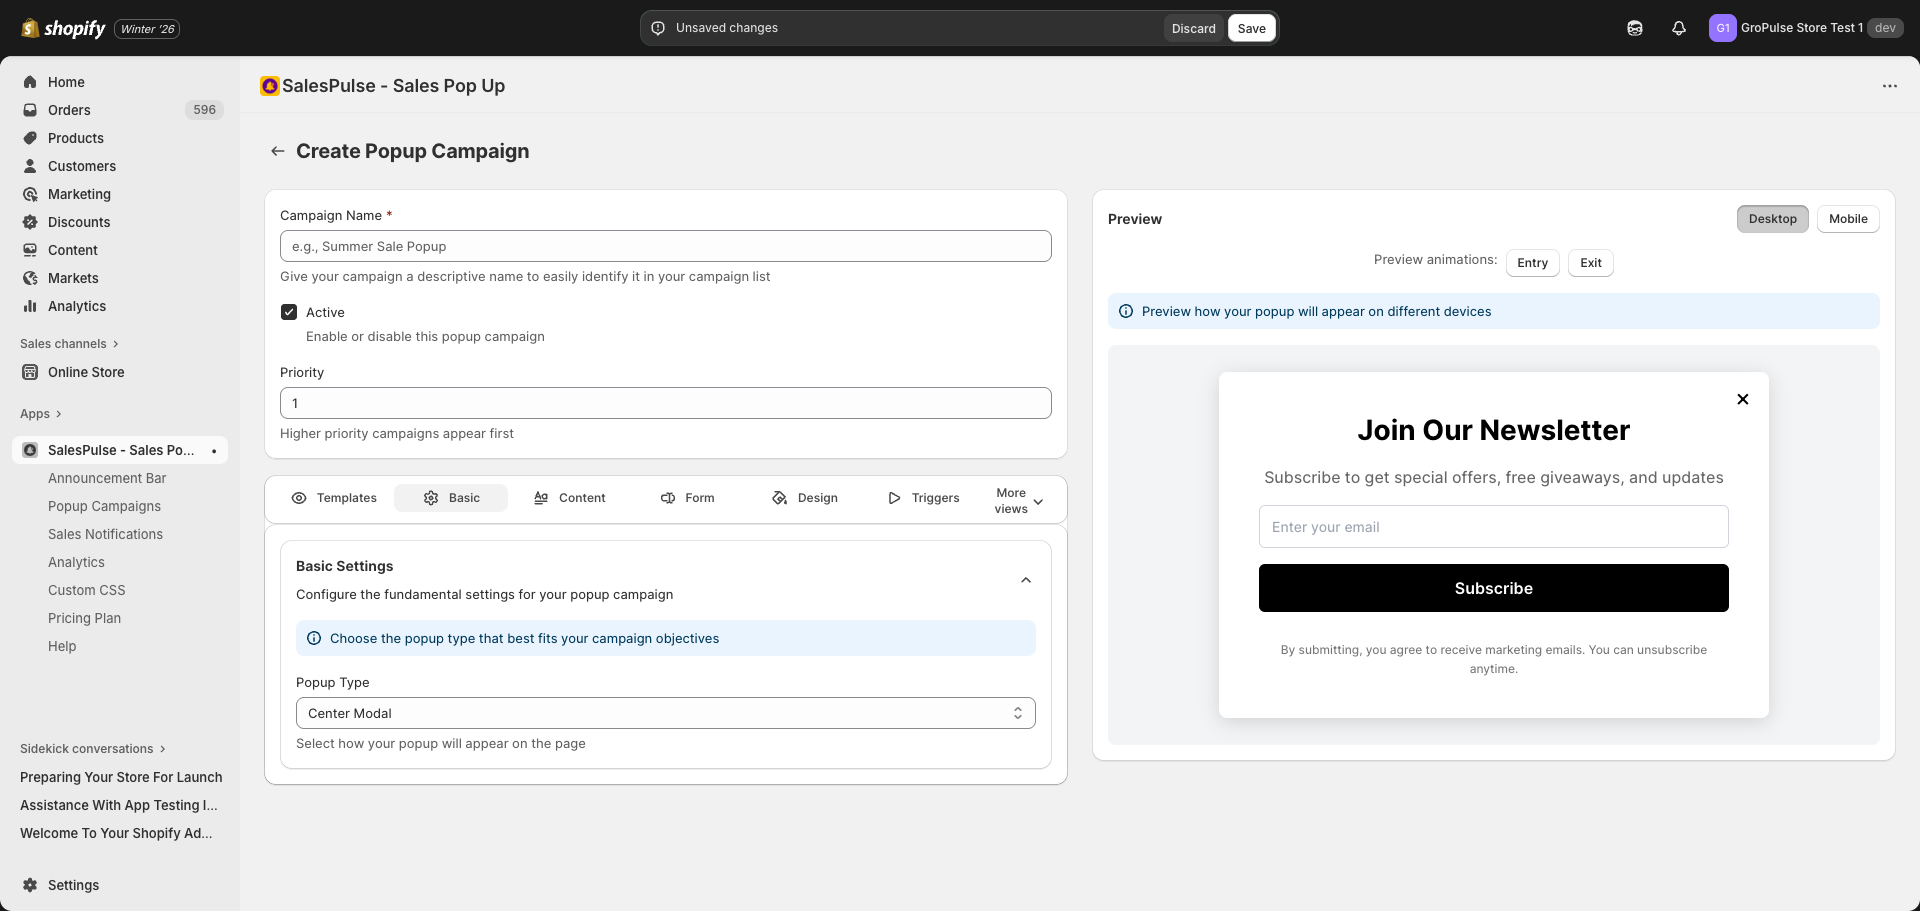
Popup Type Options
| Type | Description | Best For |
|---|---|---|
| Center Modal | Classic centered popup | Most use cases |
| Bottom Right Corner | Non-intrusive corner popup | Subtle promotions |
| Bottom Left Corner | Non-intrusive corner popup | Subtle promotions |
| Fullscreen | Covers entire screen | High-impact campaigns |
| Right Sidebar | Slides from right edge | Product recommendations |
| Left Sidebar | Slides from left edge | Product recommendations |
Saving Your Popup Campaign
After configuring your settings:
- Review the live preview to confirm the appearance
- Test on both Desktop and Mobile views
- Preview entry and exit animations
- Click the Save button in the top-right corner
- If there are validation errors, fix them before saving
Validation Requirements
The editor validates:
- Campaign Name: Required field
- Form Fields: At least one field if form is enabled
- Submit Button Text: Required if form is enabled
- Success Message: Required if form is enabled
- Scheduling: Valid date range if enabled
Managing Existing Campaigns
After creating campaigns, you can manage them from the main list:
Quick Actions
- Edit: Click a campaign to open the editor
- Duplicate: Create a copy with the same settings
- Delete: Remove the campaign permanently
- Analytics: View performance metrics
- Toggle Active: Enable or disable without editing
Priority Order
Campaigns are displayed based on priority:
- Higher priority numbers appear first
- Only one popup displays at a time based on priority
Tips for Effective Popup Campaigns
Message Best Practices
- Keep headings short and attention-grabbing
- Focus on the value proposition for visitors
- Use action-oriented language in button text
- Include a clear call-to-action
Design Tips
- Match your store’s brand colors
- Ensure sufficient contrast for readability
- Test on both desktop and mobile
- Keep the popup clean and uncluttered
Timing Strategies
- Use time delays to let visitors browse first
- Exit intent works well for discount offers
- Scroll depth triggers engage invested visitors
- Avoid showing popups too quickly (irritating to visitors)
Form Best Practices
- Only ask for essential information
- Use clear placeholder text
- Keep forms short (1-2 fields ideal)
- Explain what subscribers will receive