This guide explains how to set up and configure funnel conversion tracking in AdTrack. Funnel events track the steps customers take on their journey toward making a purchase.
Overview
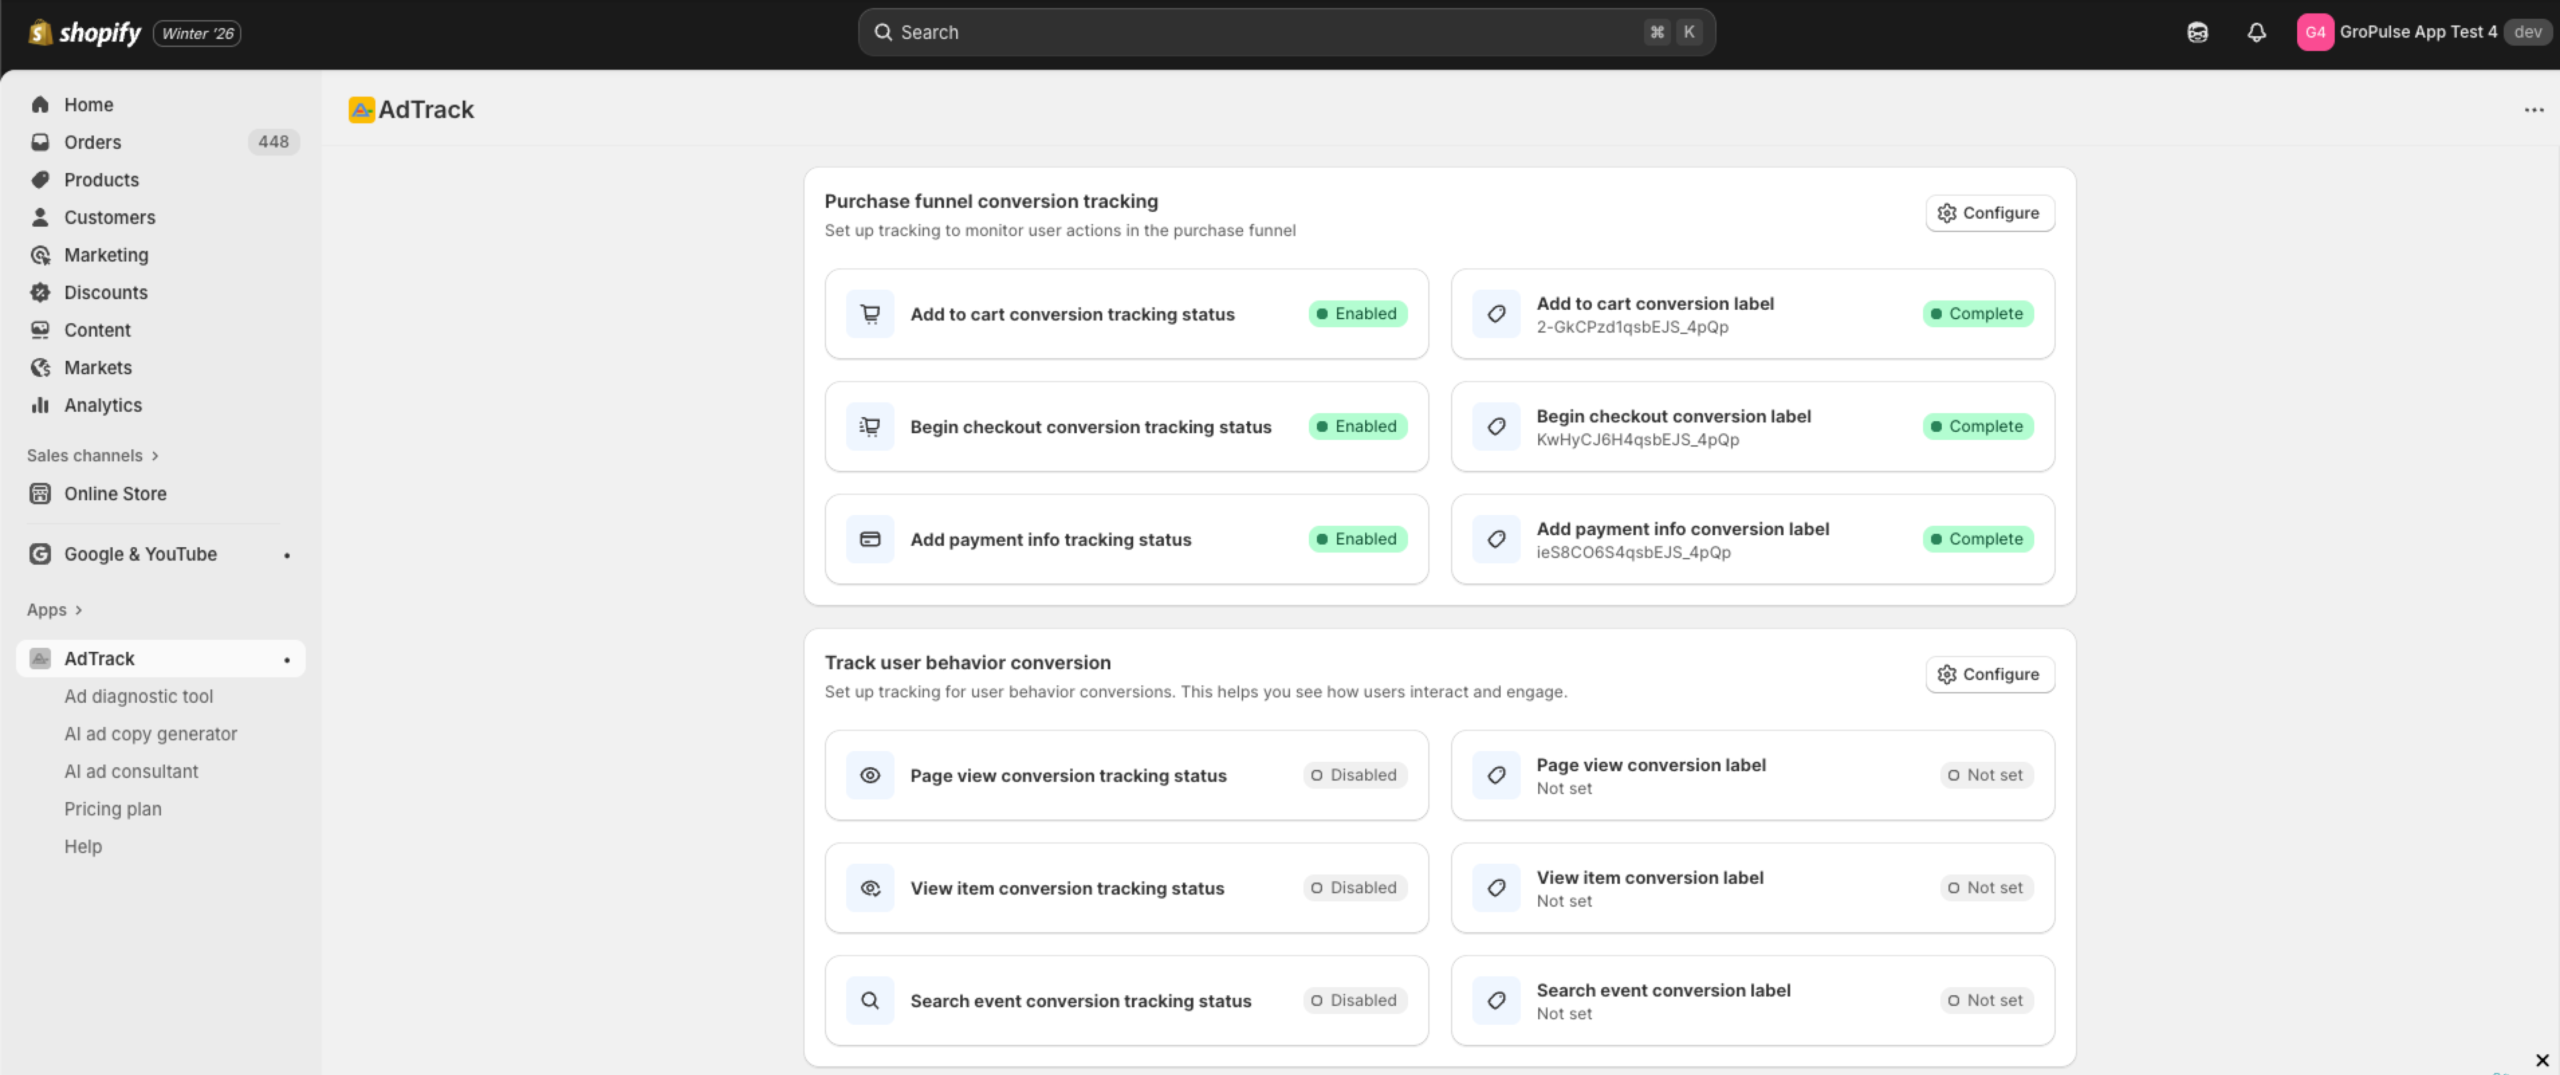
Funnel tracking captures key actions that indicate purchase intent:
- Add to Cart – Customer adds a product to their shopping cart
- Begin Checkout – Customer starts the checkout process
- Add Payment Info – Customer enters payment details
Tracking these events helps you:
- Understand where customers drop off in the purchase funnel
- Create remarketing audiences for each funnel stage
- Optimize ads for micro-conversions
- Identify checkout friction points
Accessing Funnel Tracking Settings
- Open AdTrack from your Shopify admin
- Scroll to the Track Purchase Funnel Conversion section
- Click on the “Configure” button
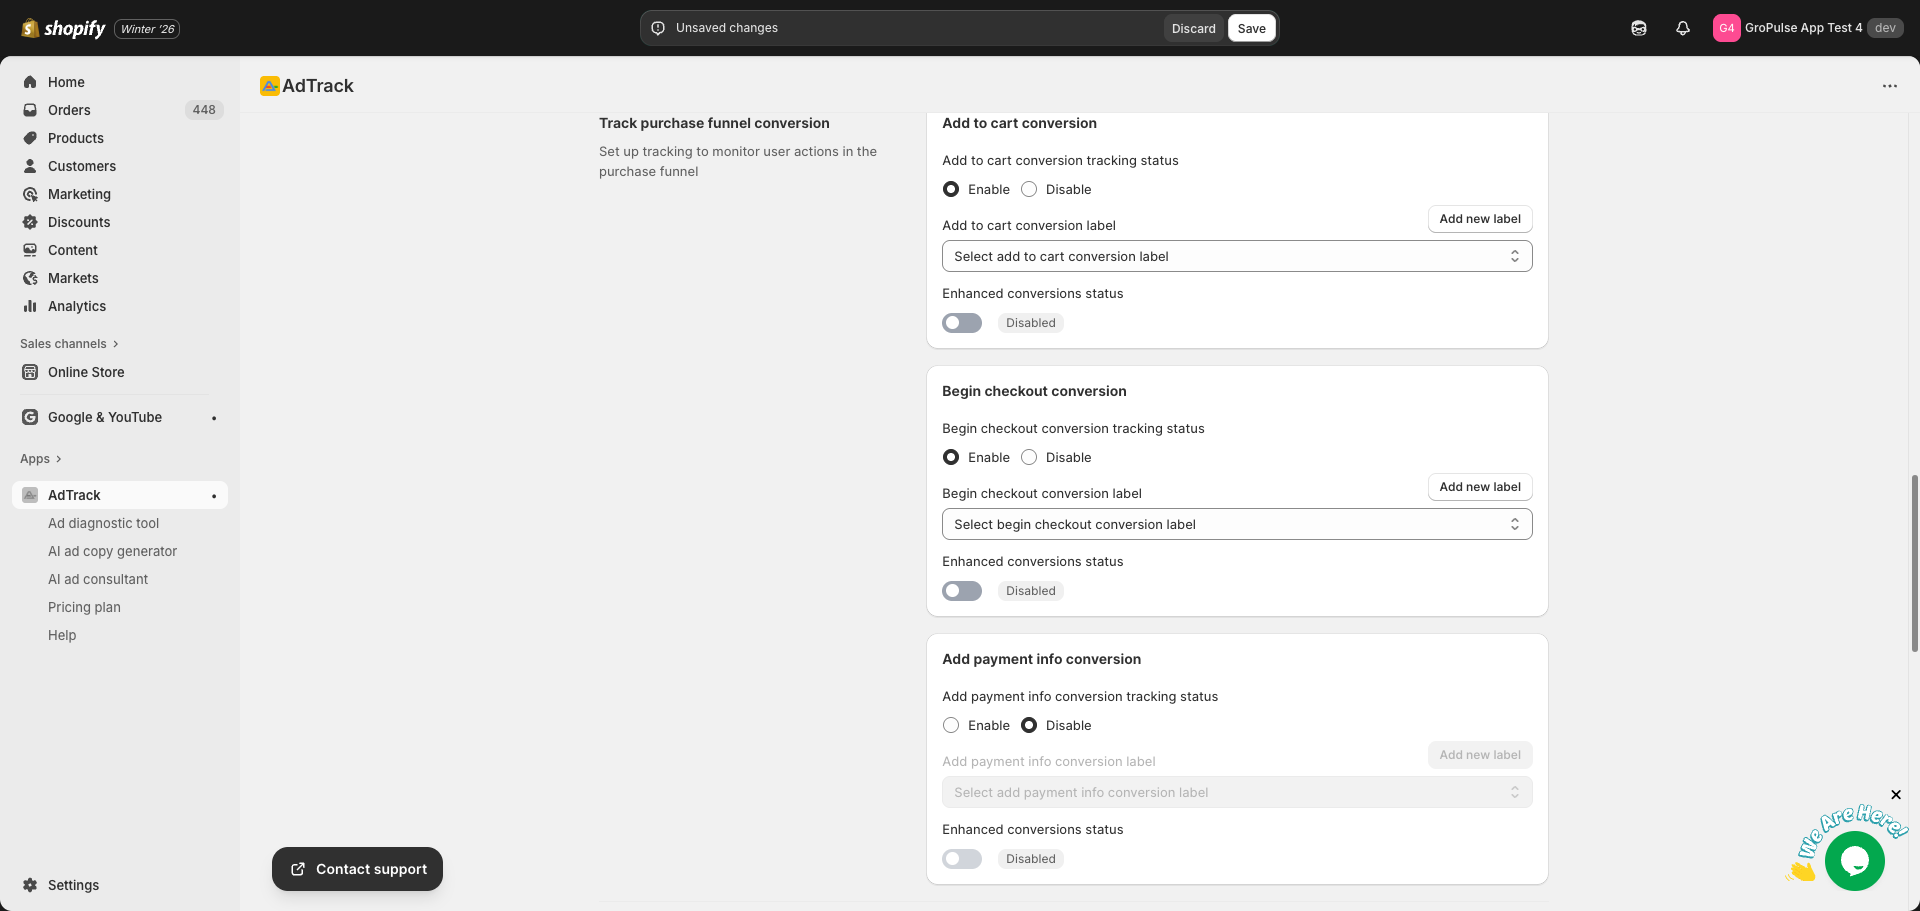
Add to Cart Tracking
Track when customers add products to their cart.
Enabling Add to Cart Tracking
- Find the Add to Cart card
- Locate the Tracking Status option
- Select Enable to activate tracking

Selecting the Conversion Label
Auto Mode:
- Click the Conversion Label dropdown
- Select an “Add to Cart” type conversion action from your Google Ads account
- If none exists, click Add new label to create one
Manual Mode:
- Find the Conversion Label text field
- Enter your Add to Cart conversion label from Google Ads

Enhanced Conversions for Add to Cart
- Find the Enhanced Conversions toggle below the label selection
- Enable to send hashed customer data with Add to Cart events
- This improves conversion attribution accuracy
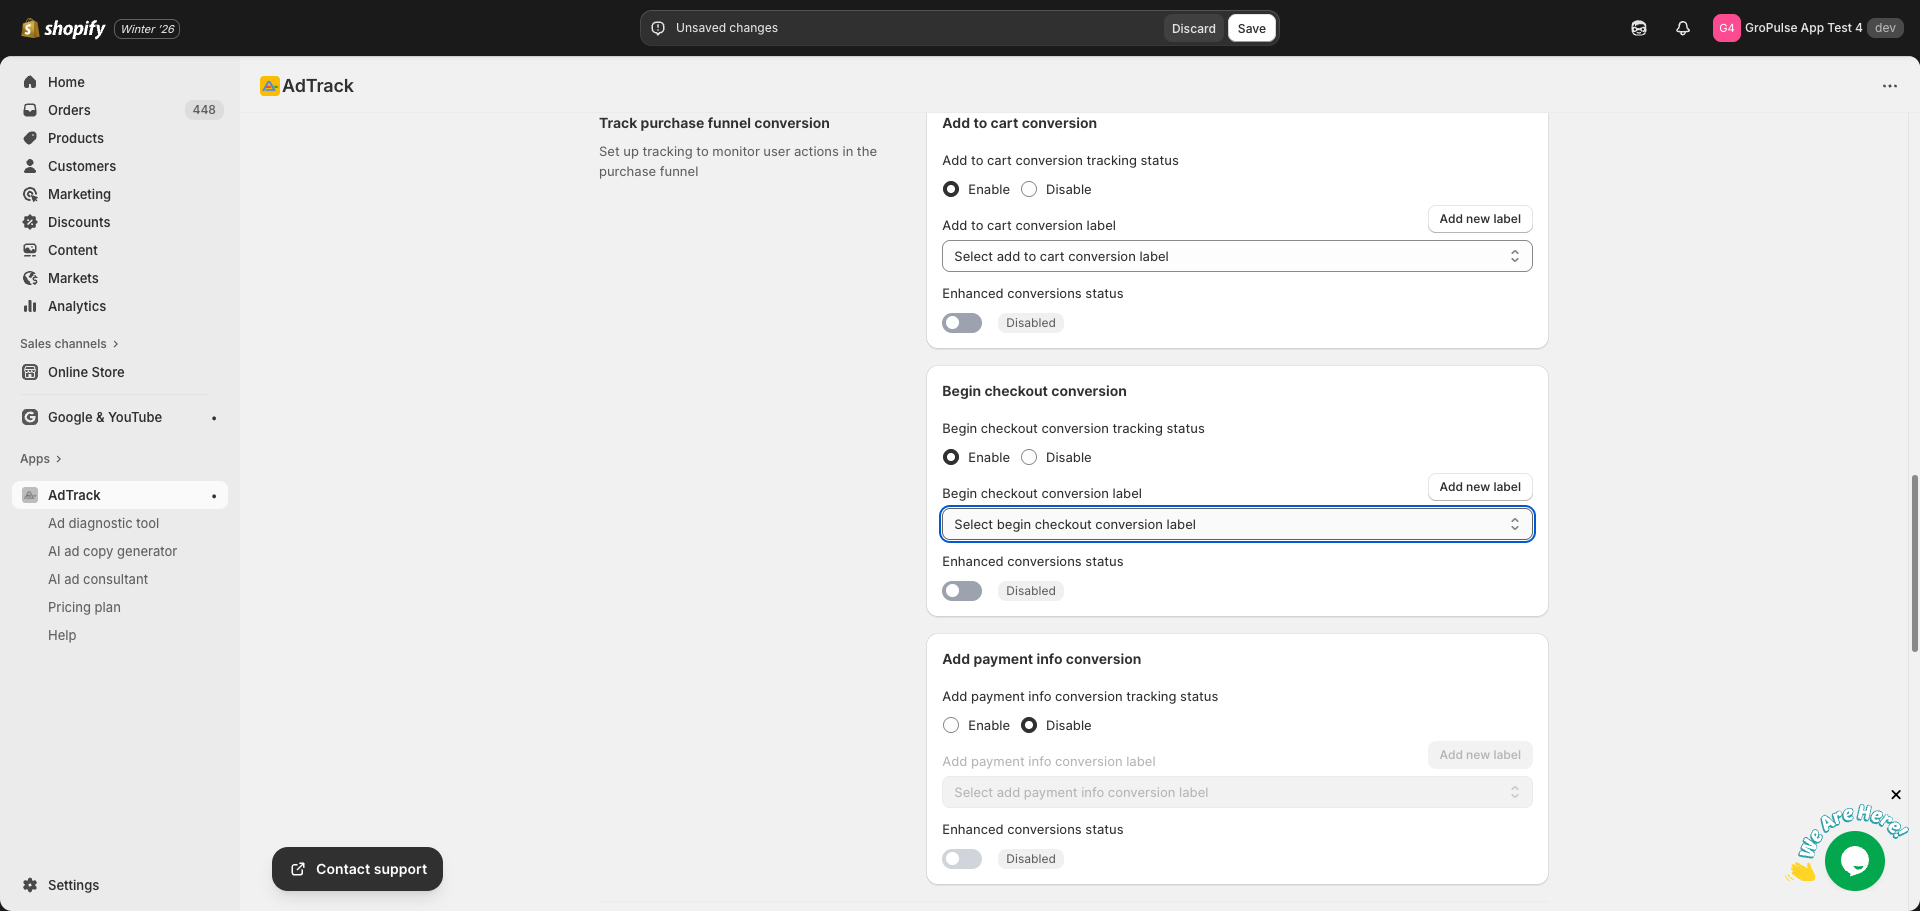
Begin Checkout Tracking
Track when customers start the checkout process.
Enabling Begin Checkout Tracking
- Find the Begin Checkout card
- Locate the Tracking Status option
- Select Enable to activate tracking
Selecting the Conversion Label
Auto Mode:
- Click the Conversion Label dropdown
- Select a checkout-related conversion action
- If none exists, click Add new label to create one
Manual Mode:
- Find the Conversion Label text field
- Enter your Begin Checkout conversion label
Enhanced Conversions for Begin Checkout
- Find the Enhanced Conversions toggle
- Enable to improve conversion measurement for checkout events
- The toggle appears below the label selection
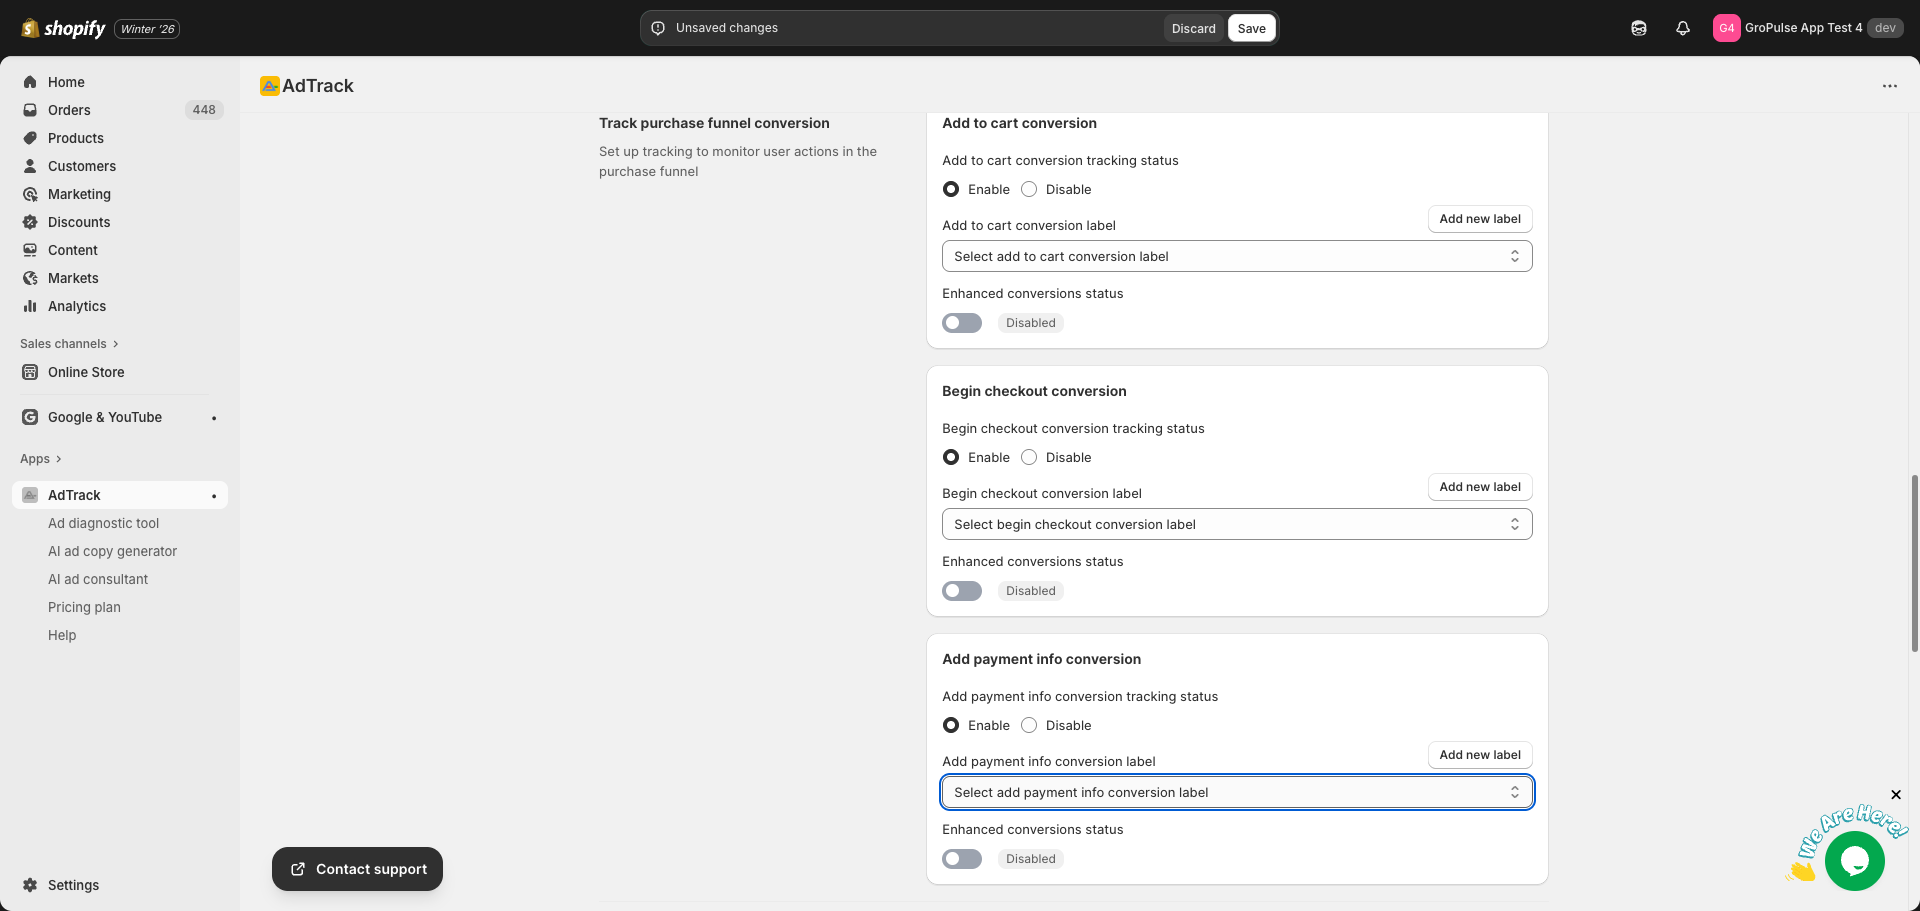
Add Payment Info Tracking
Track when customers enter their payment information during checkout.
Enabling Add Payment Info Tracking
- Find the Add Payment Info card
- Locate the Tracking Status option
- Select Enable to activate tracking

Selecting the Conversion Label
Auto Mode:
- Click the Conversion Label dropdown
- Select a payment info conversion action
- If none exists, click Add new label to create one
Manual Mode:
- Find the Conversion Label text field
- Enter your Add Payment Info conversion label
Enhanced Conversions for Add Payment Info
- Find the Enhanced Conversions toggle
- Enable for improved payment event tracking
- This captures data at a critical funnel stage
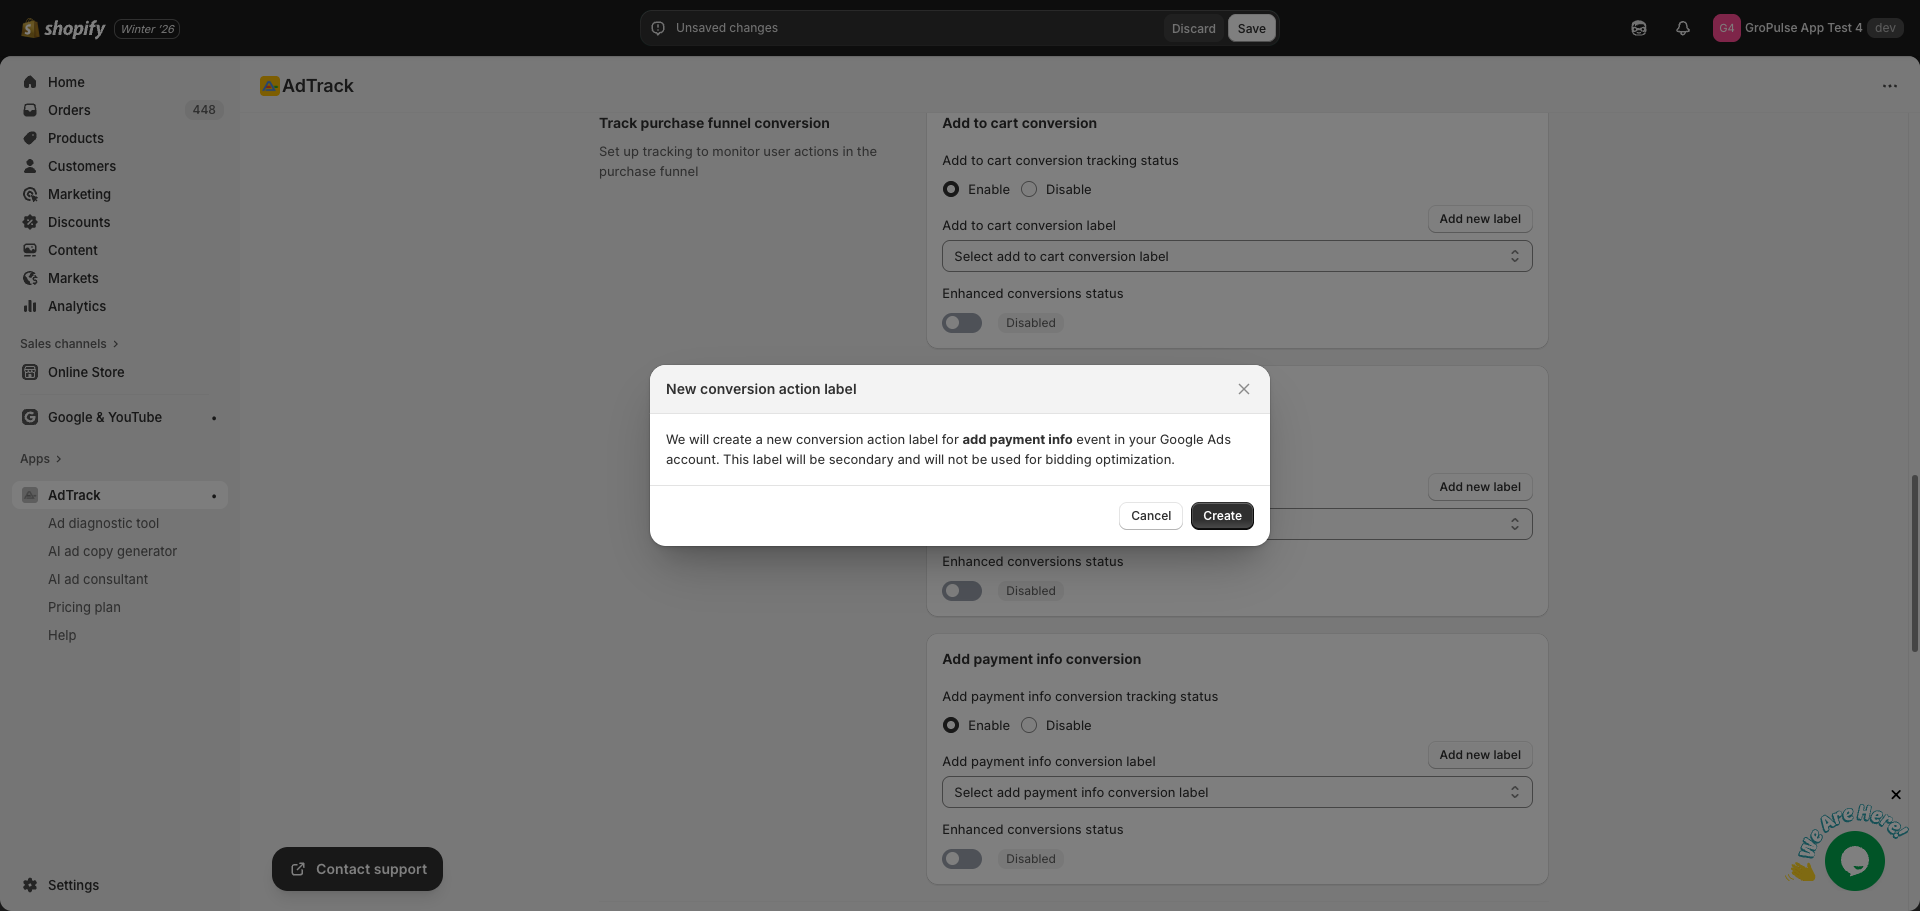
Creating New Conversion Labels
If you need to create new conversion actions for any funnel event:
Step 1: Click Add New Label
- Find the Add new label link next to the dropdown
- Click to open the creation modal
- Click on “Create” button
Step 3: Select the New Action
- The new action appears in the dropdown
- Select it to associate with the event
- Click Save to apply
Dashboard Overview
After configuration, check the dashboard for funnel tracking status:
- Go to the AdTrack Dashboard
- Find the Funnel section
- Verify each event shows the correct status:
- Add to Cart: Enabled/Disabled with label status
- Begin Checkout: Enabled/Disabled with label status
- Add Payment Info: Enabled/Disabled with label status
Saving Your Settings
After configuring funnel tracking:
- A save bar appears at the top of the page
- Review your changes
- Click Save to apply all settings
- A success message confirms the save
Using Funnel Data in Google Ads
Once tracking is active, use the data to:
Create Remarketing Audiences
Target users who:
- Added to cart but did not purchase
- Started checkout but did not complete
- Entered payment info but abandoned
Optimize Bidding
- Use funnel events as micro-conversions
- Set up conversion action sets
- Test bidding on different funnel stages
Analyze Drop-off
- Compare funnel event volumes
- Identify where customers abandon
- Test improvements to reduce friction
Best Practices
- Enable all funnel events – Get complete visibility into the customer journey
- Use Enhanced Conversions – Improve accuracy at each stage
- Create separate audiences – Tailor messaging for each funnel stage
- Monitor regularly – Watch for unusual drop-offs
- A/B test – Use data to test checkout improvements
Last updated on February 17, 2026
Was this article helpful?
Powered by Support Genix