This guide explains how to set up and configure user behavior tracking in AdTrack. Behavior tracking captures how customers browse and interact with your store.
Overview
User behavior tracking monitors three key activities:
- Page View – Any page visited on your store
- View Item – Product detail pages viewed
- Search – Store search queries performed
Tracking these events helps you:
- Build larger remarketing audiences
- Understand customer browsing patterns
- Optimize product visibility
- Identify popular products and search terms
Accessing Behavior Tracking Settings
- Open AdTrack from your Shopify admin
- Scroll to the Track User Behavior Conversion section
- Click on the “Configure” button
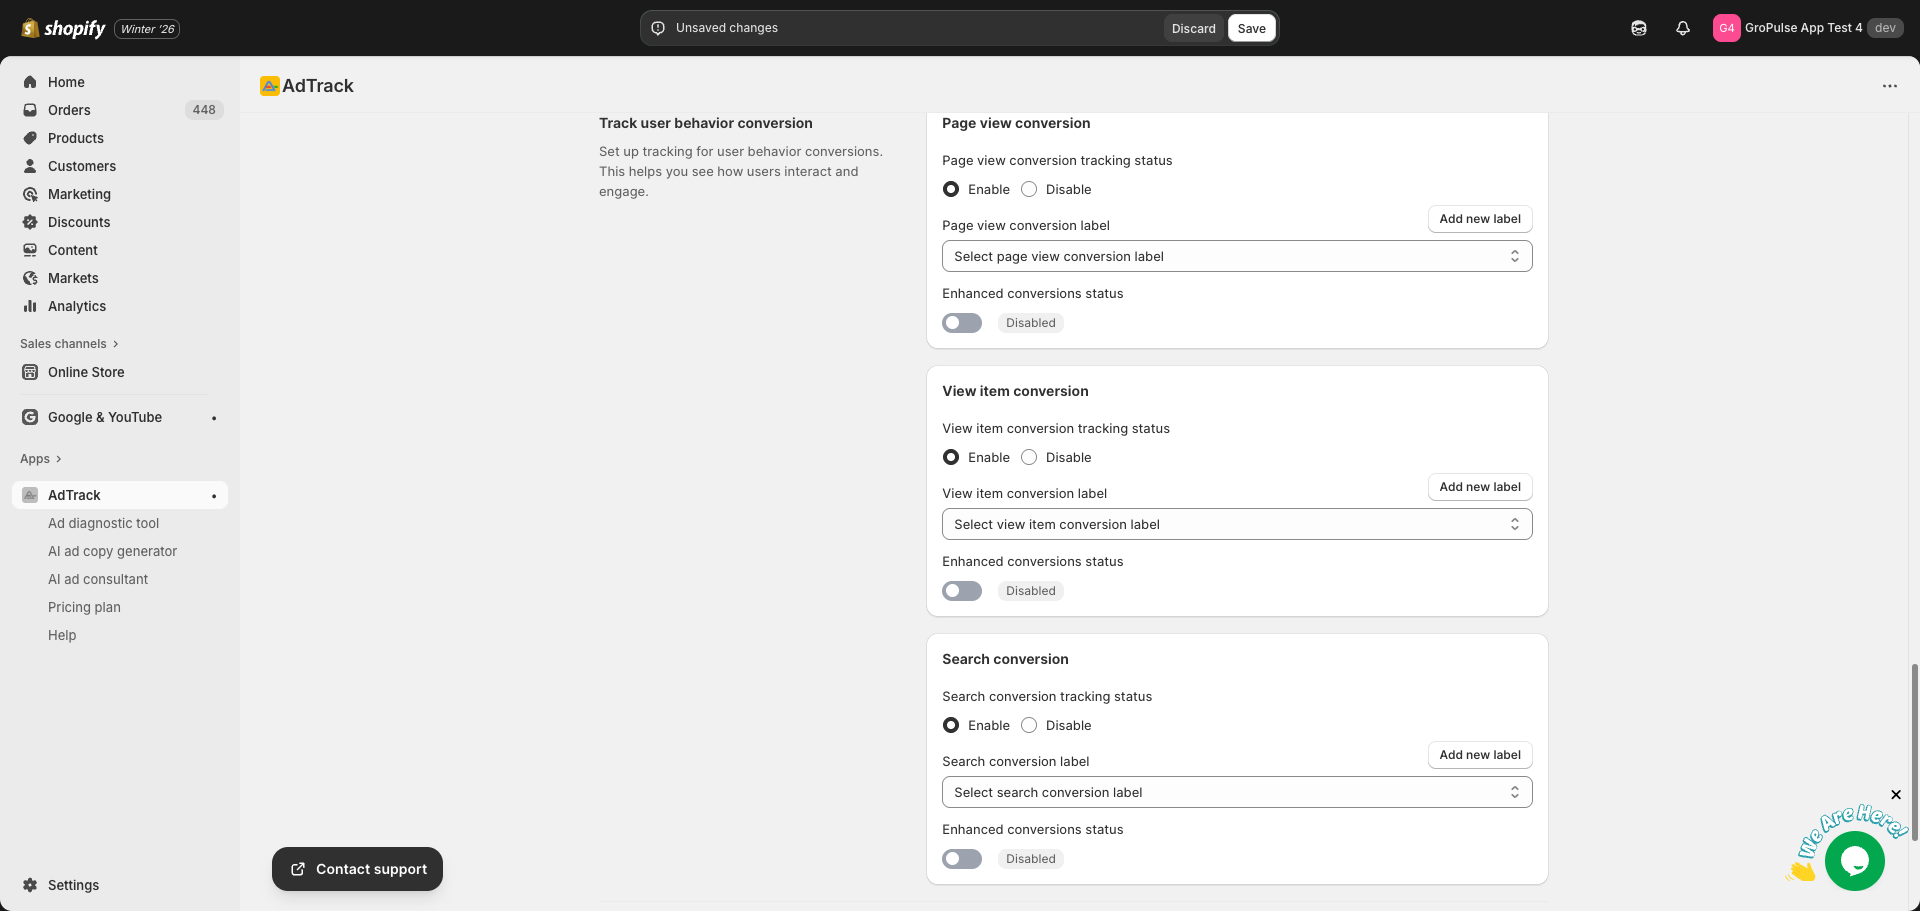
Page View Tracking
Track every page visited on your store.
What Page View Tracks
- Home page visits
- Collection page views
- Product page visits
- Blog and article views
- Information pages (About, Contact, etc.)
- Cart page views
Enabling Page View Tracking
- Find the Page View card in the User Behavior section
- Locate the Tracking Status option
- Select Enable to activate tracking
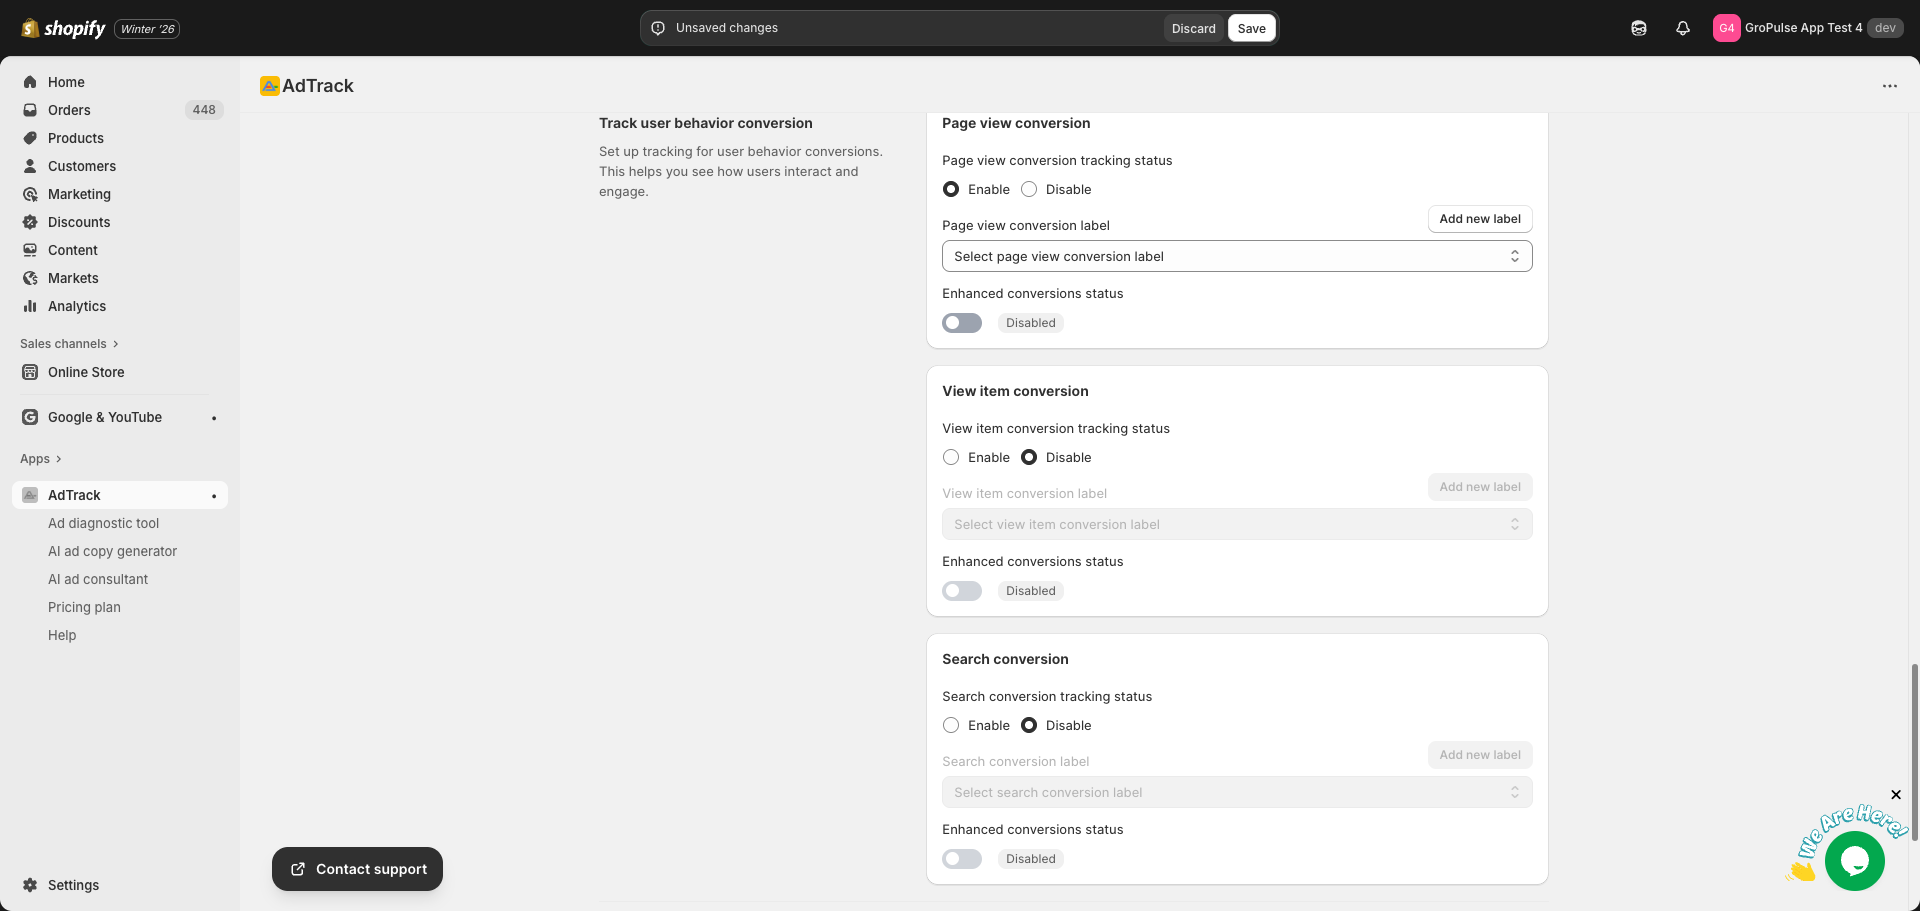
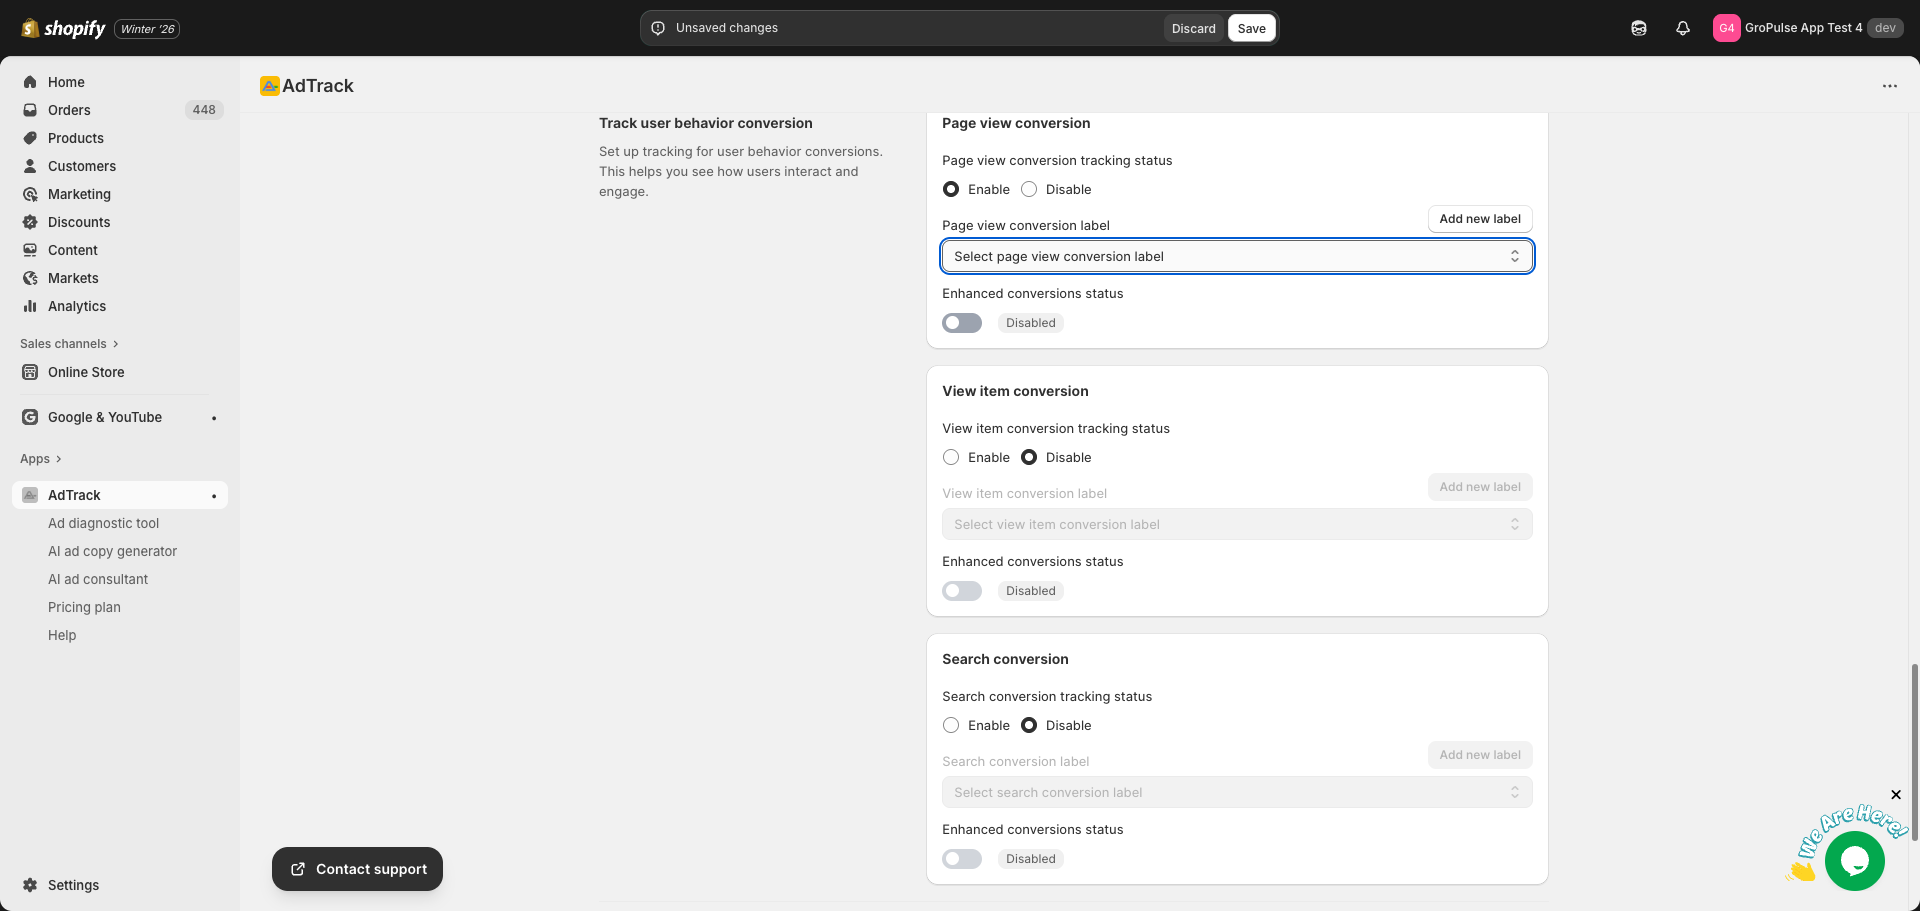
Selecting the Conversion Label
Auto Mode:
- Click the Conversion Label dropdown
- Select a page view conversion action from your Google Ads account
- If none exists, click Add new label to create one
Manual Mode:
- Find the Conversion Label text field
- Enter your page view conversion label from Google Ads
Enhanced Conversions for Page View
- Find the Enhanced Conversions toggle
- Enable to send additional data with page view events
- Improves attribution for returning visitors
View Item Tracking
Track when customers view specific product pages.
What View Item Tracks
- Product detail page visits
Enabling View Item Tracking
- Find the View Item card in the User Behavior section
- Locate the Tracking Status option
- Select Enable to activate tracking
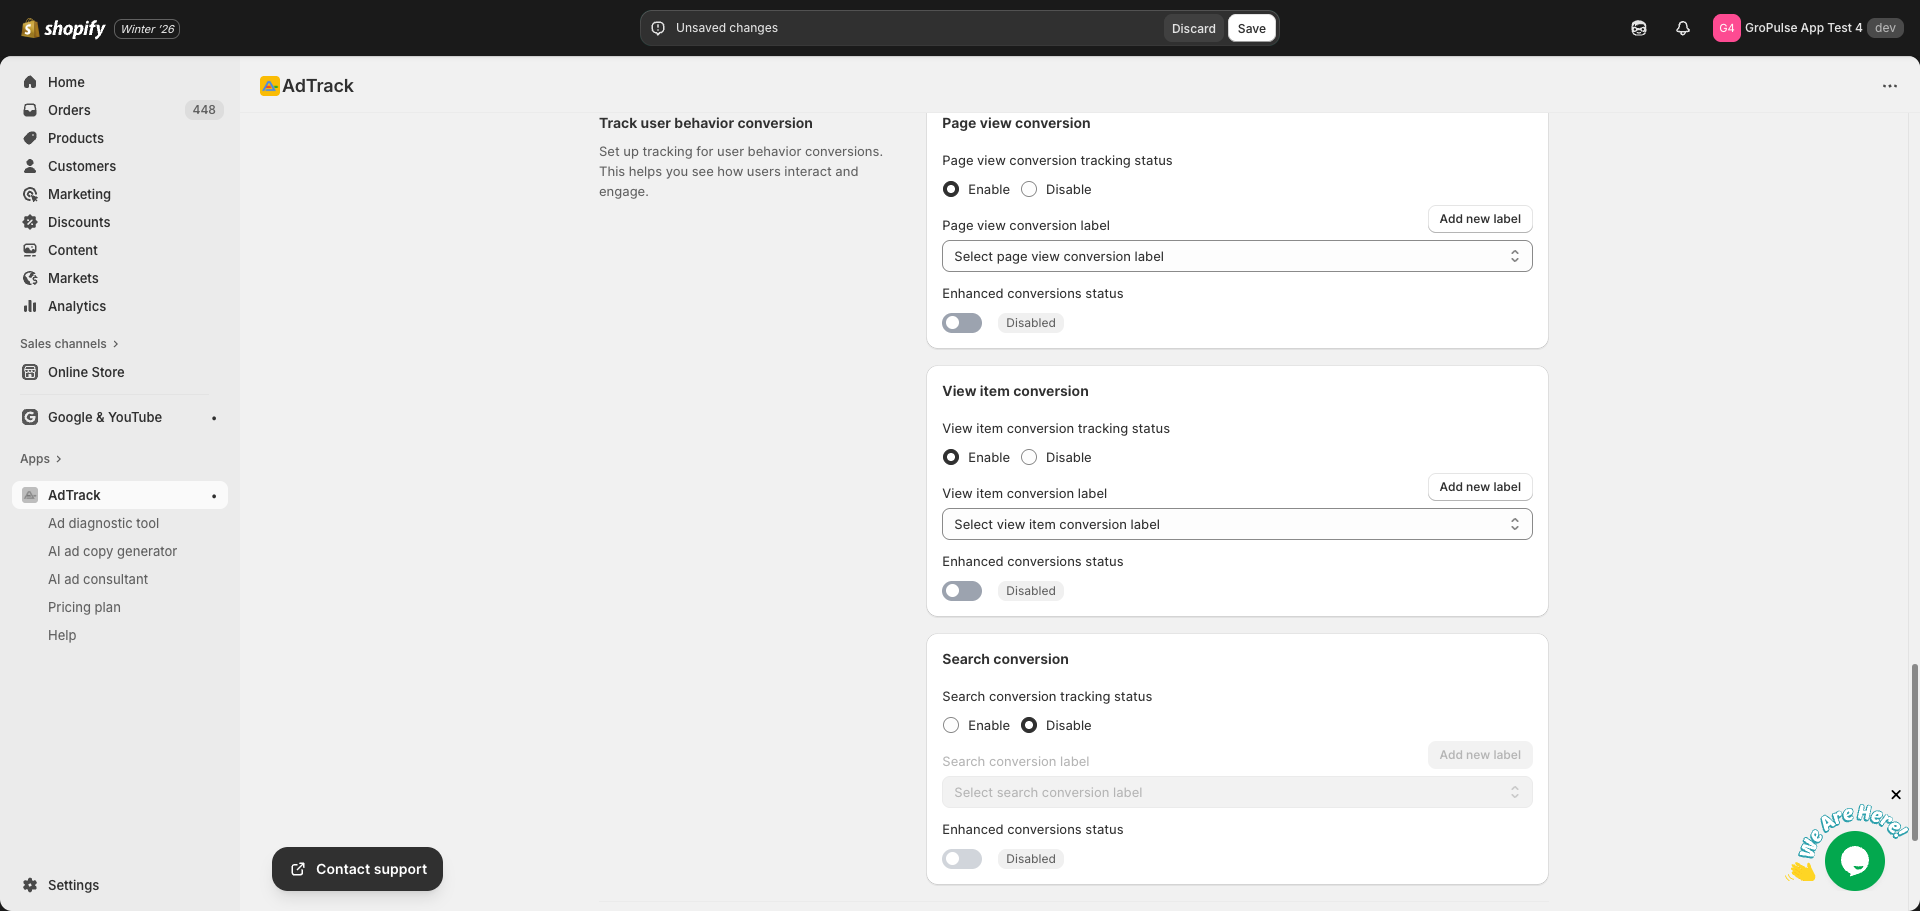
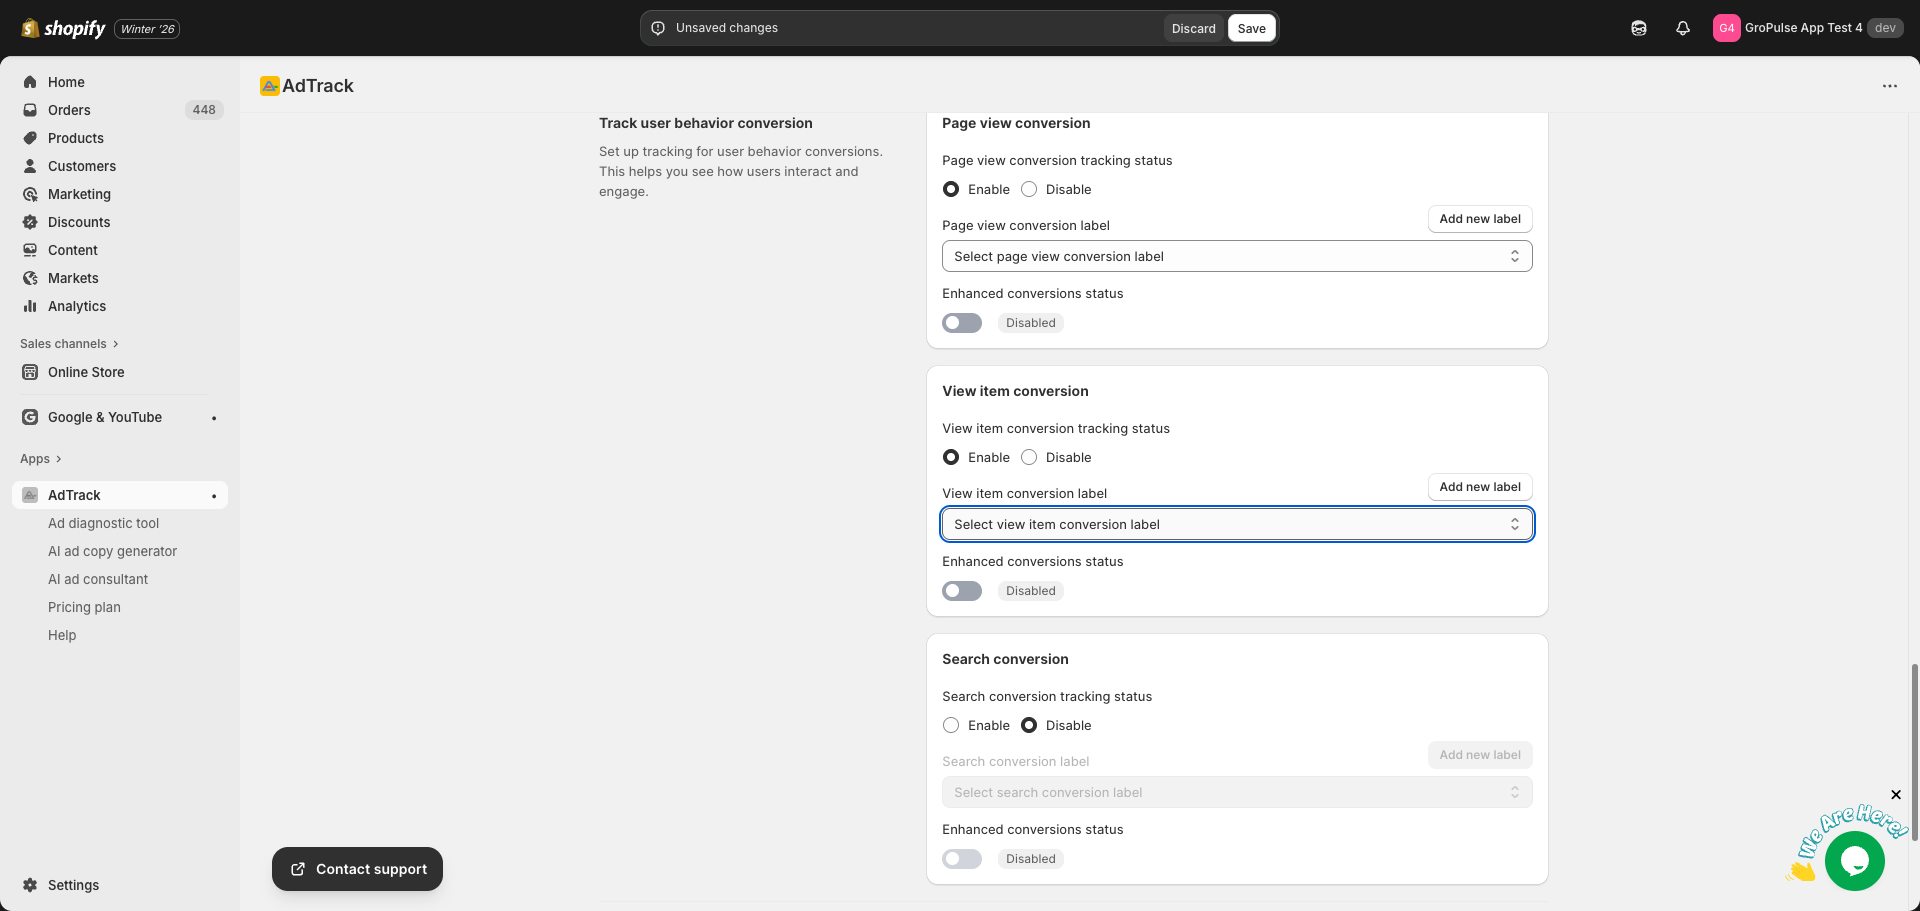
Selecting the Conversion Label
Auto Mode:
- Click the Conversion Label dropdown
- Select a view item conversion action
- Create a new one if needed using Add new label
Manual Mode:
- Find the Conversion Label text field
- Enter your view item conversion label
Enhanced Conversions for View Item
- Enable the Enhanced Conversions toggle
- This adds product data to improve Dynamic Remarketing
- Helps connect views to later purchases
Search Tracking
Track when customers use your store’s search function.
What Search Tracks
- Search queries entered by customers
Enabling Search Tracking
- Find the Search card in the User Behavior section
- Locate the Tracking Status option
- Select Enable to activate tracking
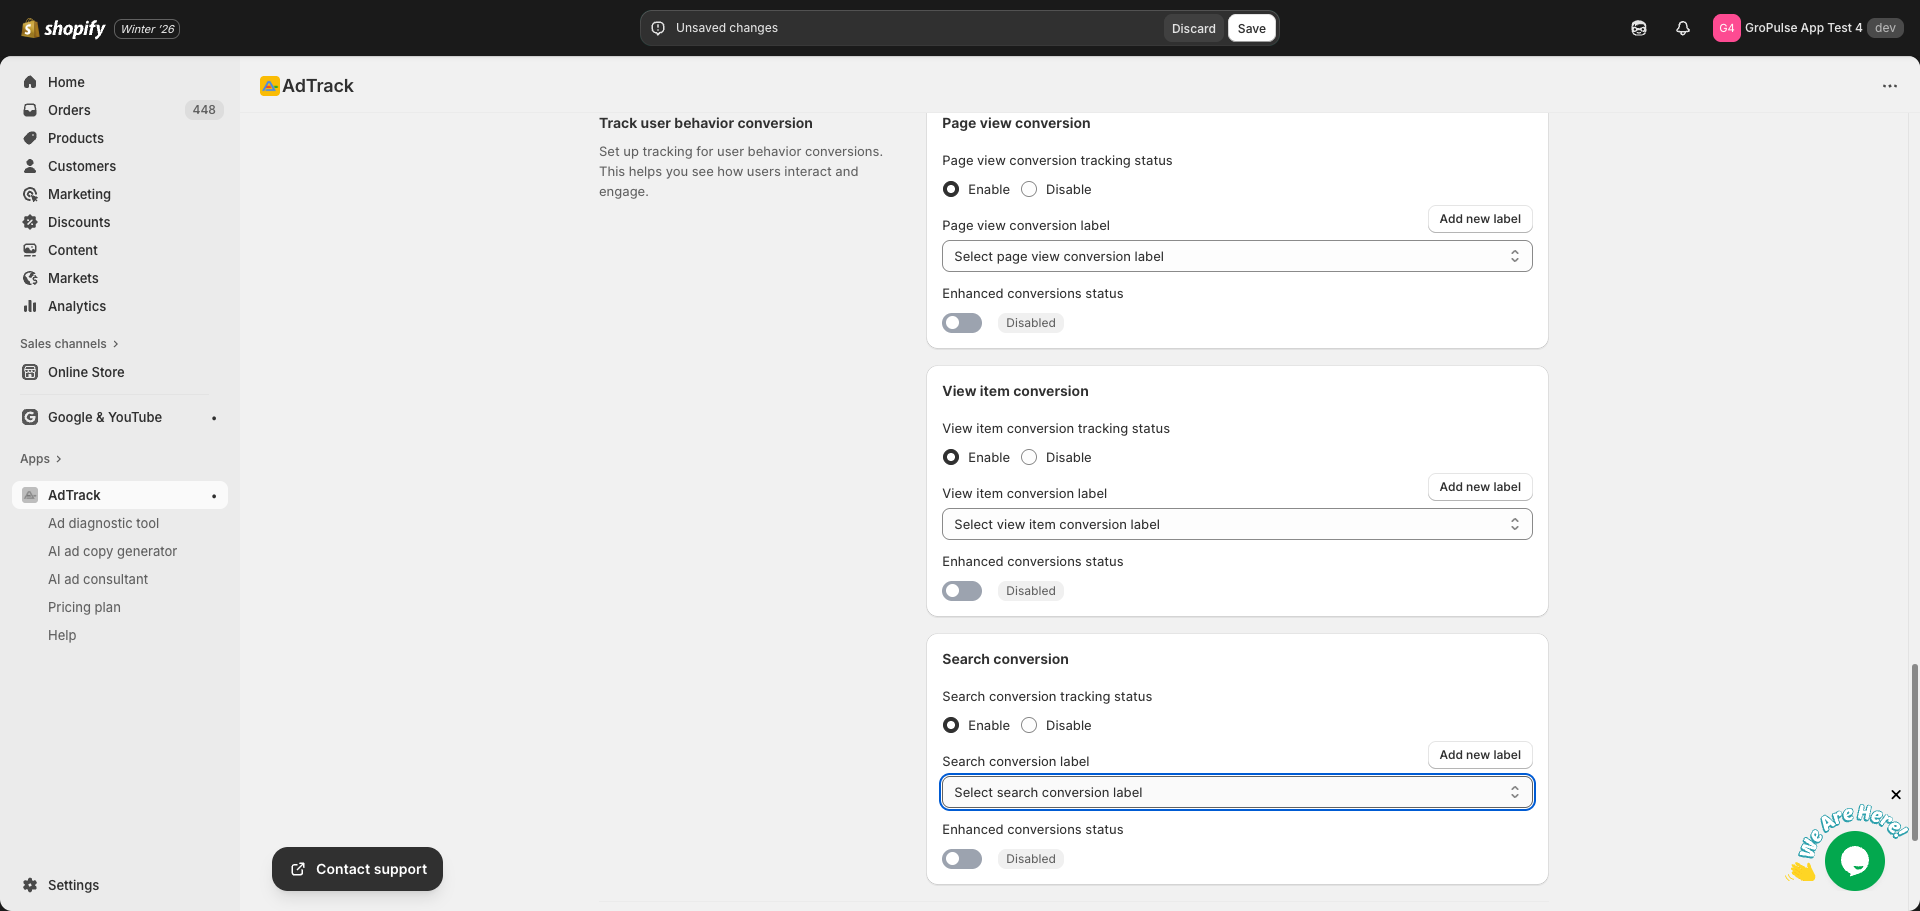
Selecting the Conversion Label
Auto Mode:
- Click the Conversion Label dropdown
- Select a search conversion action
- Create one using Add new label if needed
Manual Mode:
- Find the Conversion Label text field
- Enter your search conversion label
Enhanced Conversions for Search
- Enable the Enhanced Conversions toggle
- Captures search term data for better optimization
- Improves keyword targeting in your campaigns
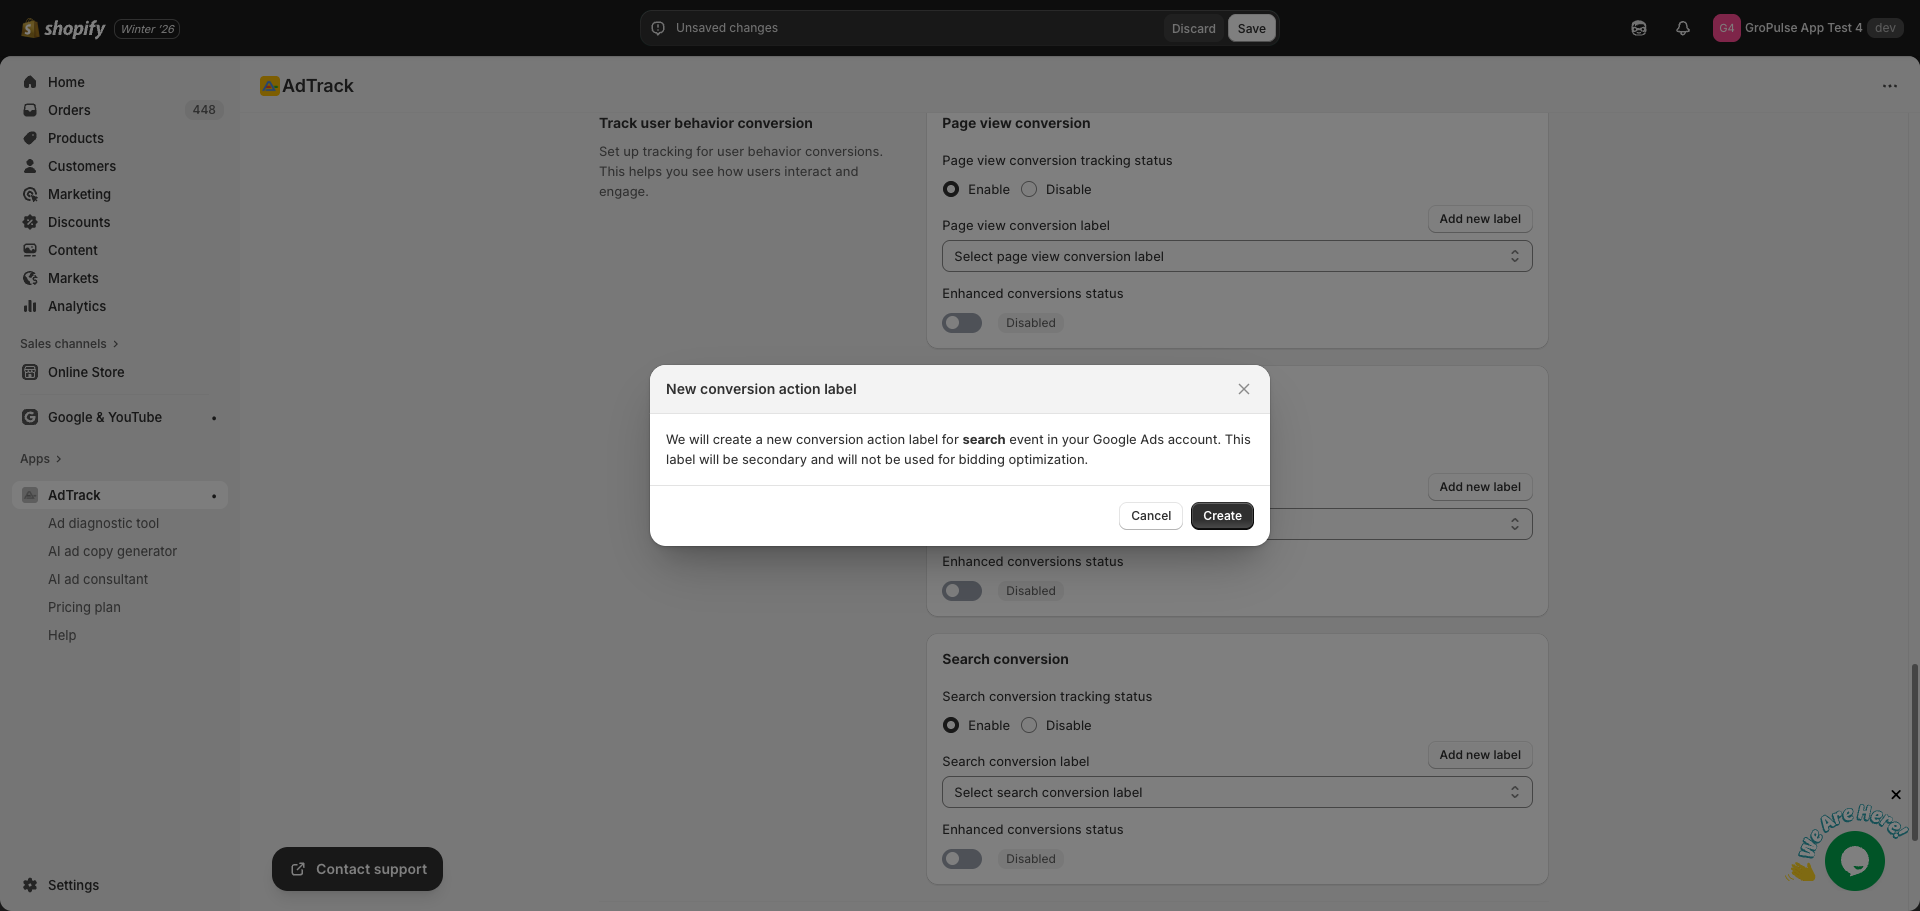
Creating New Conversion Labels
For any behavior event, you can create new conversion actions:
Step 1: Click Add New Label
- Find the Add new label link next to the dropdown
- Click to open the creation modal
- Click Create to add to your Google Ads account
Step 2: Select the New Action
- The new action appears in the dropdown
- Select it for the corresponding event
- Click Save to apply
Dashboard Overview
After configuration, check the dashboard:
- Go to the AdTrack Dashboard
- Find the User Behavior section
- Verify each event status:
- Page View: Status and label shown
- View Item: Status and label shown
- Search: Status and label shown

Saving Your Settings
After configuring behavior tracking:
- A save bar appears at the top of the page
- Review your changes
- Click Save to apply all settings
- Confirm with the success message
Last updated on February 17, 2026
Was this article helpful?
Powered by Support Genix